Creating your own stencil artwork on a DIY cutting board is a fun and easy way to add a touch of personality to your kitchen. With just a few simple materials and a bit of creativity, you can transform a basic mini cutting board into a stunning piece of art that’s both decorative and functional.
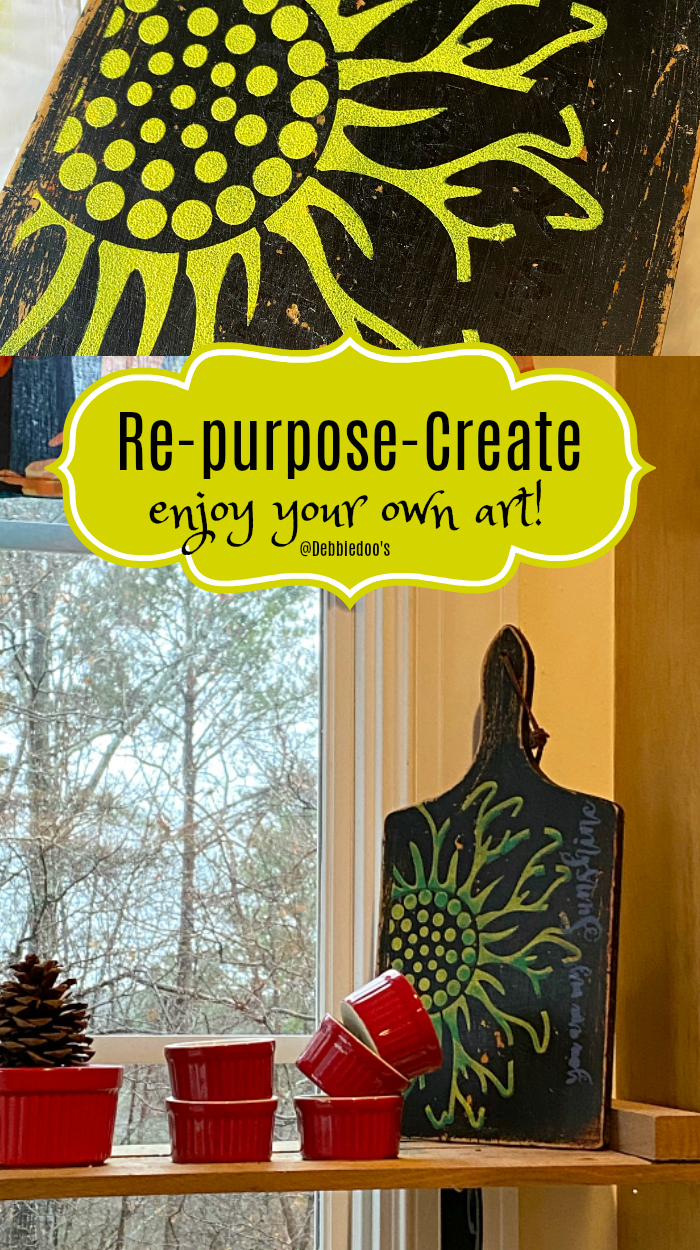
In this article, we walk you through the process of transforming a mini cutting board into a stunning piece of stencil art that you’ll be proud to display in your kitchen.
1. Gather your materials
- Mini cutting board
- Black paint
- Paintbrush
- Colorful acrylic paint
- Stencil design of your choice
- Makeup sponges
- Spray adhesive
- Protective surface (e.g., newspaper, drop cloth)
2. Prepare your workspace
Lay down a protective surface, such as a sheet of newspaper or a drop cloth, to keep your workspace clean and avoid any paint spills.
3. Paint the cutting board
First, paint your mini cutting board with black paint. Apply a thin, even coat and allow it to dry completely. This will create a beautiful contrast with your stencil artwork.
4. Choose your stencil
Select a stencil design that complements your kitchen decor or personal style. You can purchase a premade stencil or create your own by printing a design onto cardstock and cutting it out with a craft knife.
5. Apply spray adhesive
Lightly coat the back of your stencil with spray adhesive. This will help it adhere better to the cutting board and prevent paint from bleeding through the edges.
6. Position and apply the stencil
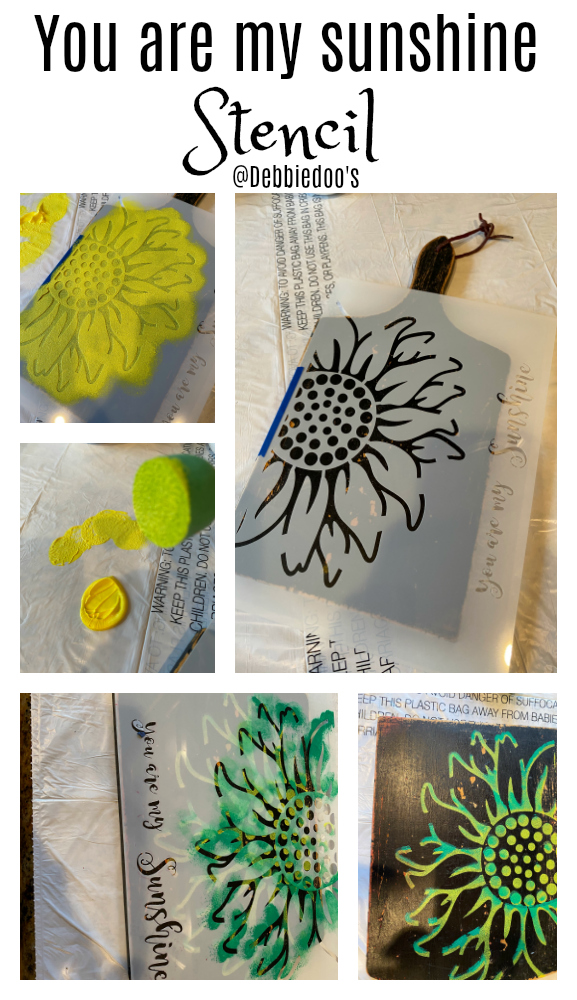
Carefully position the stencil onto your painted cutting board, ensuring it’s straight and centered. Press down firmly to ensure proper adhesion.
Instead of using traditional sponge brushes, opt for makeup sponges. They provide a smoother application and are perfect for stenciling. Dip the sponge into your chosen acrylic paint color, ensuring that it’s not saturated. Less is more when it comes to stenciling, as you want to avoid paint bleed.
7. Apply the paint
Using a dabbing motion, apply the paint over the stencil. Start with a light layer and gradually build up the color to your desired intensity. This technique, known as shadowing, creates a more dynamic and professional-looking stencil artwork.
8. Remove the stencil and let the paint dry
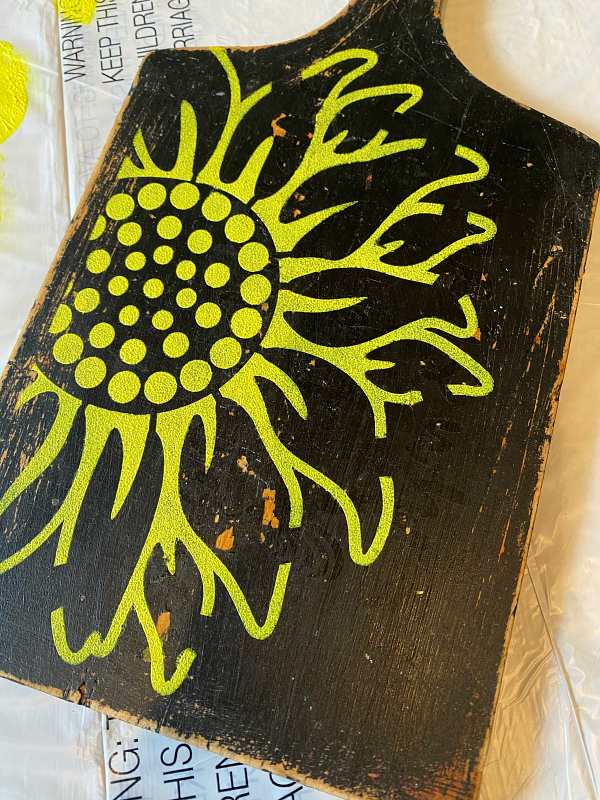
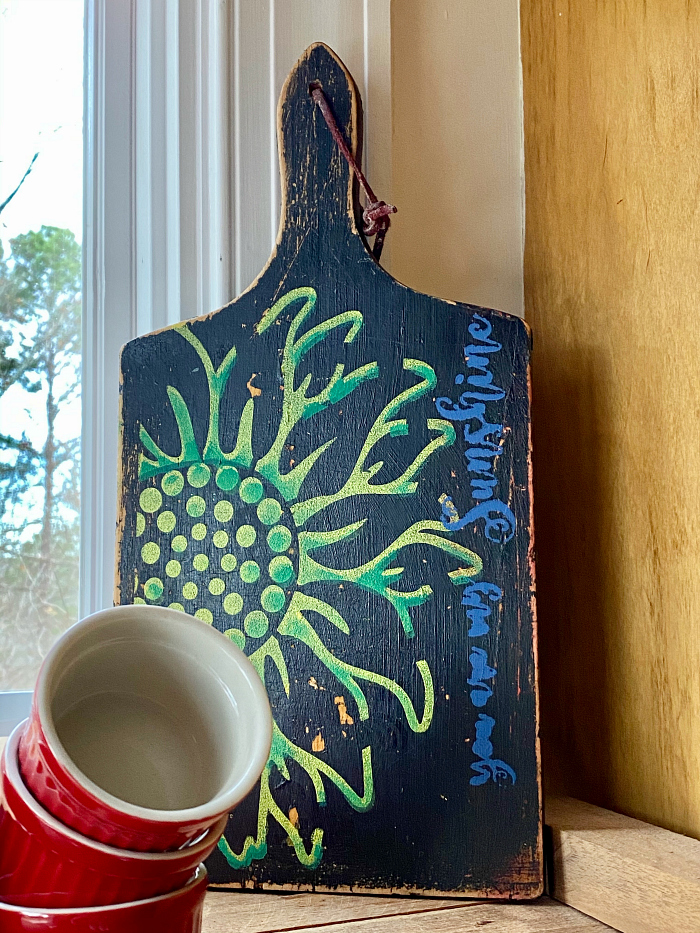
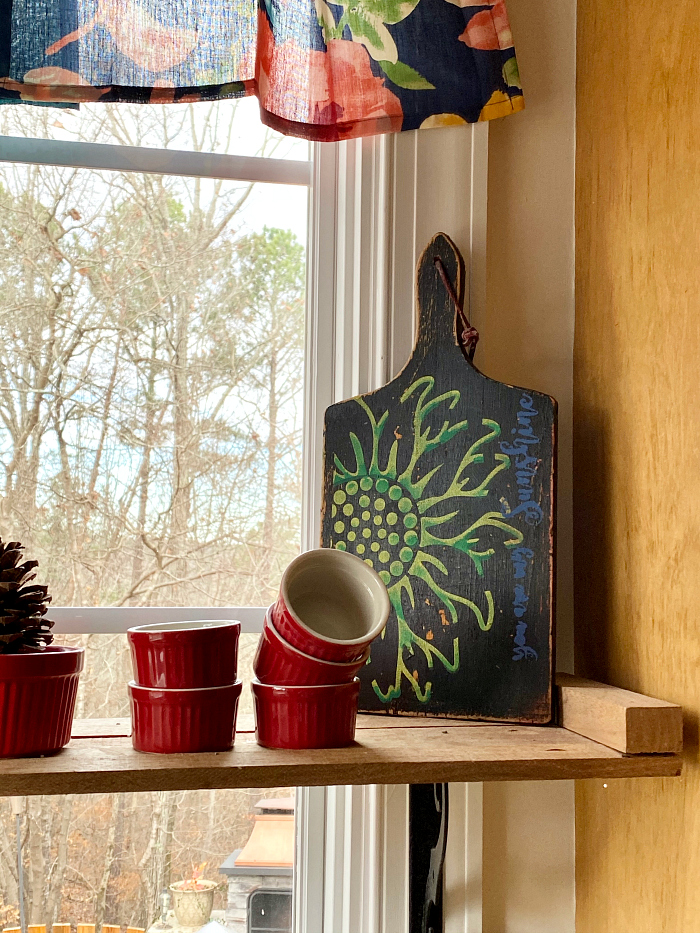
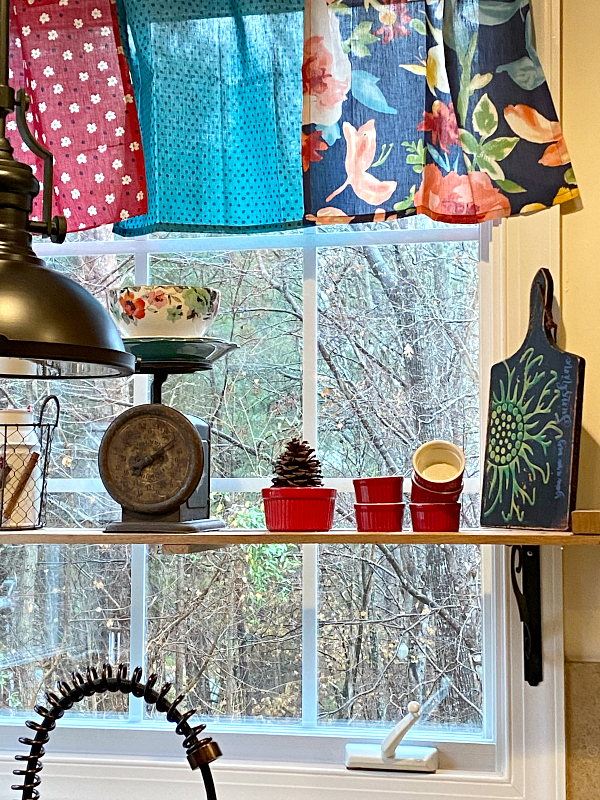
Once you’ve achieved your desired color intensity, carefully remove the stencil by peeling it off the cutting board. Be sure to remove it slowly and gently to avoid smudging the paint.
Allow the paint to dry completely before handling or displaying your cutting board in your kitchen. Simply lean it against a wall, or mount it on a hook for a chic and personalized touch.
Find out how to chalkboard a cutting board.


Love this!!! So cheerful! Love the colors together. You are so talented!!! Thanks for all the great ideas!
Thank you Beverly! This really doesn’t require a whole of talent…but thank you that makes me feel good. Thanks for your visit.
Nice job, Debbie! I would love to learn to stencil well. I’ve only done a little bit of stencilling and am not very good at it. I end up having to re-do a lot. But I have some specific phrases I’d like to stencil on certain things that I haven’t been able to locate to buy. I’d like to learn to make my own stencils but don’t know if I could learn to use a cutting machine, much less afford to buy one. Is that how you make your stencils? What type do you use or recommend?
Hi Naomi, I do not make my own stencils. I used to have my own exclusive line, but gave that up when I started a Pressure Cooking website and business. Now I am over here a lot because I miss crafting. If you look on this page: https://www.debbie-debbiedoos.com/100-stencils-to-use-for-home-decor/ you will find a lot of stencils you can buy on Amazon. Also in this post on the bottom I left the source you can purchase the stencil at as well. Thanks for stopping by. You need to give stenciling a try again.