Hi everyone! I’m Shanna from Restoration Redoux here for my monthly contributors post! Today I am sharing a very old desk turned funky and fun!
Has school started where you live? It began last Thursday for us, and neither myself nor my 16 year old were very excited. My daughter (who goes by “Unnamed Child” in case I embarrass her) loves summer, and so do I. I run a furniture business from home, and it can get a little lonely being here by myself all of the time. So the first few weeks I’m a little blue.
I also paid my kiddo to be my assistant this summer. She needed a job, and I needed cheap labor … so it worked out for the both of us. It’s amazing how much more you can get accomplished when you have an extra set of hands.
Over the summer, we took a trip to DC, I went to Atlanta for a blogging conference, and my mom, the unnamed child and I went and stayed at a Bed and Breakfast/Exotic Animal Farm. You could walk out onto your balcony and have a giraffe looking right at you. You could look down and saw the kangaroo pit. The giraffes used their big purple tongues to take sweet potatoes right out of your hand, and the kangaroos just reached out and grabbed them as you pet them. They had everything there from camels to zebras. We are big animal lovers (you can tell by our three dogs and a cat), and this place was right up our alley.
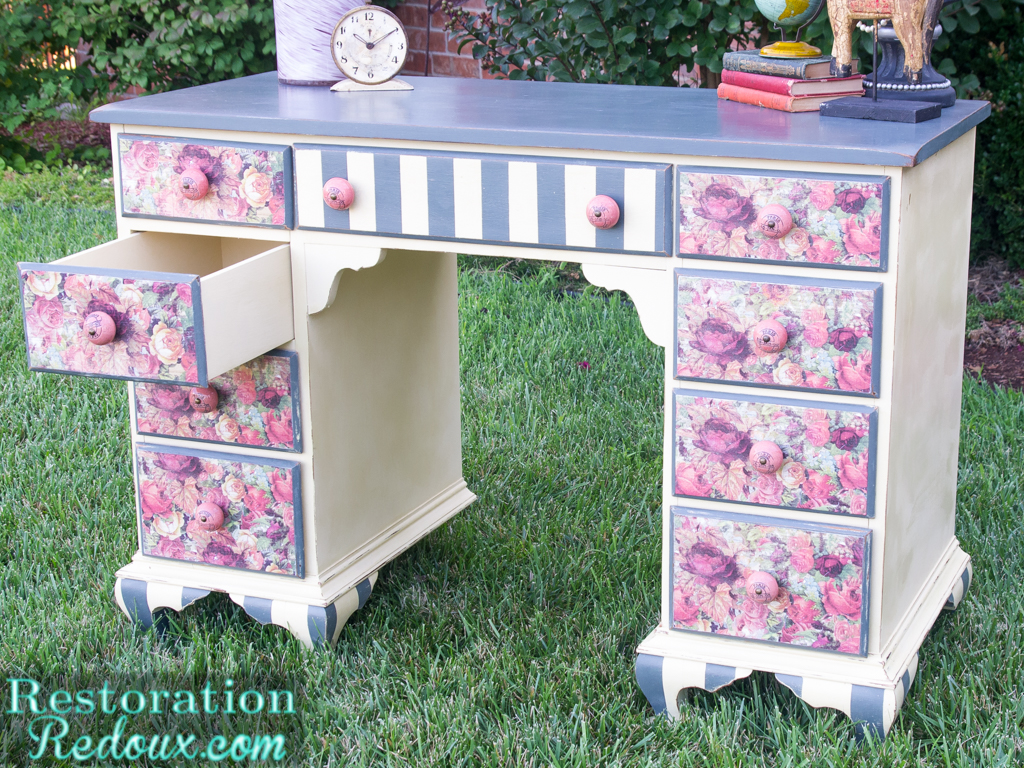
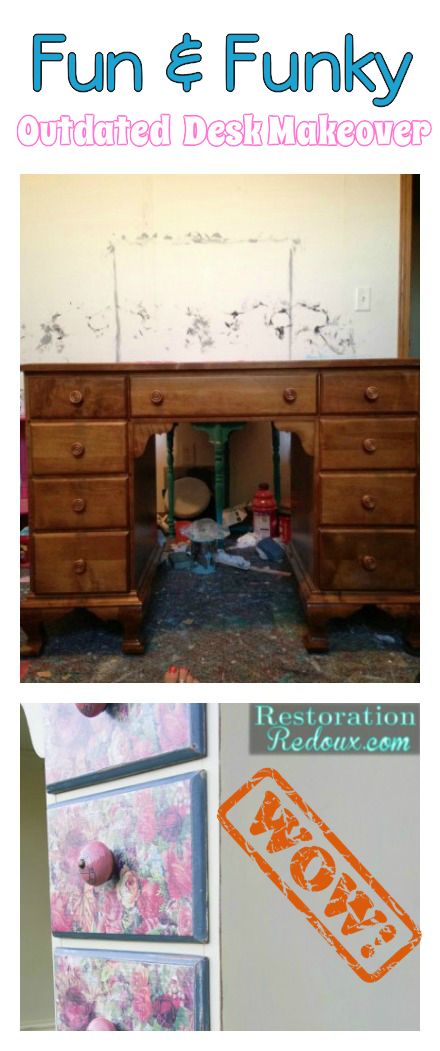
Speaking of alleys, that’s where I got this desk. I found it on Craigslist under the free section. When we went to pick it up, it was in a very sketchy alley.
We quickly grabbed it and got the heck out of there.
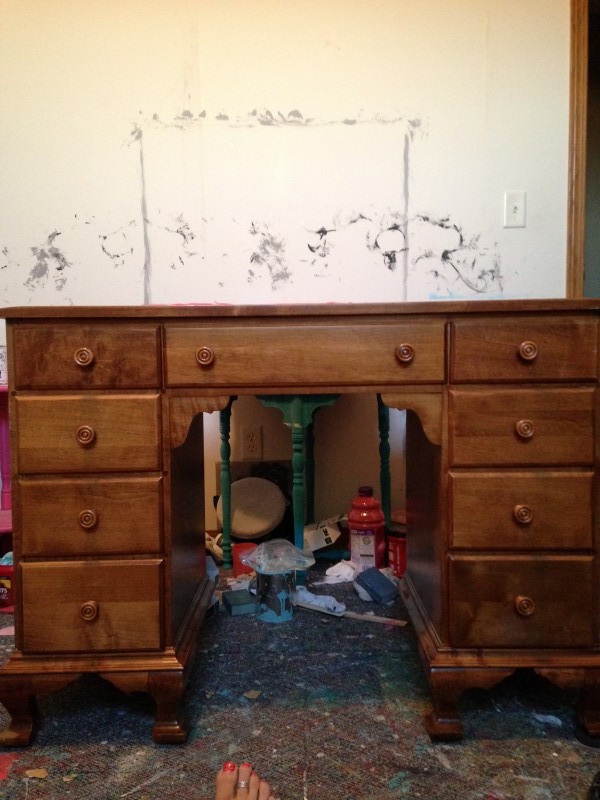
It was pretty scratched up and dirty, but it had good bones. I cleaned it up, removed the knobs, and got to work.
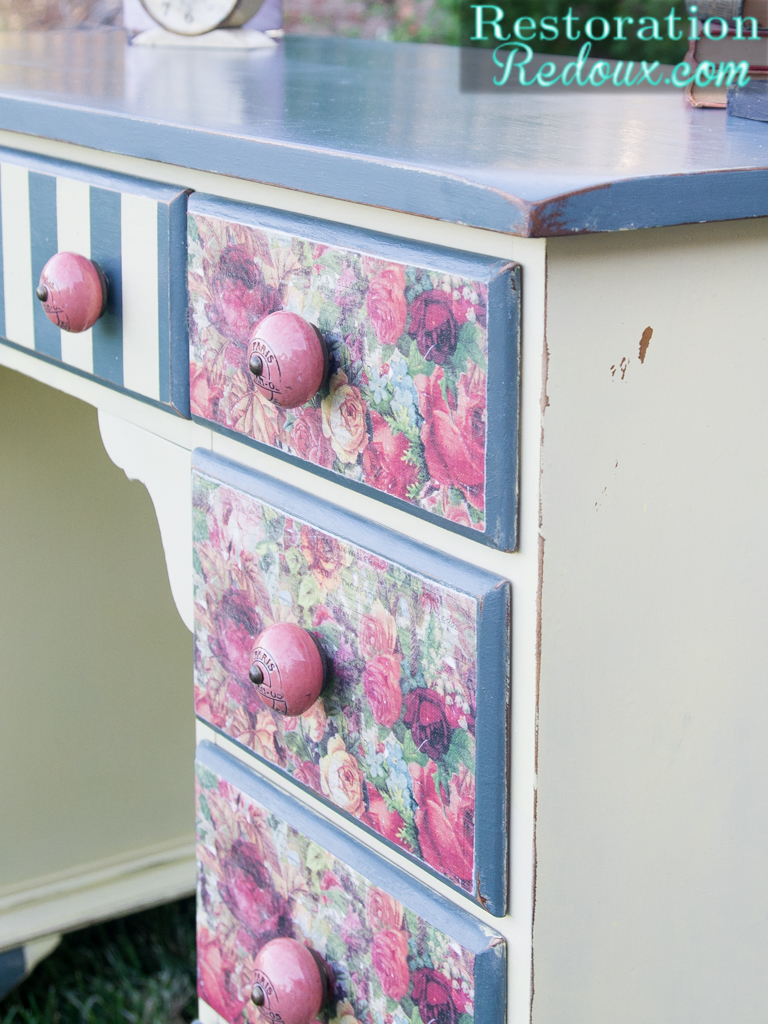
First, I painted on two coats of Plaster Paint in Sweet Cream that I added a bit of Marigold too.
I used Frog Tape to tape off stripes on the legs and on the longest drawer.
Next I painted the top and drawers with Plaster Paint in Flannel.
Then I traced out the drawer fronts on some pieces of scrapbook paper. I cut them out, and then painted the drawer fronts with Mod Podge. I laid the scrapbook paper on the drawer and rubbed a credit card across it to press out any air bubbles.
I then used an exacto knife to trim off the extra paper.
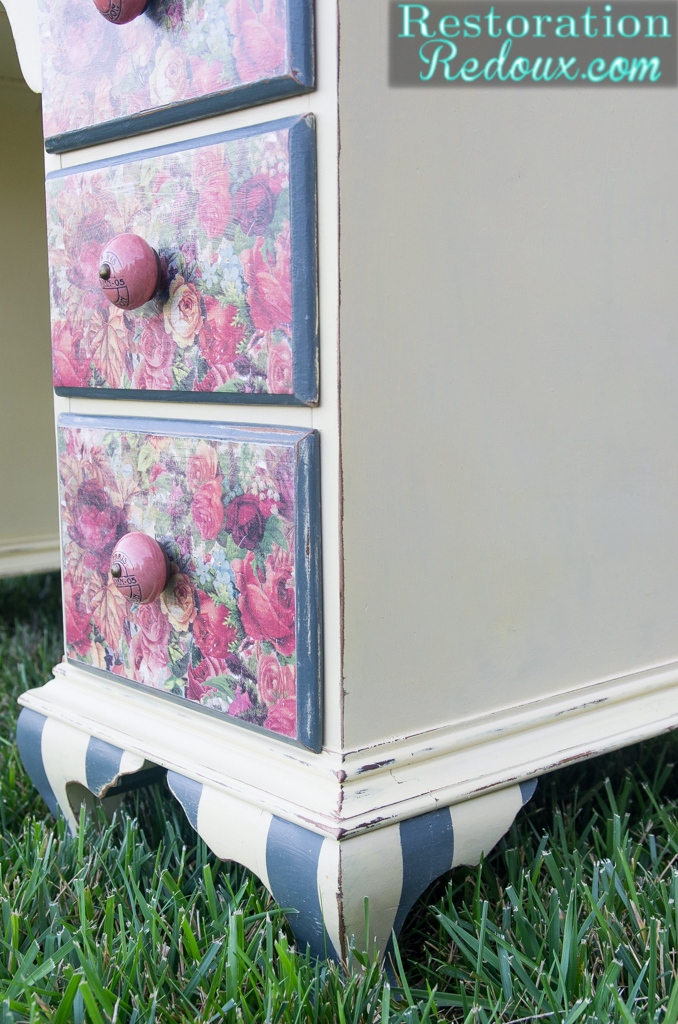
I let that dry for an hour and came back and layered on two more coats of Mod Podge across the top of the paper to protect it.
I then distressed the entire desk and drawers with a medium grit sanding block.
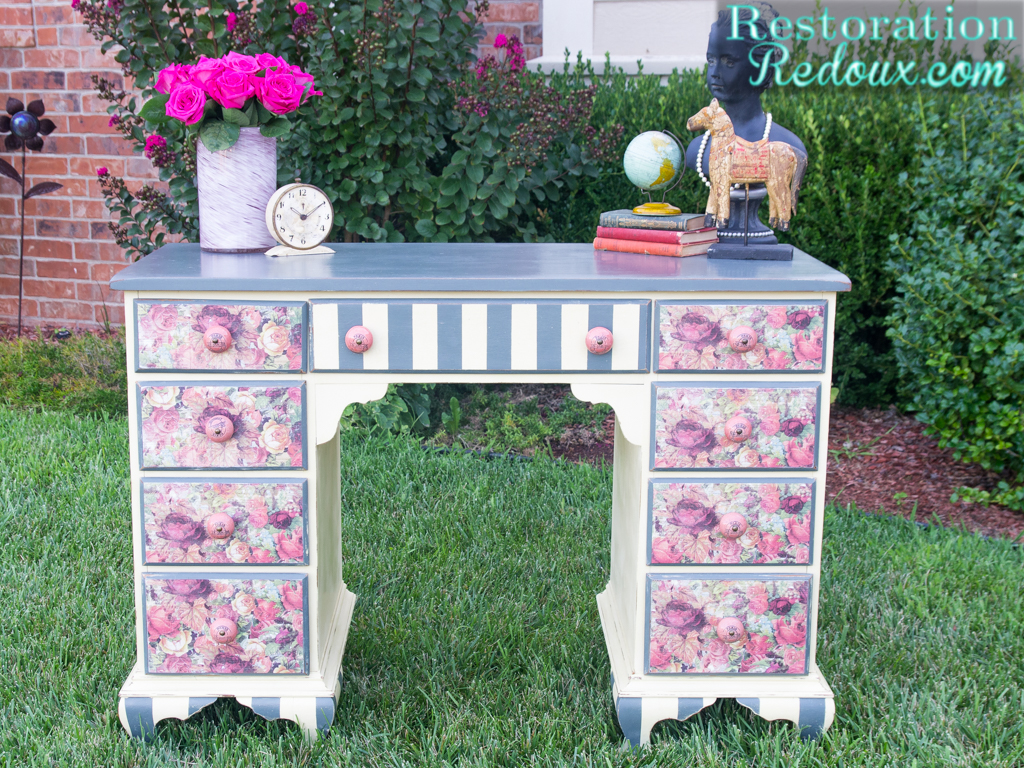
Next I coated the whole piece in clear wax and buffed it off with a clean cloth.
I replaced the original knobs with some new cute ones I found.
You can check out my All things Craft Gallery here for more awesome diy ideas.


Do you find frog tape to be better than blue painters tape? I tried to make stripes and the blue tape took the paint underneath with it. Very annoyed. Nice look on yours.
Thanks Eileen! When I paint stripes I have always had better luck with Frog Tape. Here’s a little tip with Frog Tape. After you apply it go over the edges with a damp cloth. Frog Tape has a coating on it that is activated when it gets wet and that helps seal it and keep it from letting paint bleed in. If I don’t wet it down with water I go over it again with paint. Example: If you drawer is ivory and you are going to paint on grey stripes. I would apply my tape and then paint over the tape with another coat of ivory, let that dry and then paint on the grey. The moisture is the key to keeping it sealed.
Fun, Funky and Fabulous. Love it.
Kris
Thank you Kris!
Debbie this is super cute, love the drawer fronts. I have to remember the credit card method. I love Mod Podge but truth be told I have problems with air bubbles and wrinkles. It may be because if my nails too, LOL. Been getting them done since 22 and it is the one thing I enjoy that I can’t give up.
Cindy
wow just wow just by looking the before and after photo I am really amazed, great skills and creativity