
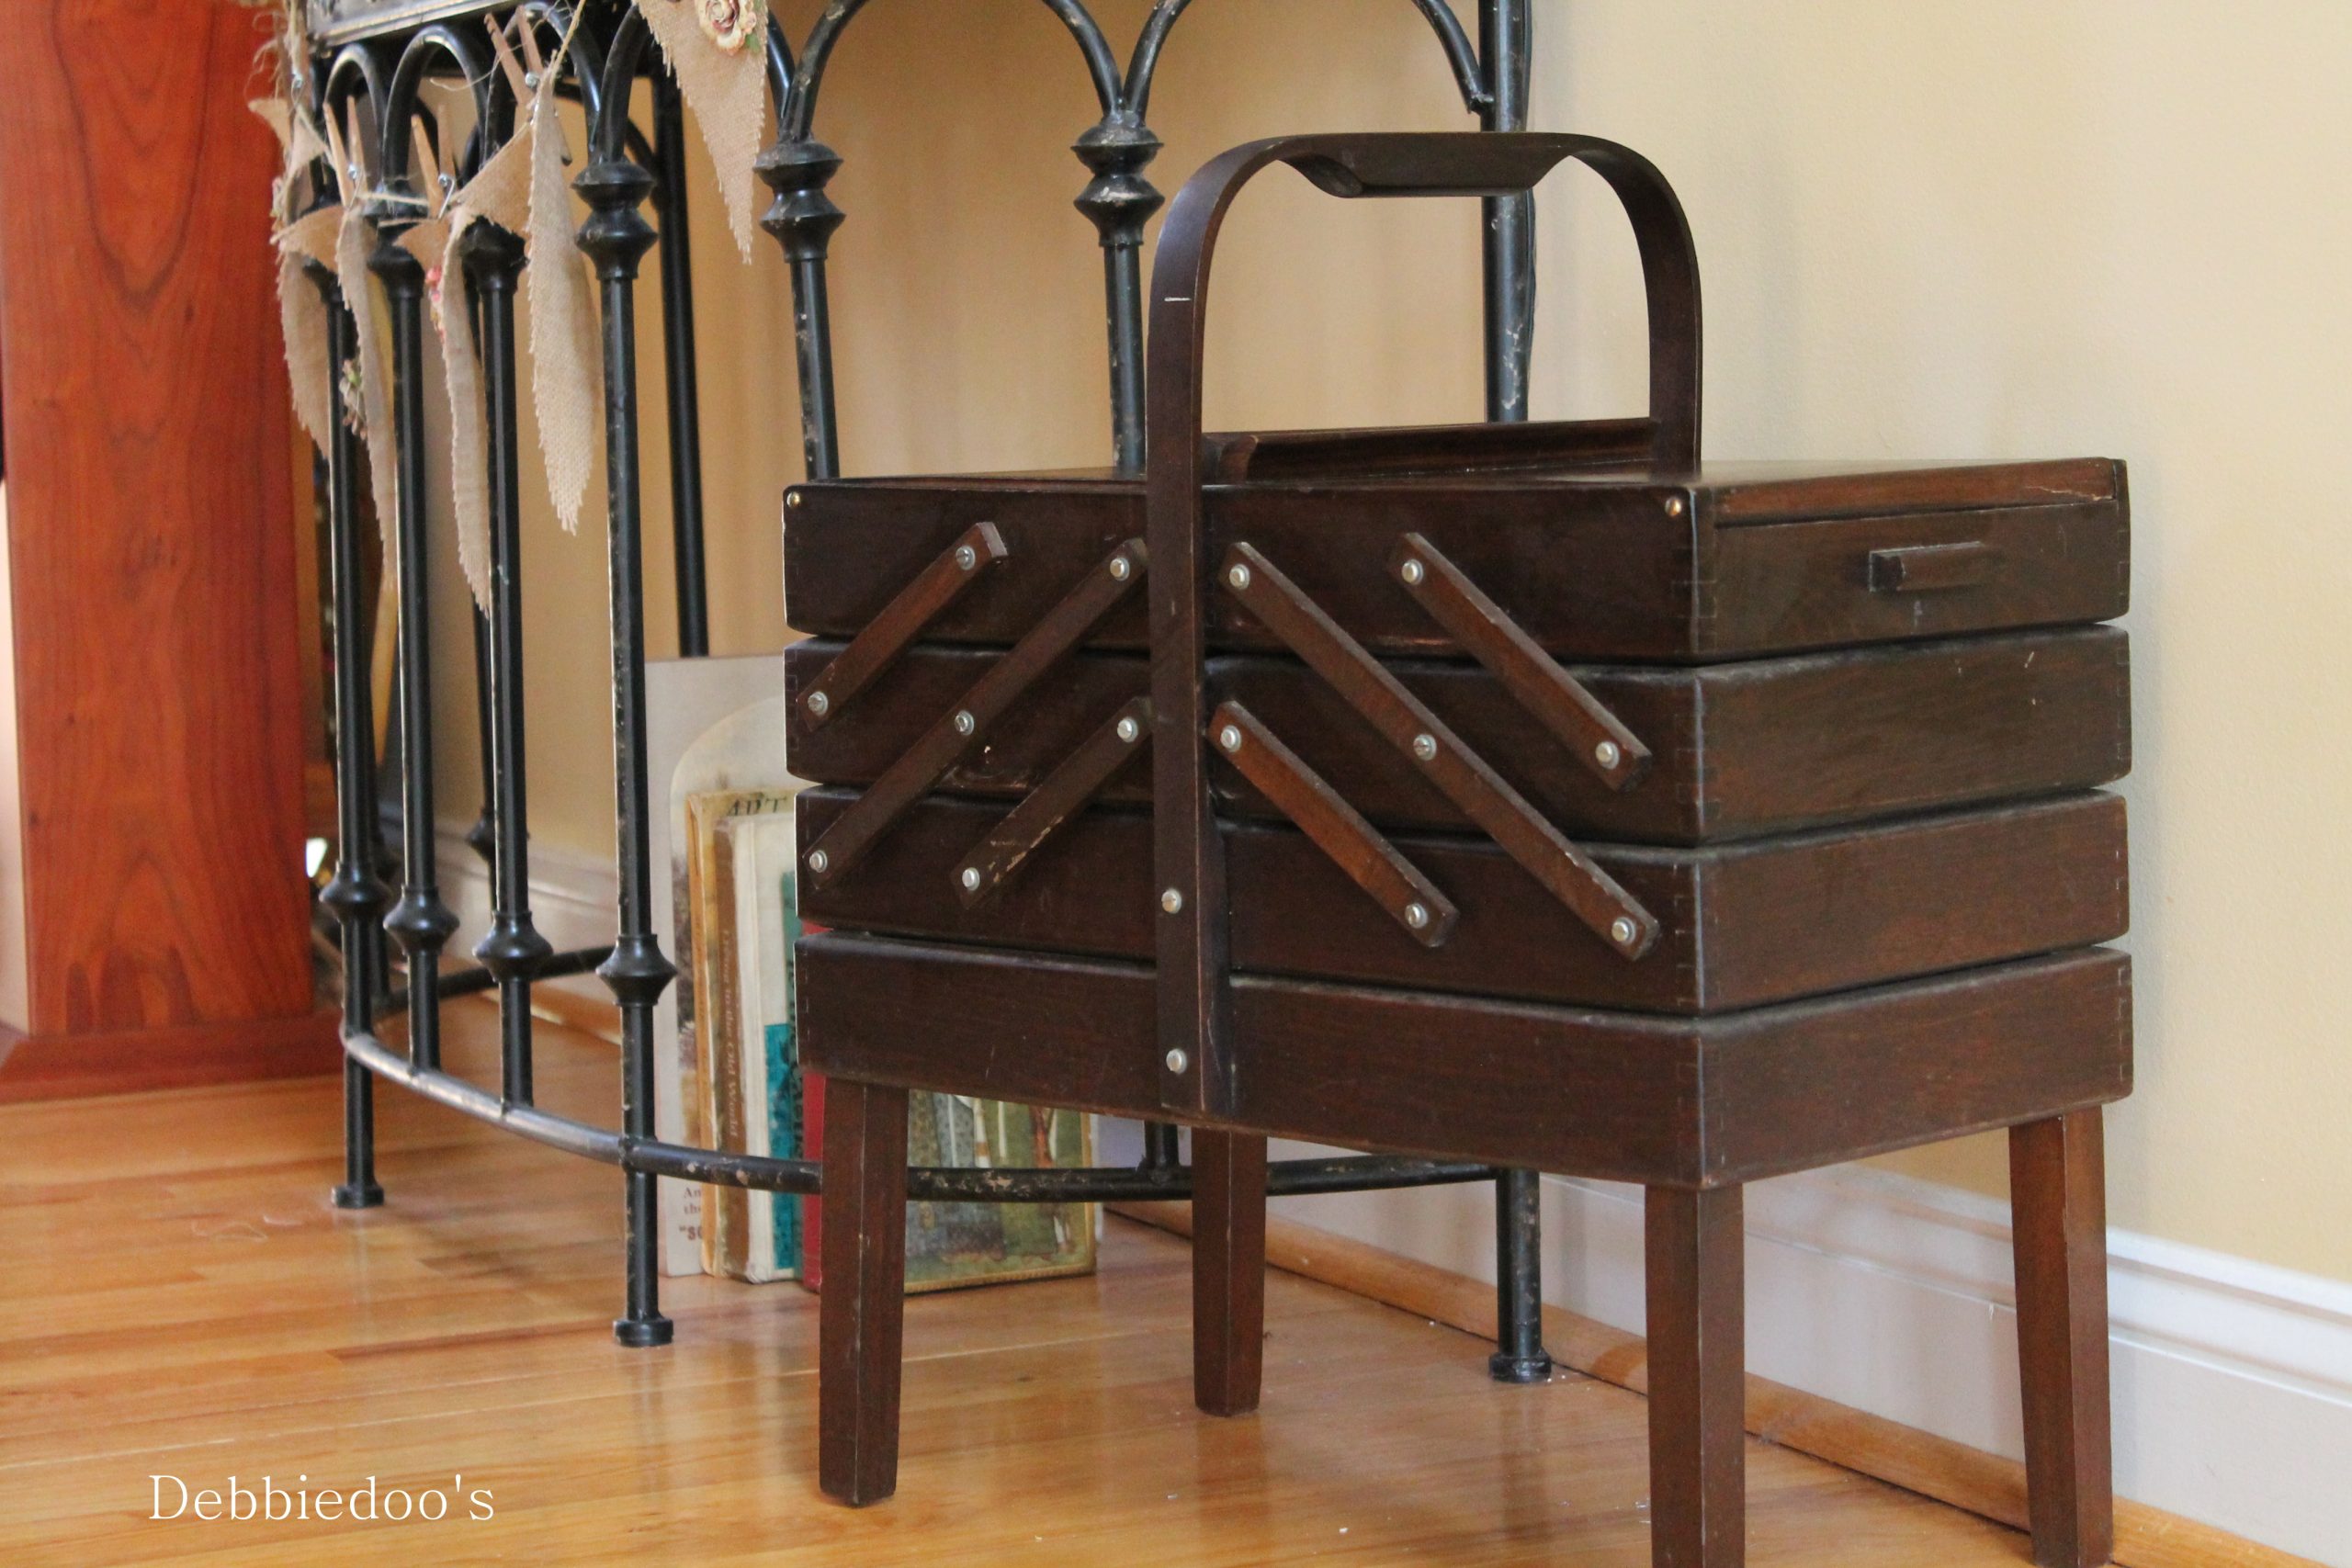
Jewelry organizers are not only practical for keeping your precious trinkets safe and tidy, but they can also serve as beautiful decorative pieces. If you are a fan of vintage style and love the idea of repurposing everyday items, this DIY jewelry organizer is perfect for you. Inspired by a vintage sewing basket, this craft project will transform an old can into a charming jewelry holder that is both functional and stylish.
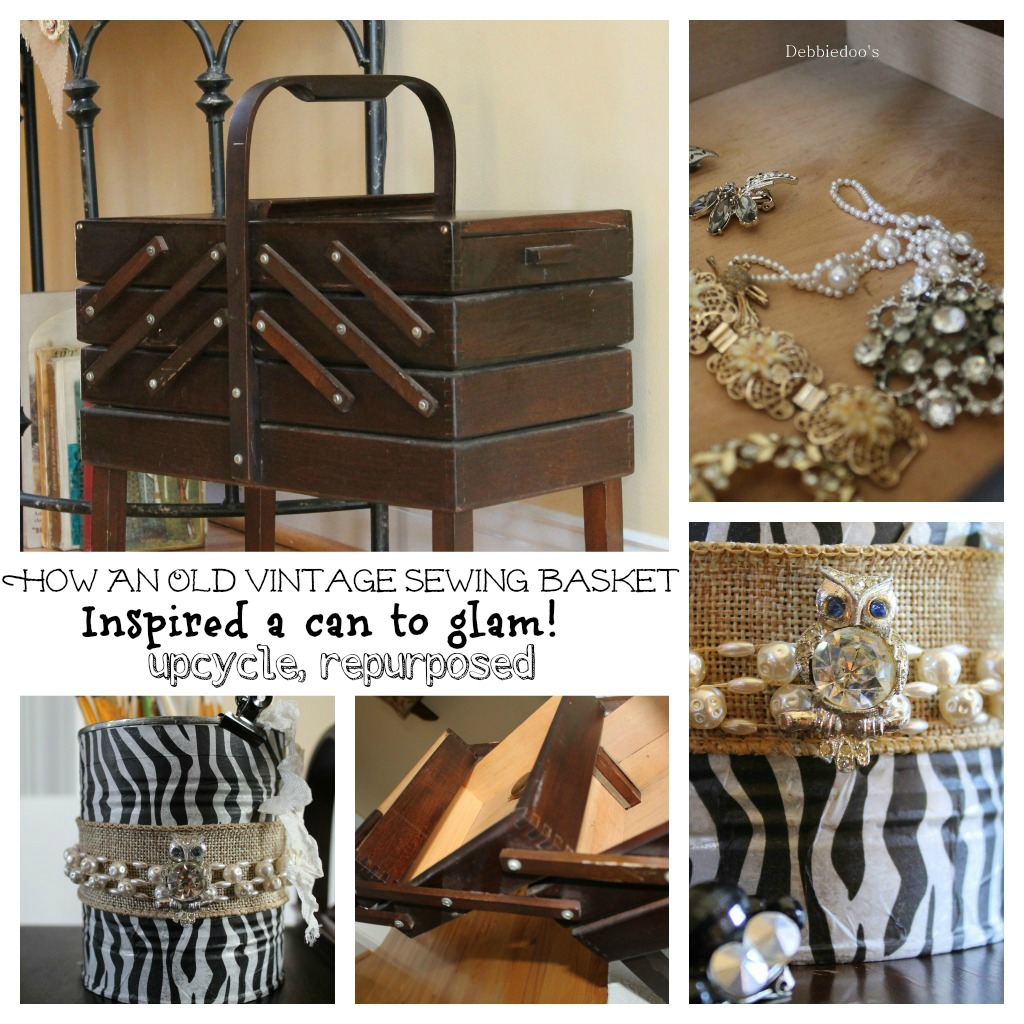
Read on to discover the exact steps for building your own DIY jewelry organizer: gathering your materials, getting prepared, decorating the can, adding burlap details, and embellishing with vintage jewelry.
1. Gather your materials
- Mod Podge
- Dollar Tree tissue paper
- An old can (such as a coffee can or large soup can)
- Vintage jewelry pieces
- Burlap
- E6000 or a hot glue gun
2. Get prepared
Before you begin, make sure the old can is clean and dry, removing any labels and residue. Gather all your materials and set up your work area on a flat surface that is easy to clean, such as a craft table or kitchen counter.
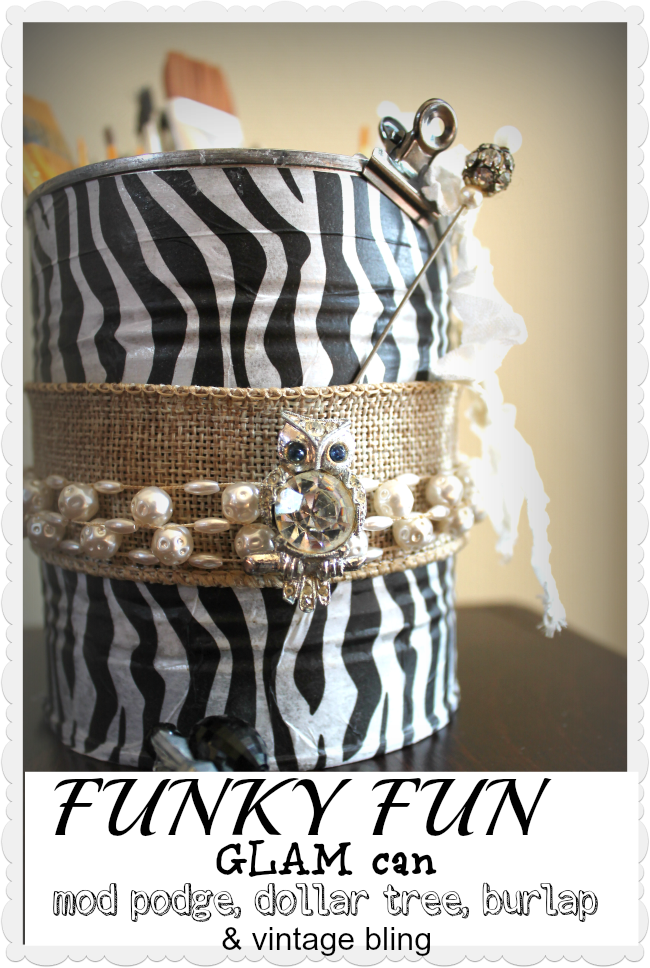
3. Decorate the can
Start by measuring and cutting the tissue paper to fit your can. Wrap the tissue paper around the can for an accurate measurement, then cut it to size. Next, apply a thin layer of Mod Podge to the can, and carefully wrap the tissue paper around it, smoothing out any wrinkles or bubbles as you go. Once the tissue paper is in place, seal it with another thin layer of Mod Podge, making sure to cover the entire surface. Allow the can to dry completely.
4. Add burlap details
To add a rustic touch, measure and cut a strip of burlap to wrap around the can. Decide on the width of the burlap strip and measure the circumference of the can before cutting. Apply Mod Podge to the backside of the burlap strip, then wrap it around the can, pressing firmly to ensure it sticks. Allow the burlap to dry completely before moving on to the next step.
5. Embellish with vintage jewelry
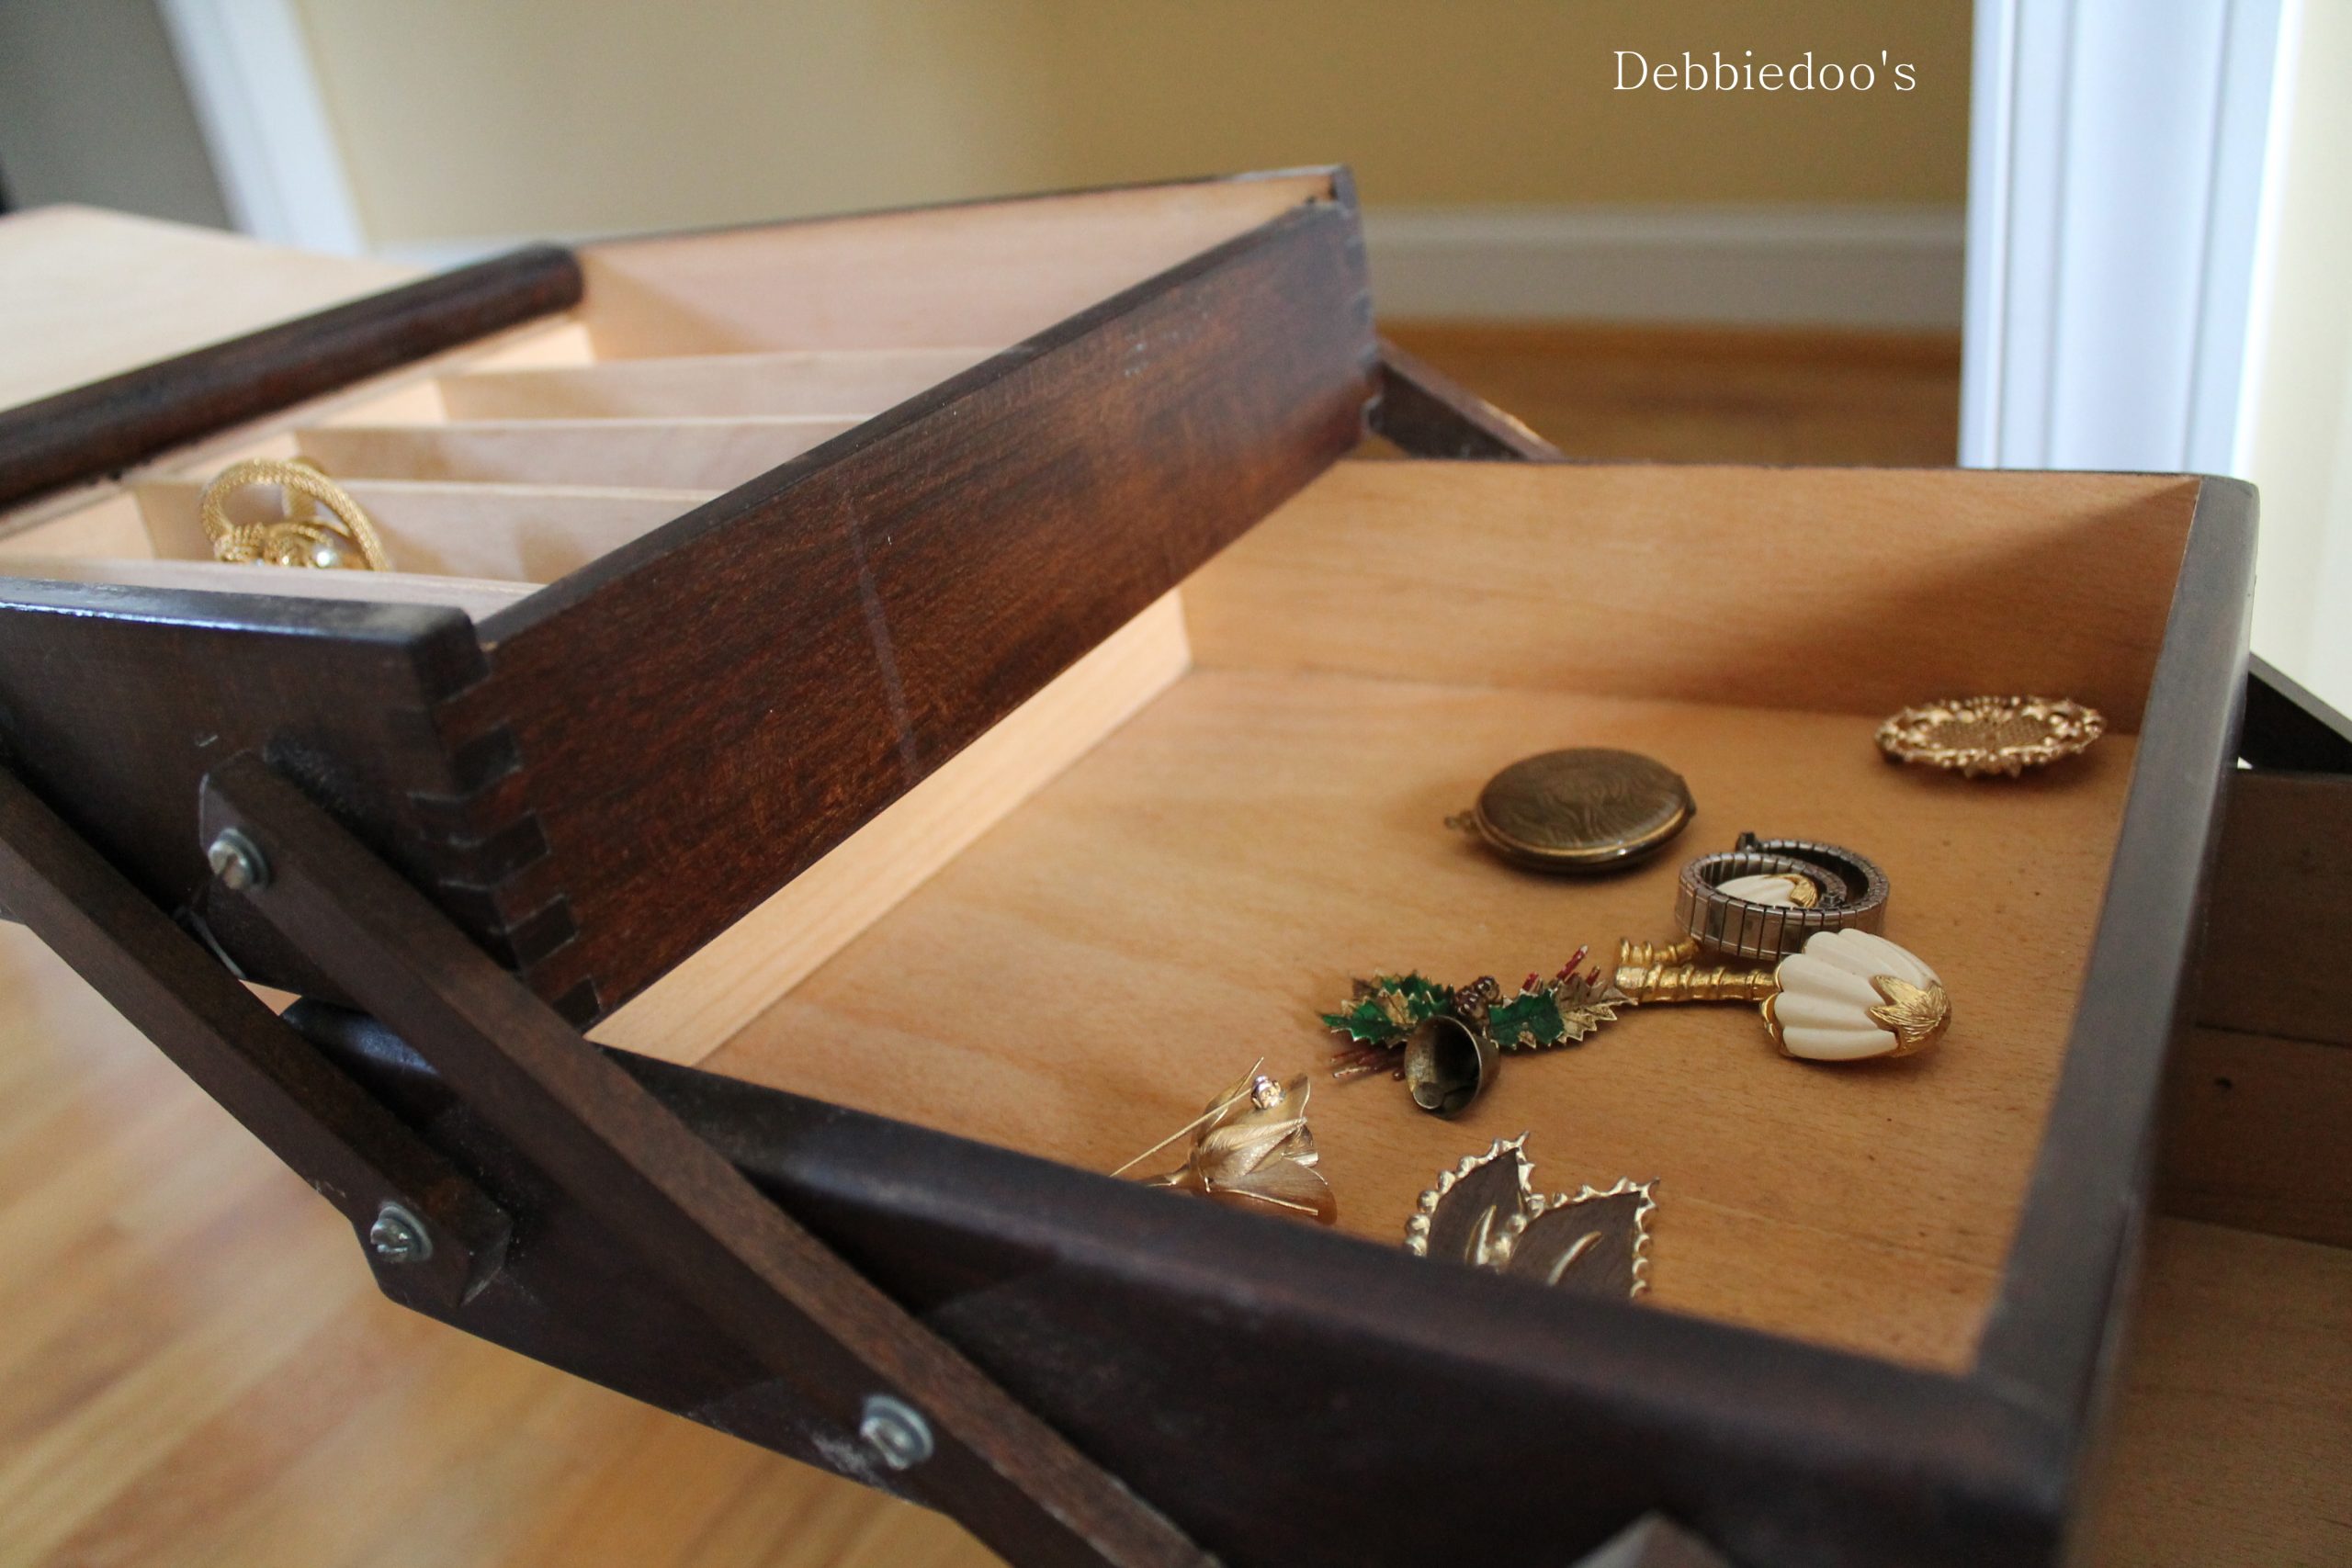
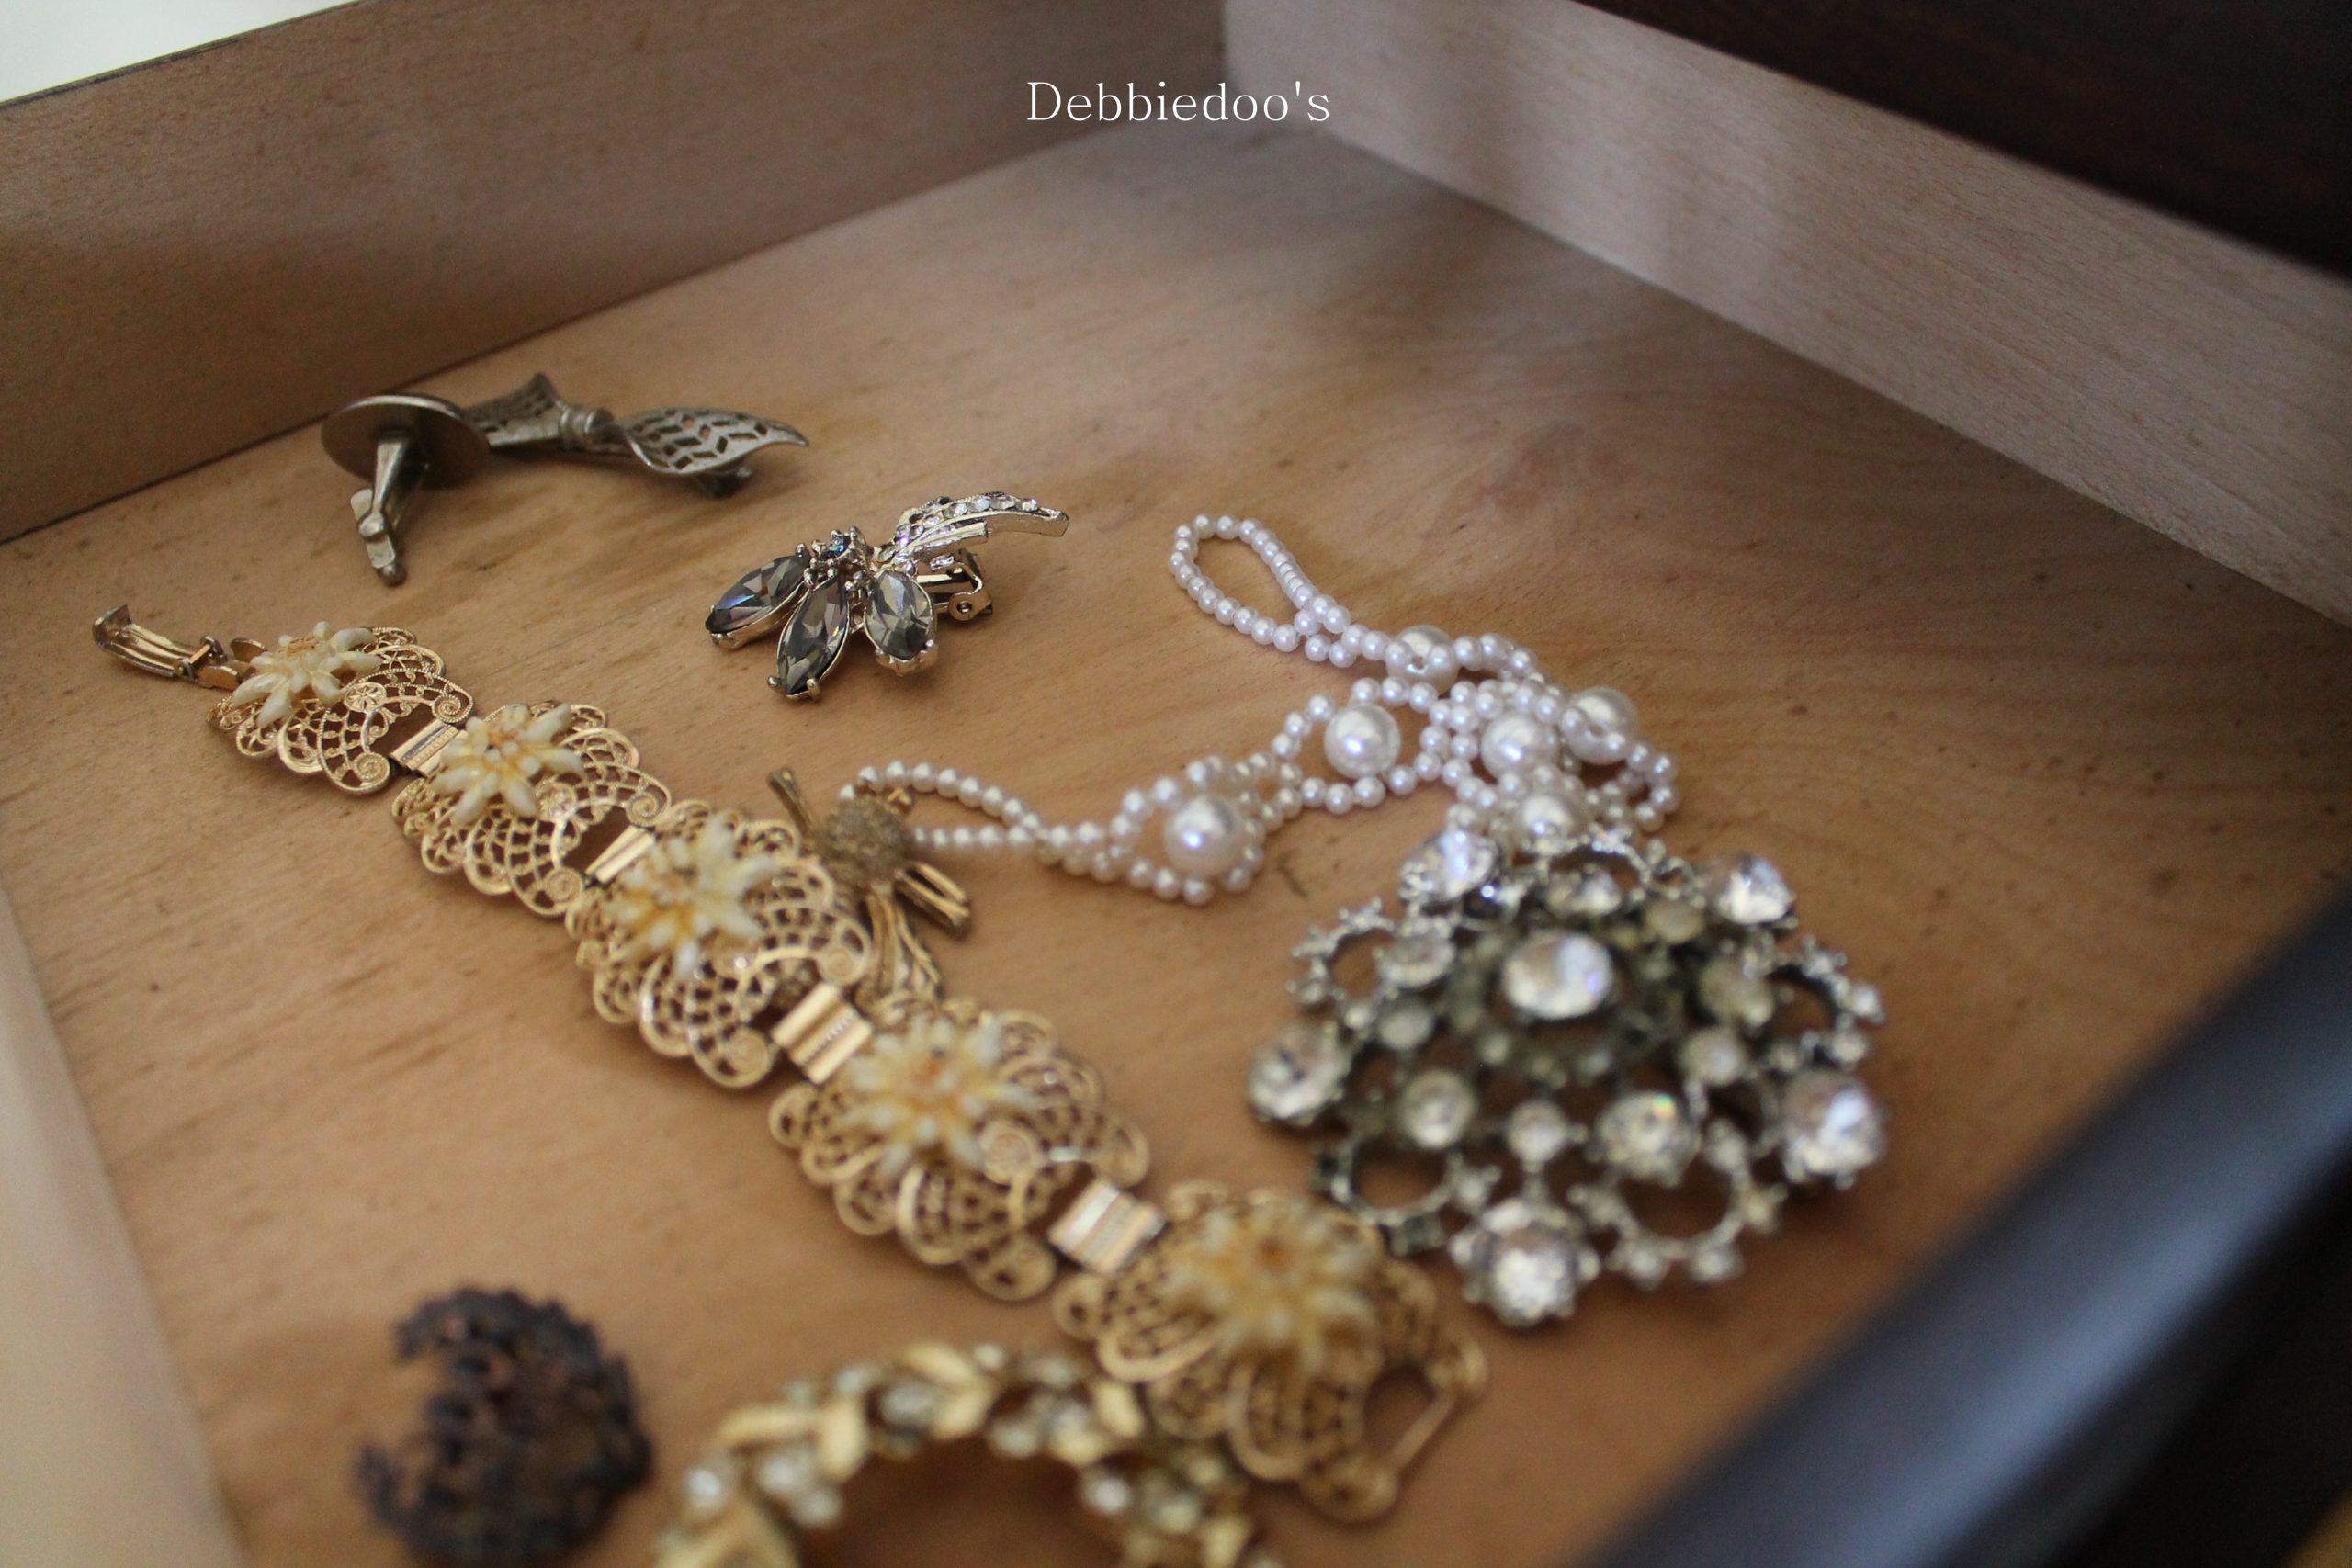
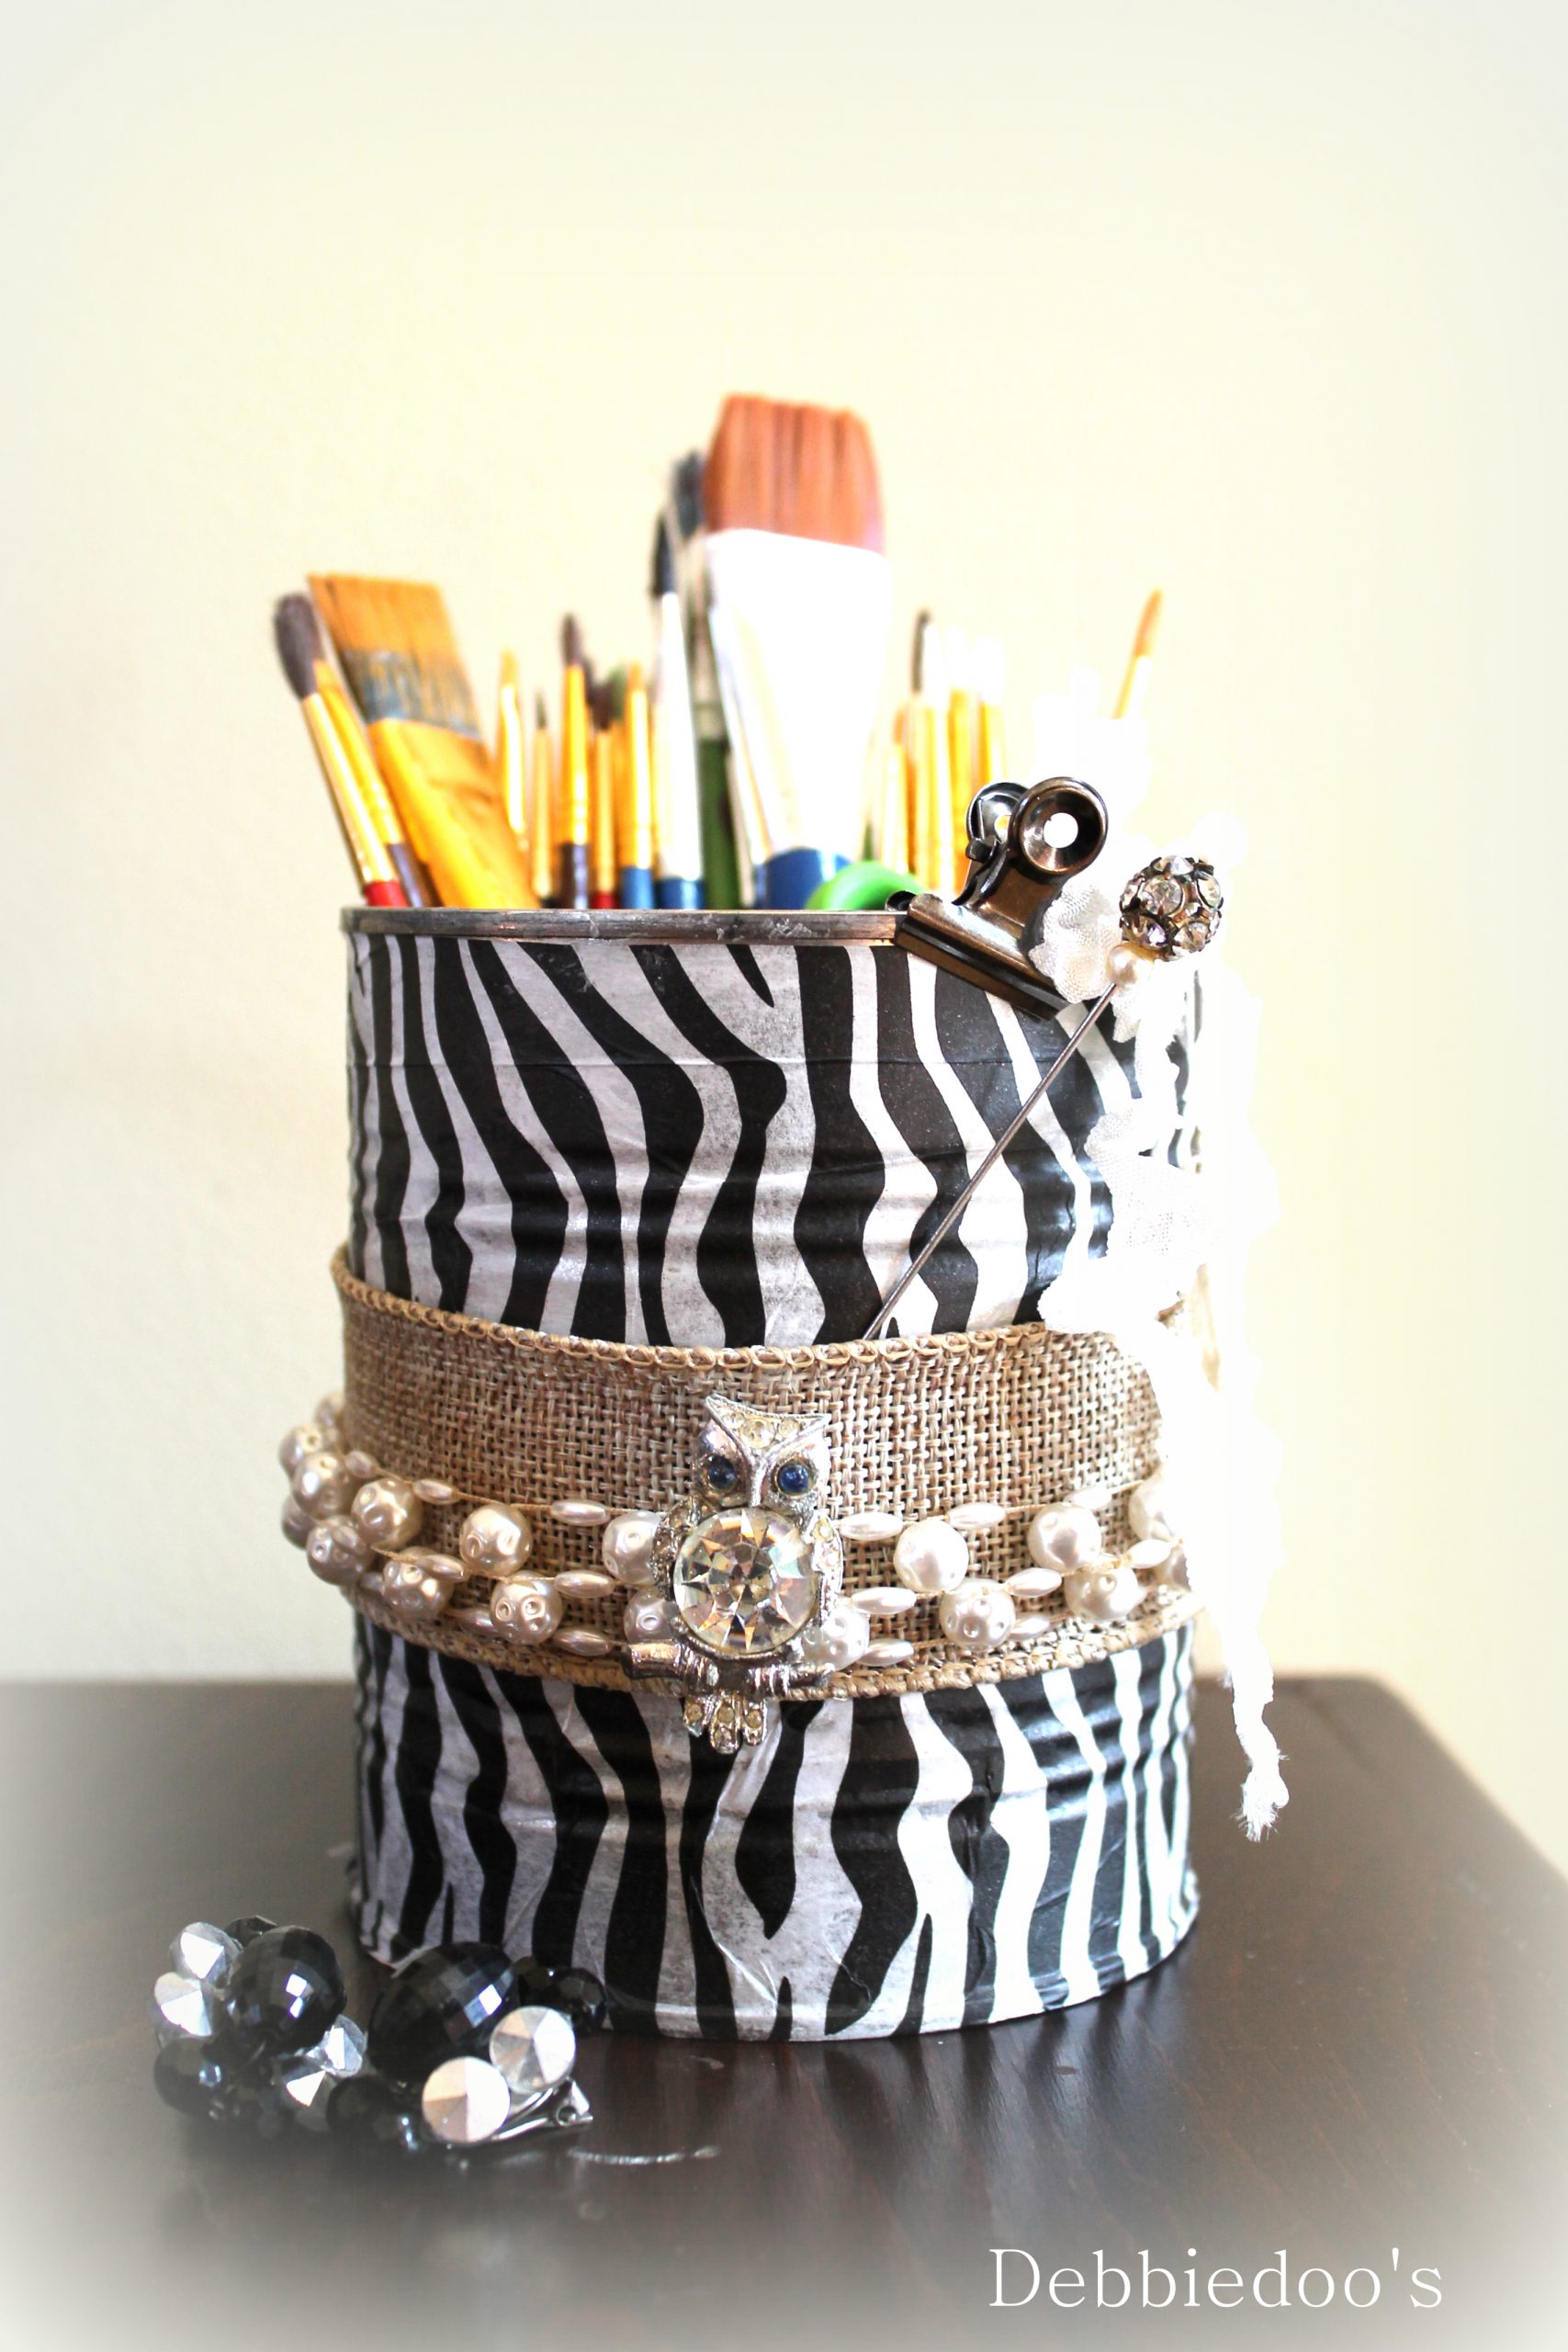
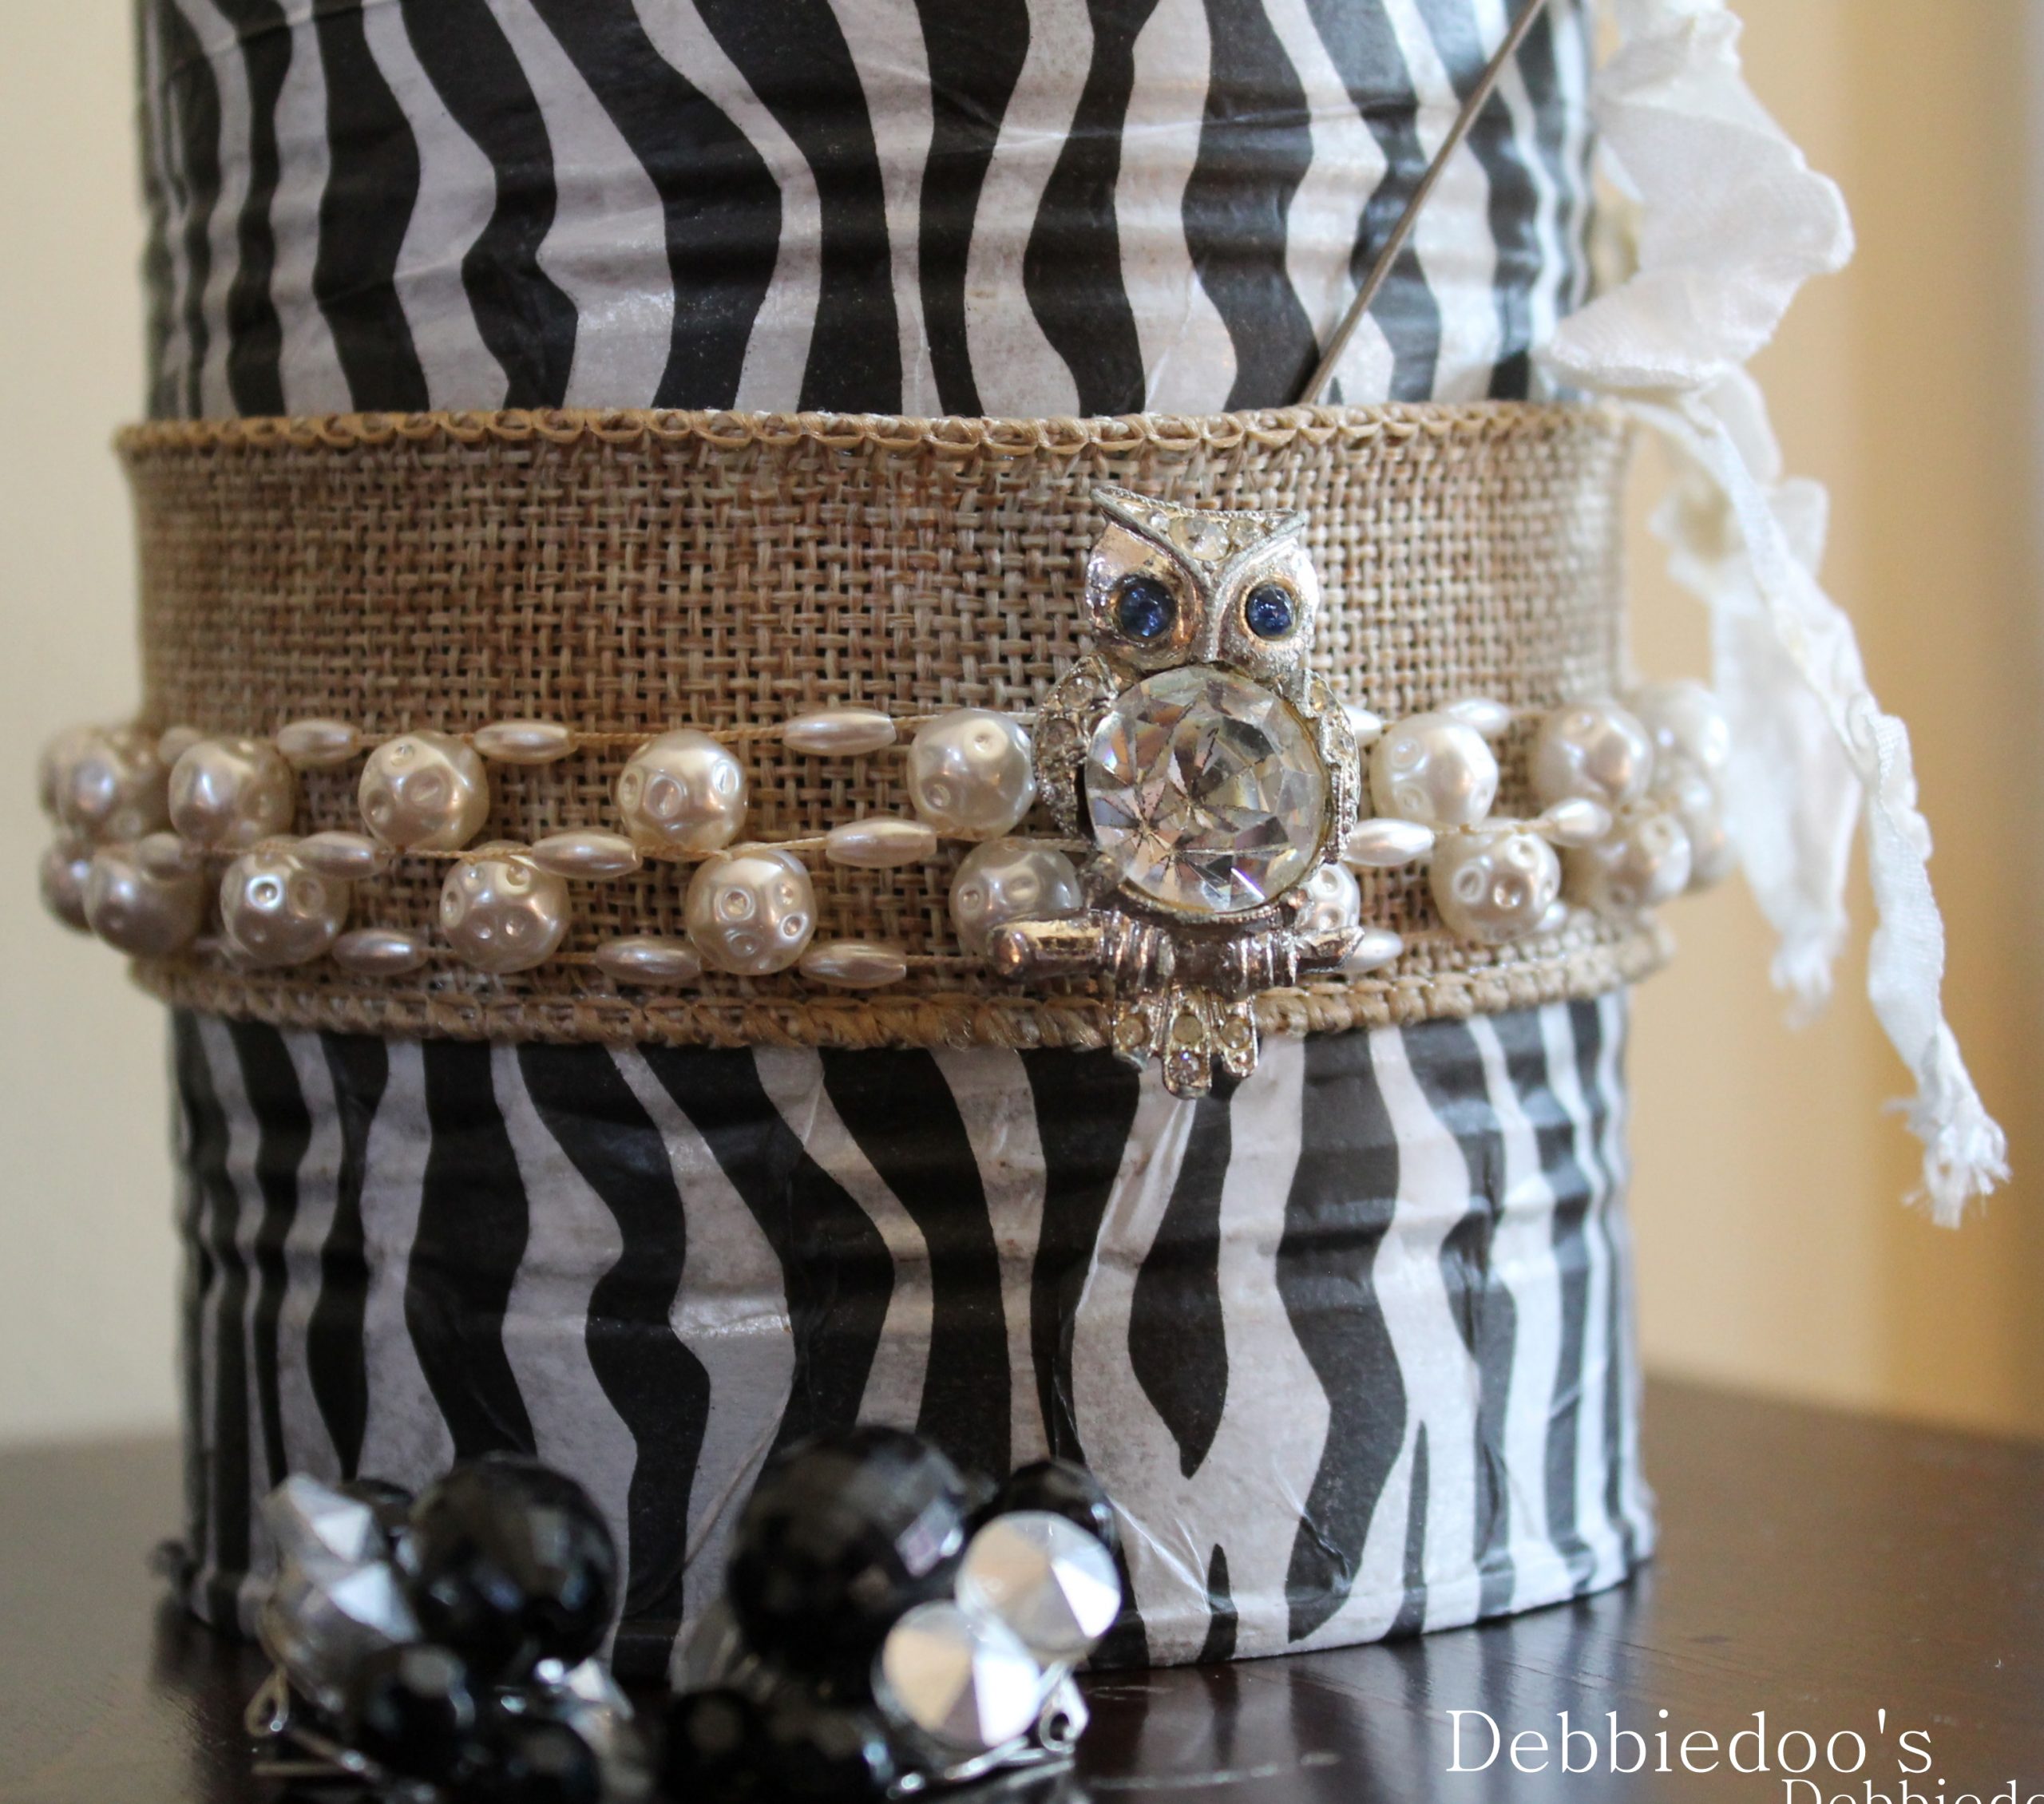
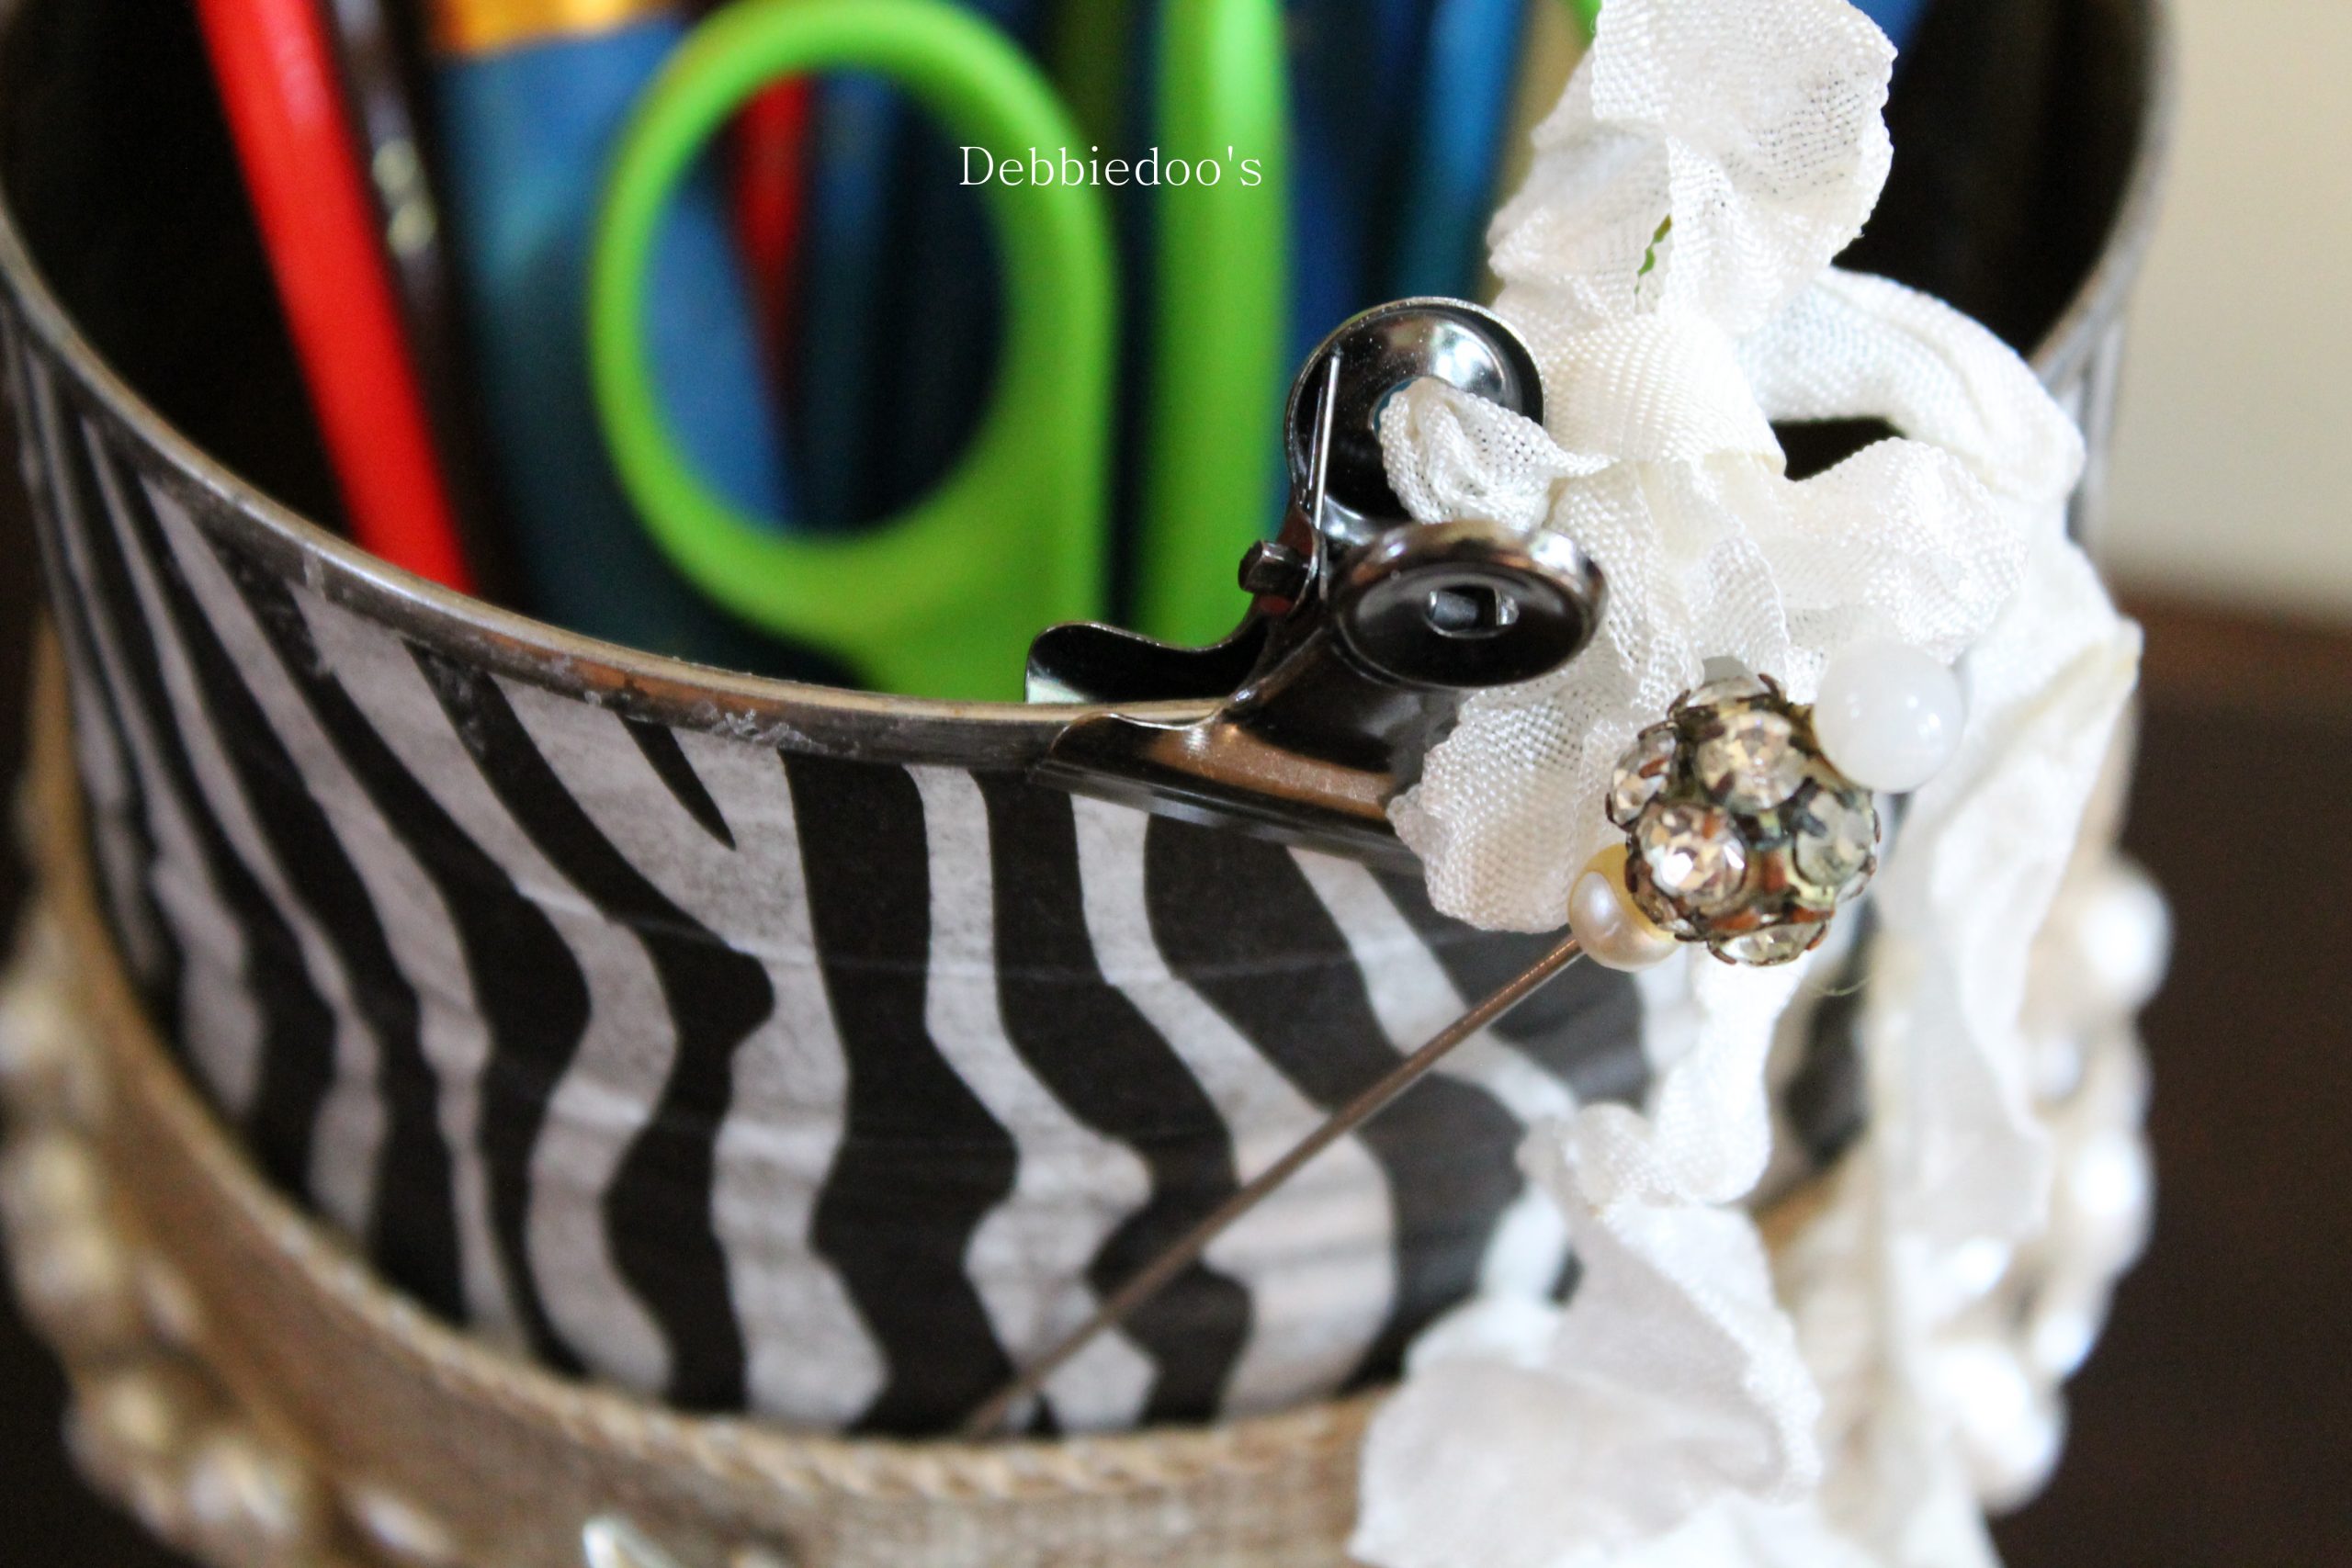
Now it’s time to add some vintage flair with jewelry pieces. Choose pieces that complement the design of your organizer and ensure they are clean and in good condition. Using a strong adhesive, such as E6000 or a hot glue gun, apply a small amount to the back of each jewelry piece. Press the jewelry onto the can and hold it in place until secure. Allow the adhesive to dry completely before handling your new organizer.
Check out more recycled can ideas.
Wow- a great gift! You MUST be the favorite Daughter in Law!
I’m the only one LOL:)
I love the can! What a great idea! Have a good evening.
OMG that is so cute!! Mackenzie would love that in her room, think I’ll have to try and make one!
This IS a great gift!! Wow! Love the can. I need to organize my craft space (AGAIN) too!
Oh that’s so pretty! I love the owl pin & the fact that it was your husband’s grandmother’s pin makes it even better. You’re so good with mod podge & tissue…I tend to make a mess of it! lol
Just love this Debbie – great great idea!
Now I’m going to have to add another obsession to my already overly long list- blogging is getting dangerous for me lol
XOX
Very cute, and the vintage jewels are to die for. I simply adore them. Great way to be able to admire the gems and also keep your things tidy:)
Very pretty, Debbie! What a nice father-in-law to think of you that way. The jewelry is a real bonus. I love how you used it to glam up the can. I’m always looking for some blingy costume pieces at our Goodwill, but they never seem to have any. Hopefully, once yard sale season starts, I’ll find some to keep on hand for projects.
What a cute can! I never knew you could disguise a can so well. I love all the bling you added to it.
Oh wow, it’s so sweet! I love the way you glammed the can…and what a treasure you have in the sewing box loaded with surprises.
Debbie 🙂
What a great project! Love the inspiration!! The owl pin is too cute!!! You are one lucky lady when you father in law comes to visit. That sewing basket is so cool!!
Oh my gosh, Debbie! I love “glam the can”! What a sassy can indeed! So nice to have some of your Mom’s costume jewelry! Organized and a little bling… sounds like 2013 is off to a great start!
Love the can, but those treasures are awesome!
Debbie
I don’t think my dollar tree has that cute tissure paper, but I am goint to go take a look. Great can re-do and wonderful gift of the sewing box. My daughter just got an identical one from her mother in law.
Now you’re talkin’…a little bit of glam always perks me up!
Love your glam can! Pinning, and I cannot wait for the party on the 17th woot woot 🙂
xoxo, Tanya
I always love your glam cans, but this is the best! I used to have one of those sewing cabinets and wish I still did. You’ll have lots of fun the the vintage jewelry too. You’ve inspired me to start saving some cans too. Great project Debbie. Peggy
Debbie – thanks for the organization inspiration! The vintage jewelry is sweet – i like how you mix up animal print w/sparkly finds w/a touch of burlap… Maybe i will stretch myself & go wild on a can project. Be blessed – e
Oh so awesome.. What a sweet gift along with the goodies inside!
Cute as can be!! I remember those sewing cabinets ~ what a delightful gift. He is really, really good to you my friend.
xo
Pat
Rawr! So cute. I totally missed this one. LOVE the zebra. Animal prints are so fun :)))
Yes, but what will you do with the old sewing box? I have one i need to upcycle, and i am fresh out of ideas…..
I just upcycled mine, here it is http://www.debbie-debbiedoos.com/2013/08/family-heirlooms-to-change-or-not-to-change-them.html