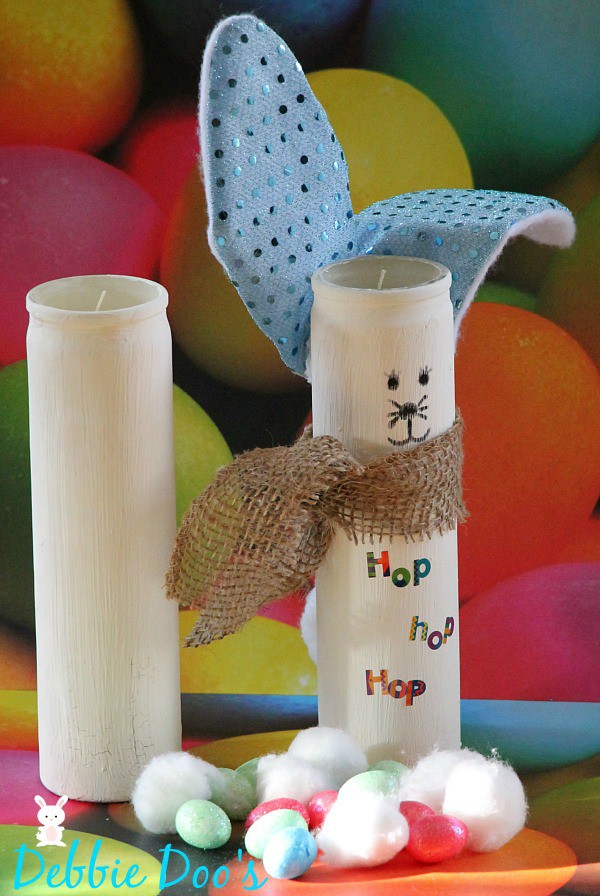
Embrace the spirit of the renewal season by crafting a delightful DIY Easter candle in the shape of an adorable bunny. This whimsical creation adds a charming touch to your holiday decor and makes a thoughtful gift for friends and family. In this guide, we’ll take you on a creative journey, detailing each step required to transform an ordinary pillar candle into an endearing Easter bunny candle.
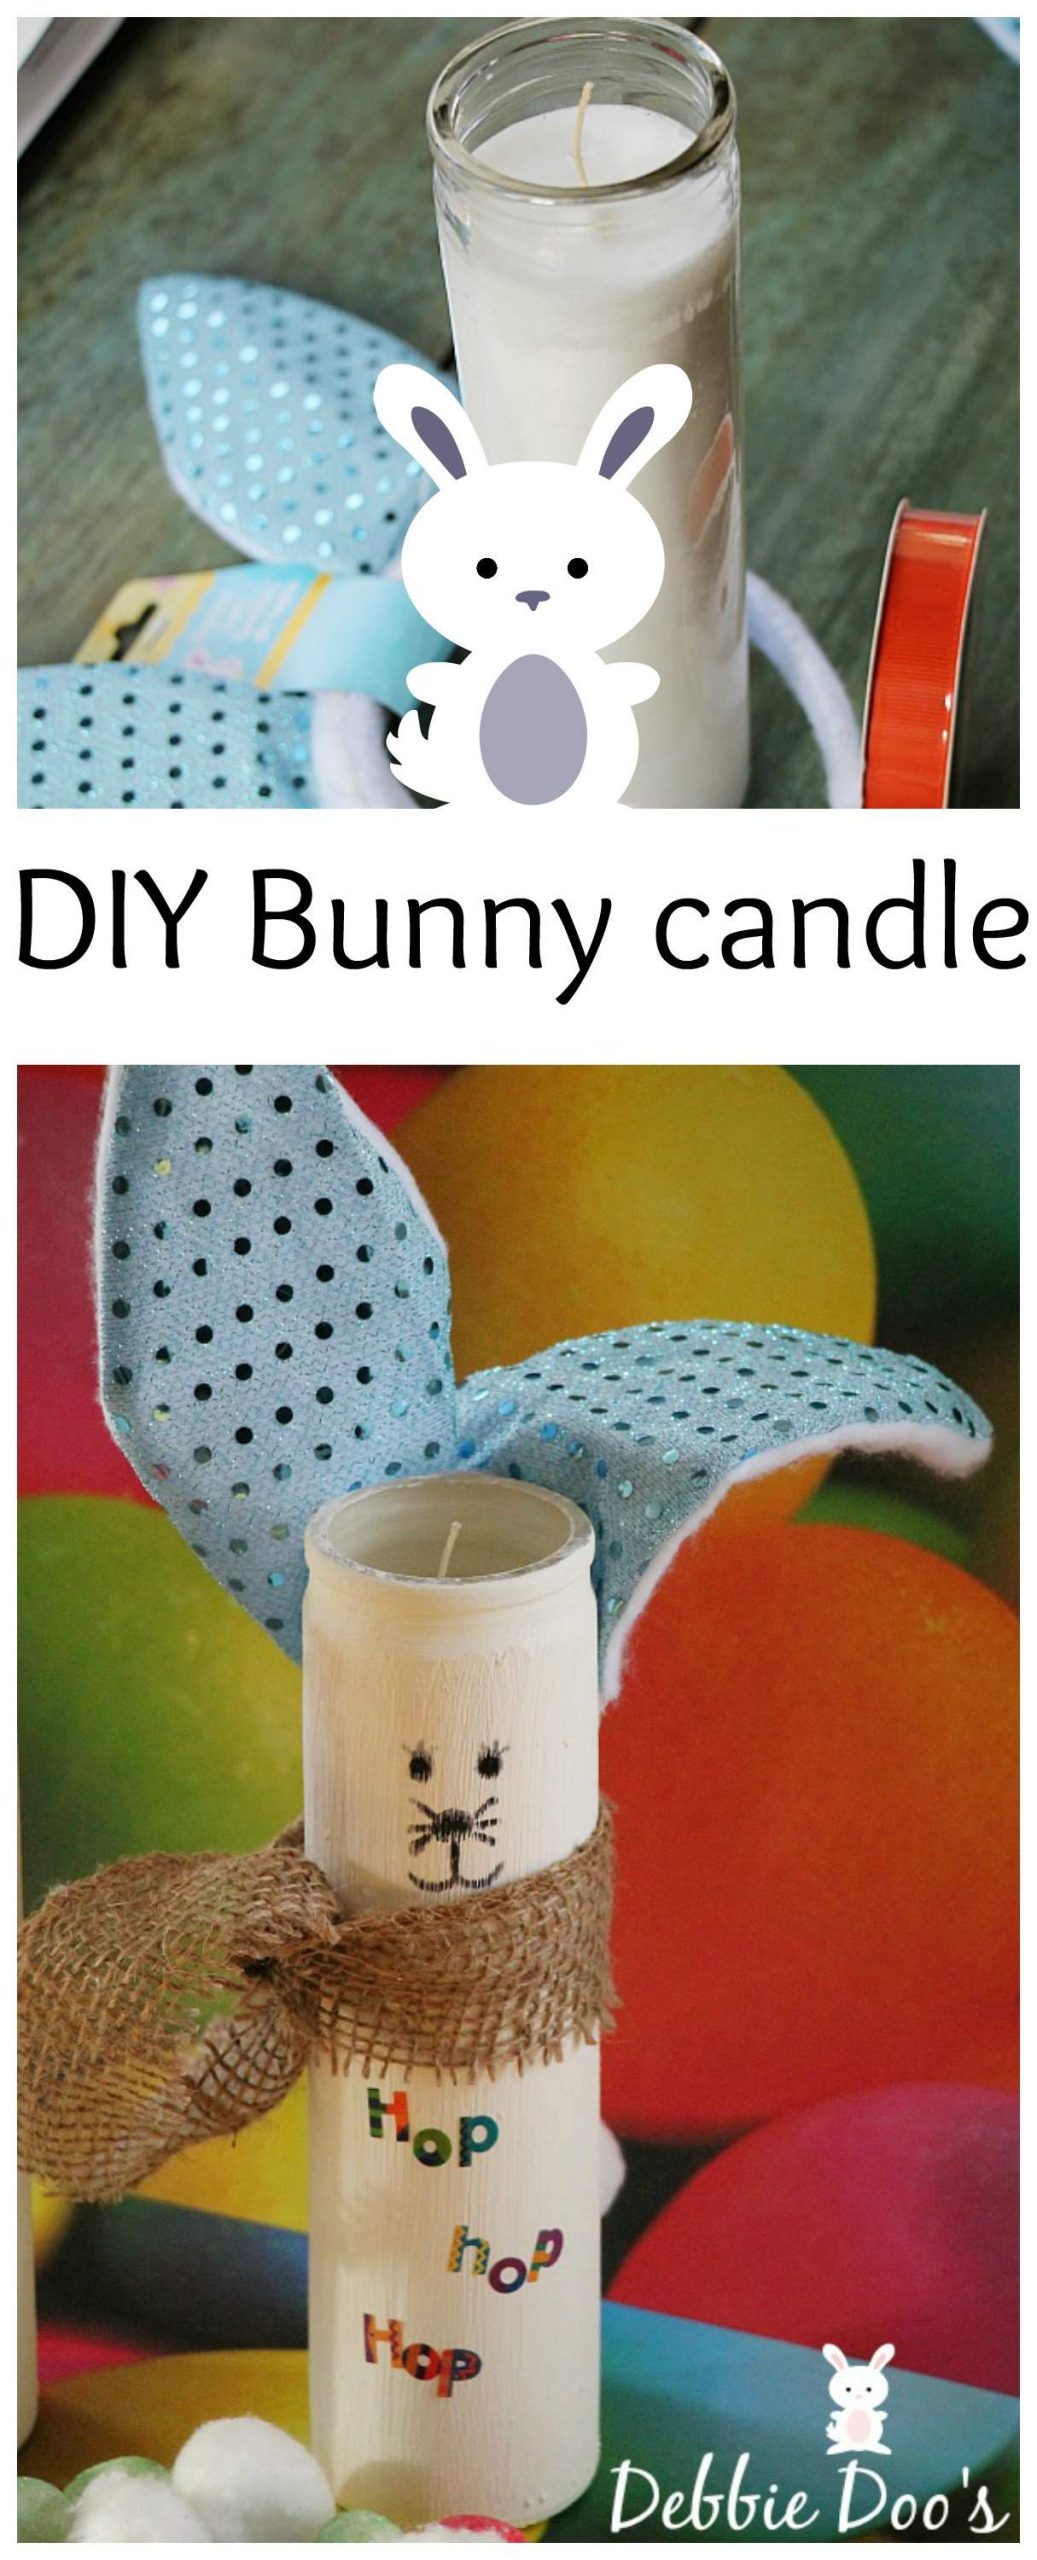
Keep reading to discover the steps for crafting a unique Easter candle, from gathering your supplies, painting the candle, and preparing bunny ears to drawing a bunny face and making the finishing touches. Get more info from the FAQs section.
1. Gather your supplies
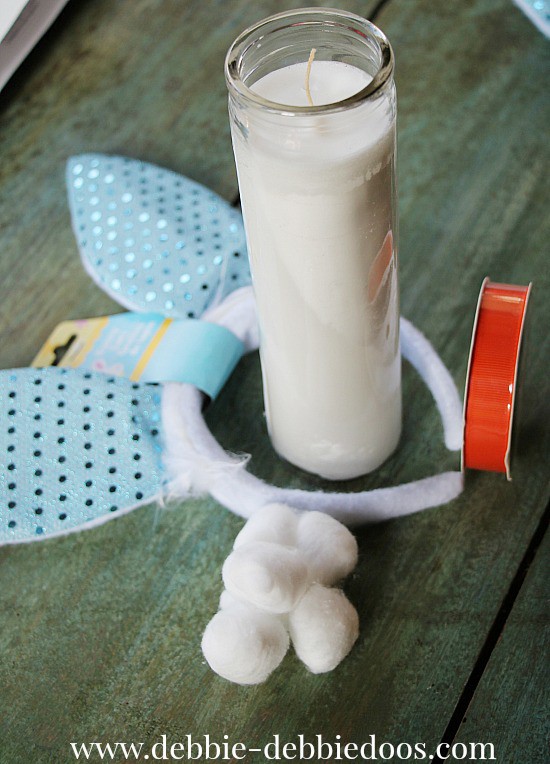
- Dollar Tree tall white pillar candle
- Craft paint of choice (e.g., chalky paint)
- Bunny ears headband
- Cotton
- Sharpie
- Stickers (optional)
- Burlap or ribbon (optional)
2. Paint the candle
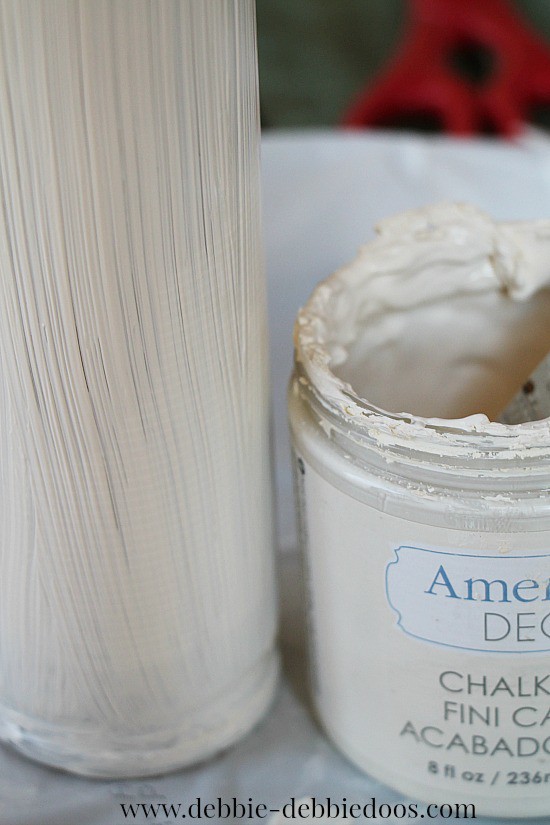
Begin by choosing a craft paint color that suits your preferences and the overall theme of your Easter decorations. Apply the first coat of paint to the tall white pillar candle, ensuring that the surface is covered evenly. Allow the first coat of paint to dry before applying a second one. After applying the second coat, let the candle dry completely for about an hour.
3. Prepare the bunny ears
While the candle is drying, prepare the bunny ears by carefully cutting them off the headband. Leave the plastic inserts in the ears for added support or remove one to create a floppy ear effect. When attaching the ears to the candle, make sure they are positioned correctly and do not pose any fire hazards if you plan on lighting the candle.
4. Draw the bunny face
Next, use the Sharpie to create the bunny’s facial features on the candle. Draw two oval-shaped eyes, followed by an upside-down triangle for the nose. Complete the face by drawing a simple line for the mouth and adding whiskers on either side of the nose.
5. Add finishing touches
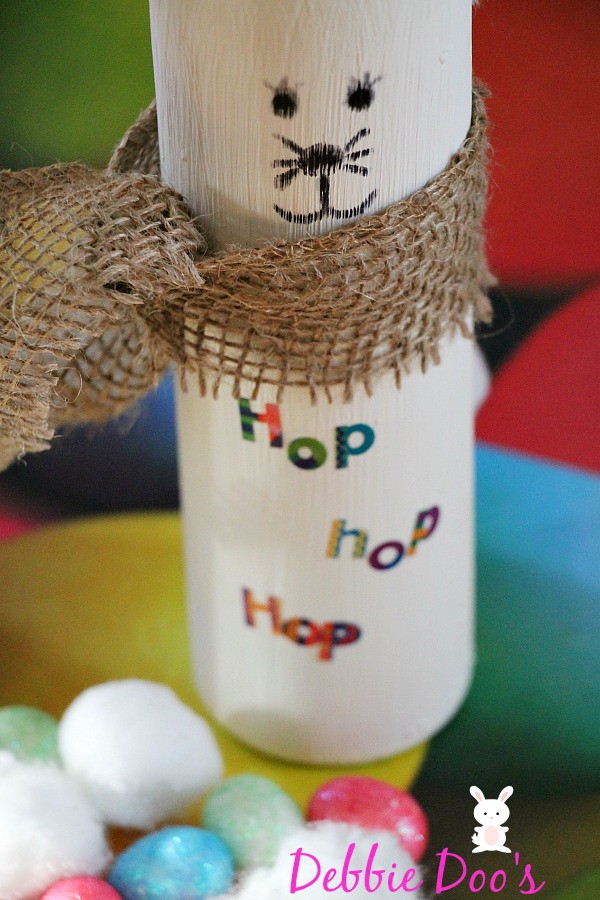
To add extra charm, texture, and colors to your DIY Easter candle, tie a piece of burlap or ribbon around the base of the candle. If you want to include a personalized message or phrase, such as “HOP, HOP, HOP”, use stickers to spell it out on the candle. Finally, attach a small piece of cotton to the back of the candle to serve as the bunny’s tail.
Check out more Easter decor ideas.
FAQs
Learn more about this DIY Easter candle project.
Can I use any type of paint for this candle project?
It’s best to use non-toxic craft paint, such as chalky paint, that adheres well to the candle’s surface. Some paints may not stick to the candle properly, so be sure to choose a paint that is specifically designed for crafting projects.
Is it safe to light the Easter candle once it’s finished?
Yes. However, it is essential to exercise caution. Ensure that the bunny ears are positioned safely away from the flame to avoid fire hazards. Keep the candle on a non-flammable surface and never leave it unattended while burning.
How long will it take to complete this DIY Easter candle project?
The entire project, including drying time for the paint, should take around 1-2 hours.
Can I customize the DIY Easter candle further?
Absolutely. For example, use different colors, patterns, or additional decorative elements. You can also change the facial features or use different materials for the bunny ears and tail.
Is this DIY Easter candle project suitable for children?
Yes, this project is suitable for children with adult supervision. However, younger children may need assistance with cutting the bunny ears and handling the Sharpie. Always ensure that children are supervised when using scissors and handling the candle, especially if it is lit.
Can I use scented candles for this project?
Yes, you can use scented candles, but remember that some scents might be affected by the paint used in the project. To avoid any unpleasant odors or reactions, choose a mild-scented candle or one with a fragrance that complements your chosen paint color.


Dollar Tree should have you on the pay roll, Deb! Seriously. These are so cute!
I agree!:)
I agree with Barbara! You come up with the cutest stuff. <3
OMG what a cute craft it’s just adorable Debbie.
How fun is this. Love the ladybug too.
Too Cute! Be sure to check my blog out tomorrow. You inspired me with a laundry room wreath!!! Hugs and blessings, Cindy
Too cute my friend…you need your own TV show!!
LOL! I don’t think so Martina:)
Oh my goodness..how adorable!! You are too clever, lady!
Thanks Heather!
adorbs, just adorbs
Debbie, I love this idea. So, so cute! Happy Easter!
Adorable! Sharing.