Hey y’all!
today I have a special guest, sharing a great diy personalized wall art idea…
Hit it Matt!
Hello all of you Debbiedoo’s readers, it’s Matt
from The DIY Village! My wife, Jacque has given me a special one-day hallpass
away from our Never-Ending Honey-Do-List and as my first time here as a special
contributor, I’d like to share a quick and easy DIY Wall Art project with all of
you!
I’ve recognized a trend where personalized wall
art has really become a decorating MUST in a lot households. I
think it’s pretty cool to visit someones house and find their walls adorned with
unique pieces of art that are not only visually pleasing, but art that shows
something about who they are or what’s important to them. So that’s why I chose
the wall art that you’ll see today! Creating your own DIY Wall Art is a great
project whether you’re looking to add a “personal” touch to a wall in your own
home or you’re looking for a quick and affordable DIY gift idea for someone
else! So let’s jump right in!
Step 1: Come up with a stencil.
You can buy them at your local craft store, have a local sign shop make one for
you, or if you’re like us and lucky enough to have your own vinyl cutter, you
can make your own!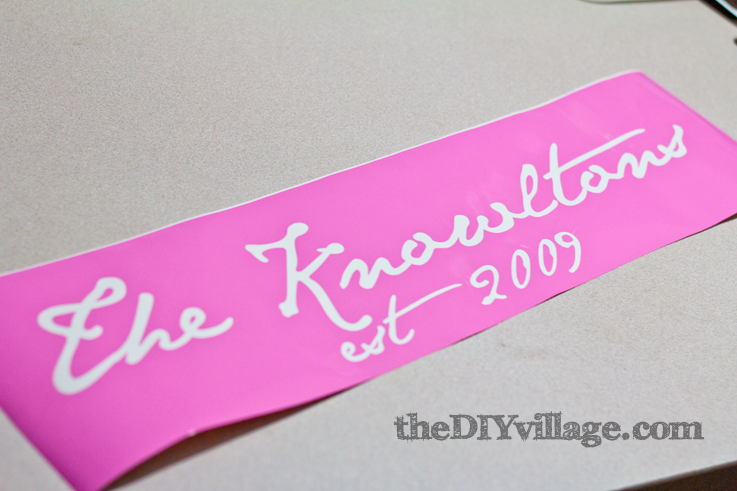
Step 2: Choose the substrate or
surface you plan on using for your wall art. (Luckily, we’ve got a close family
friend who just so happens to be replacing planks on his barn and was kind
enough to offer us his old barn wood! What a score!)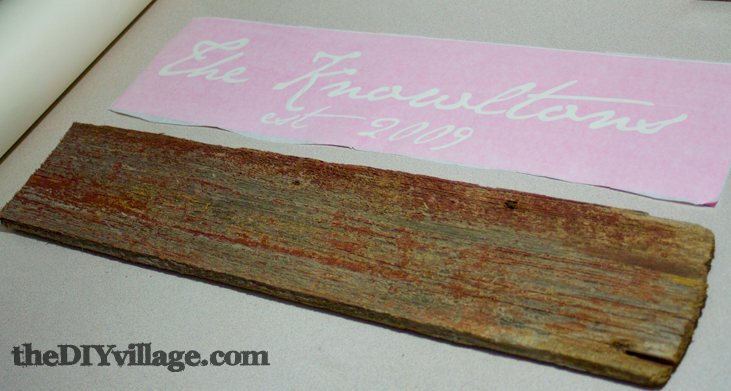
Step 3: Whether you are using a
store bought stencil or using vinyl, you’ll need to secure it to the substrate.
If you are using vinyl, you’ll need to apply transfer tape over your stencil and
remove the backing material to secure it to the art surface. With a store
bought stencil, taping it in place should be sufficient.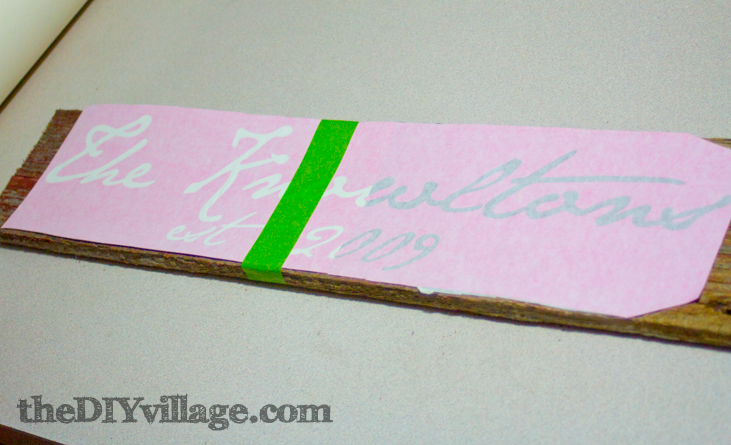
Step 4: Choose a paint brush.
Dip the end of the brush into your paint, getting a small amount of paint onto
the tip. Then begin to stipple the paint over the stencil. 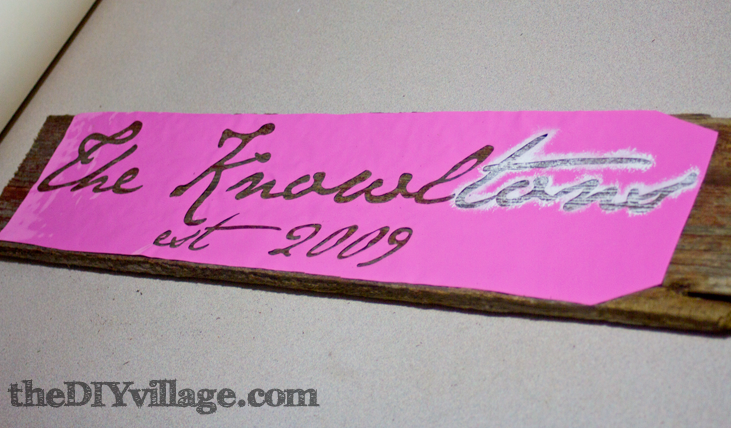
To give your art a more weathered look, use
lesser amounts of paint on the brush. Continue the process until you have
covered the stencil.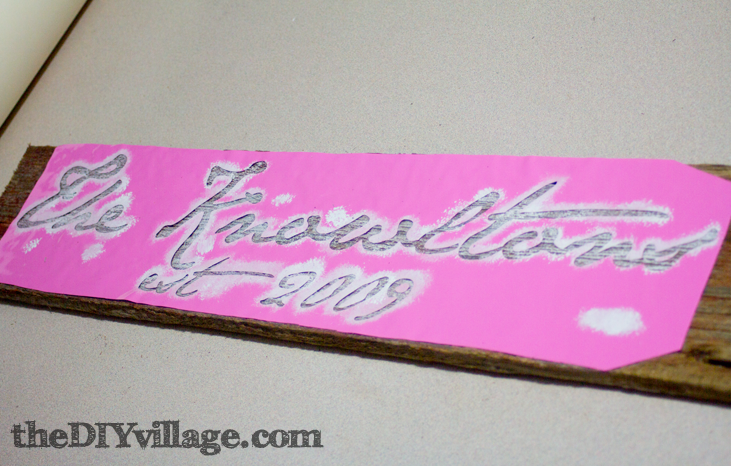
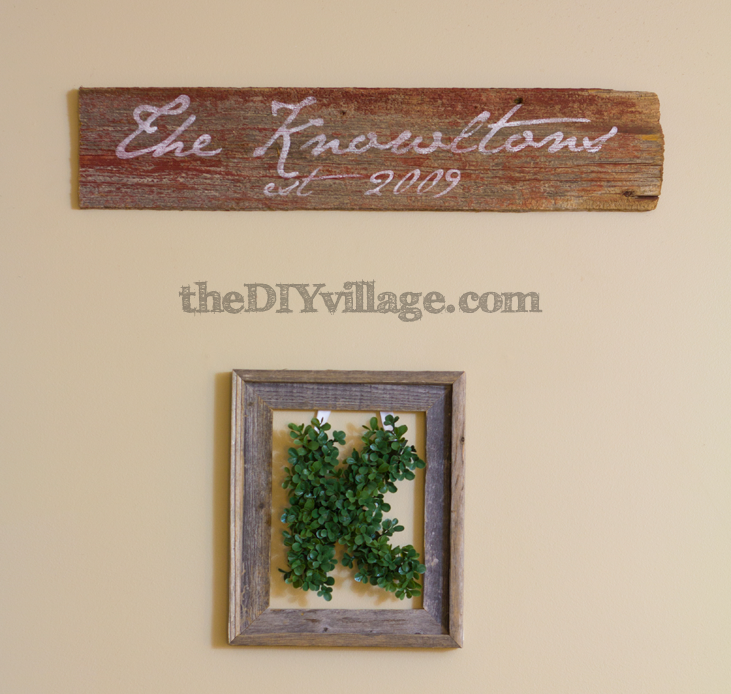
Step 5: Add a fastener or hanger
onto the back and all that’s left is to display your DIY Wall Art with
pride!
Our artwork is one of a kind and who knows
someday we may be passing this down to future generations!
If you like what you’ve seen here, head on over
at The DIY Village to check out some of our other DIY projects!
If you are looking for art projects similar to this, you may want to check out
our Word Art Dresser, The Every Day I Love You Knock-Off Wall Art, and one of my
favorites, Jacque’s DIY Pop-Up Photo Box!
Matt you are so good! I would give you a hall pass too. In fact, heck I would give you a day off:)


How awesome is this? What a great way to show the “love bond” — I like those 2 words together…alright- enough Jen..! Great job..looks super!
Oh, I like this!! The pretty script on the rough wood is so charming 🙂 Great jobs Jacque & Matt!
I love this, the softness of the words blends so well with the wood, I also love the greenery K, what a cool idea!
I simply LOVE the barn wood (swoon!) and personalized art is one of my favorite gifts. This would be an amazing wedding gift!
Great idea and tutorial!
I adore the old world look of this sign…breaking my Cricut out this weekend to copy cat!
Debbie what a Great project for Spring Just Adorable have to share Lisa
Ah, I am so going to do this. The old wood is just so perfect for the project.