
Hey there!
Today I am sharing a fun little whimsical, diy no sew burlap pillow
that I actually stenciled with fabric markers.
This was a first for me.
Seems lately I have had a lot of firsts here on my little ole blog.
I guess that’s a good thing, I am stepping out of my comfort zone and trying my hand out on new things.
You should too!~:)

My last trip to Hobby lobby was
successful.
But aren’t they always?
Yes.
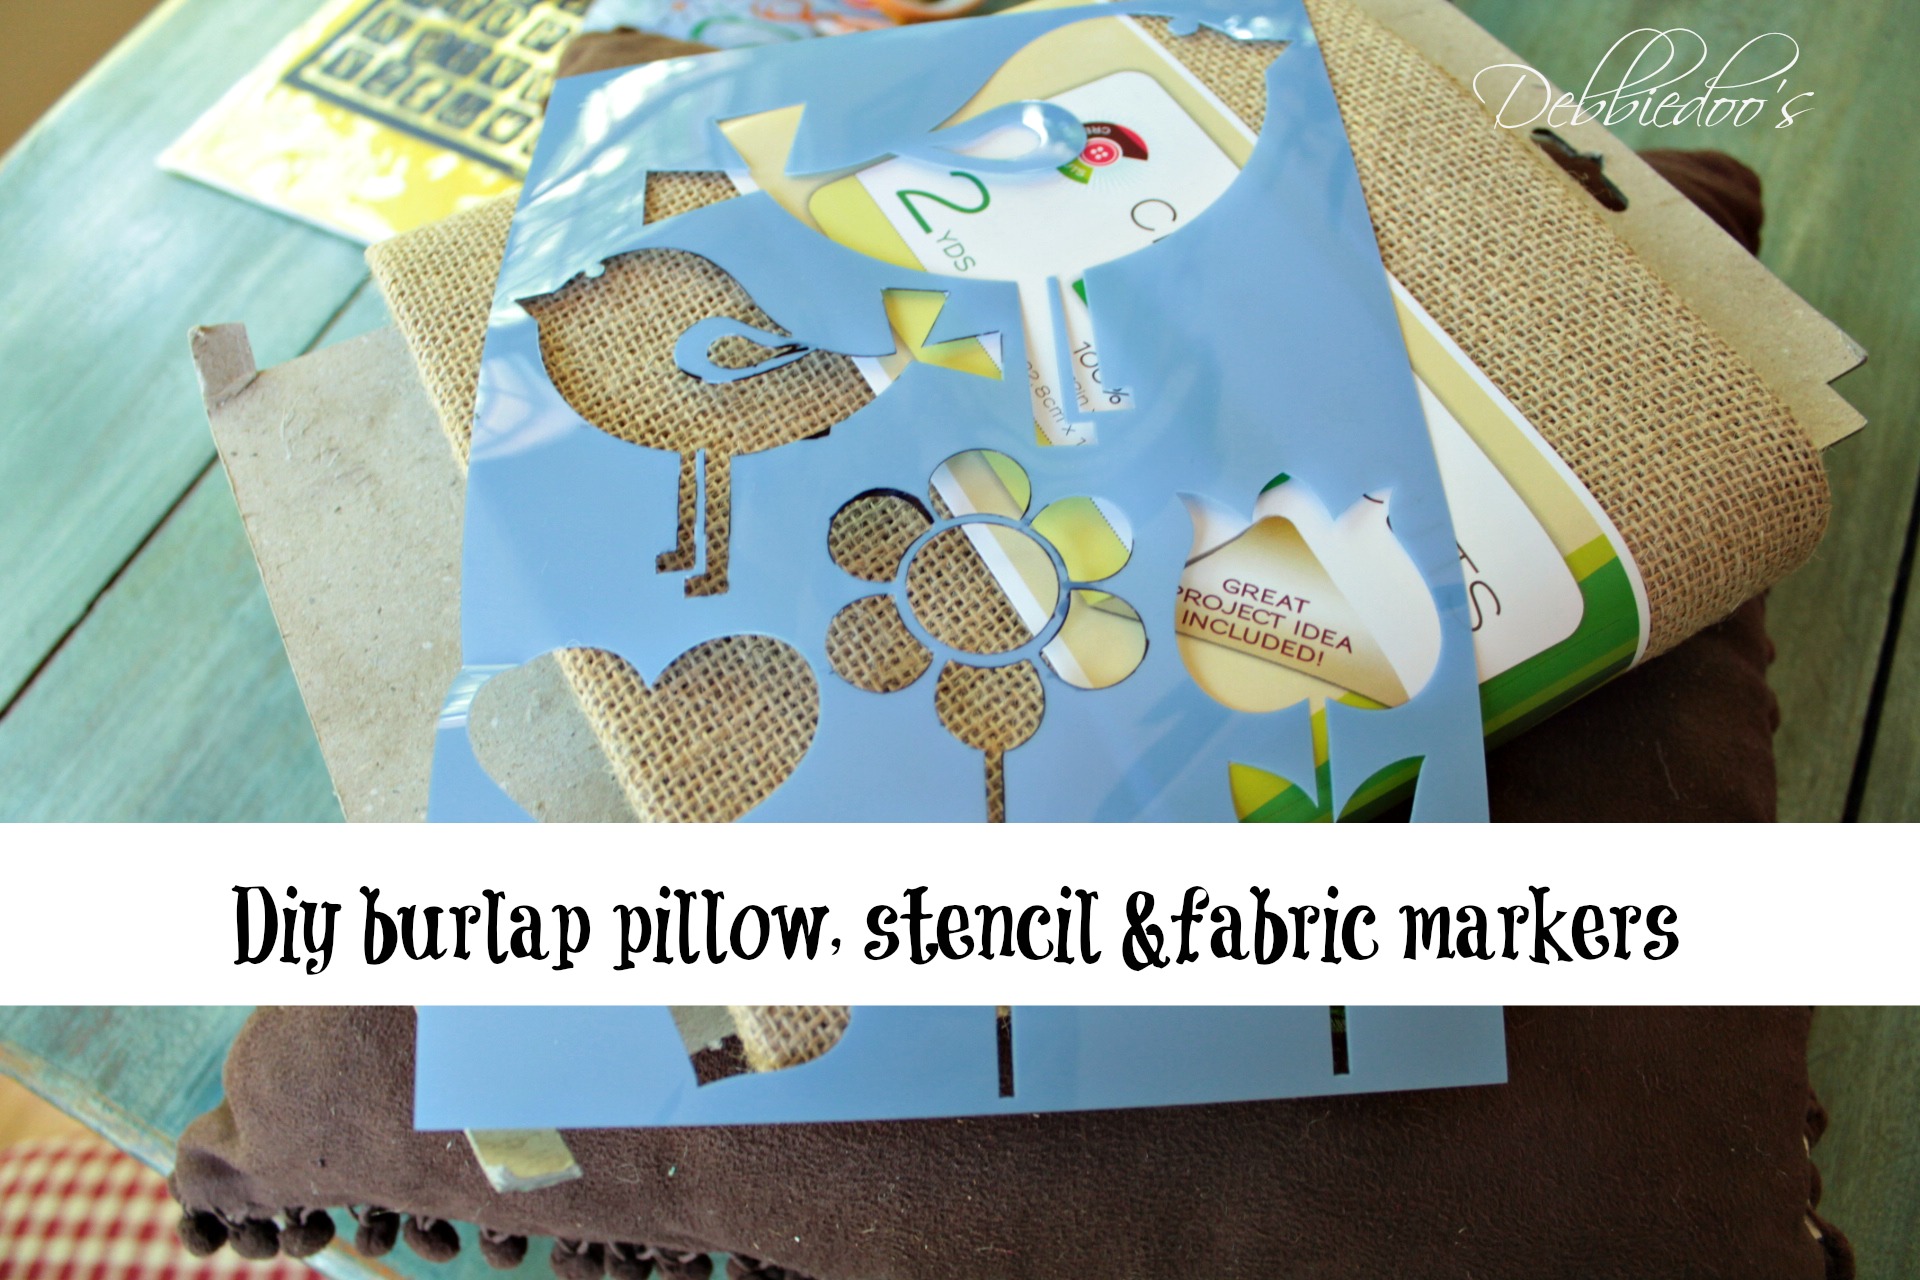
This cute little stencil was calling my name.
The burlap I actually bought at Walmart last week.
They have expanded their craft section.
Totally, for me, I just know it.

Now, most of you already know
I no sew…
I no sew…
So basically
all I did here
was cut two squares to size an already existing pillow I had in the guest room.
I then procedeed to try my hand out on with these
fabric markers, also purchased at Hobby lobby.
Once I created my masterpiece…
ha, birds and flowers..
I then hot glued all but one end, turned inside out
and
stuff my old pillow inside.
The twine is just for looks,
I made the bows,
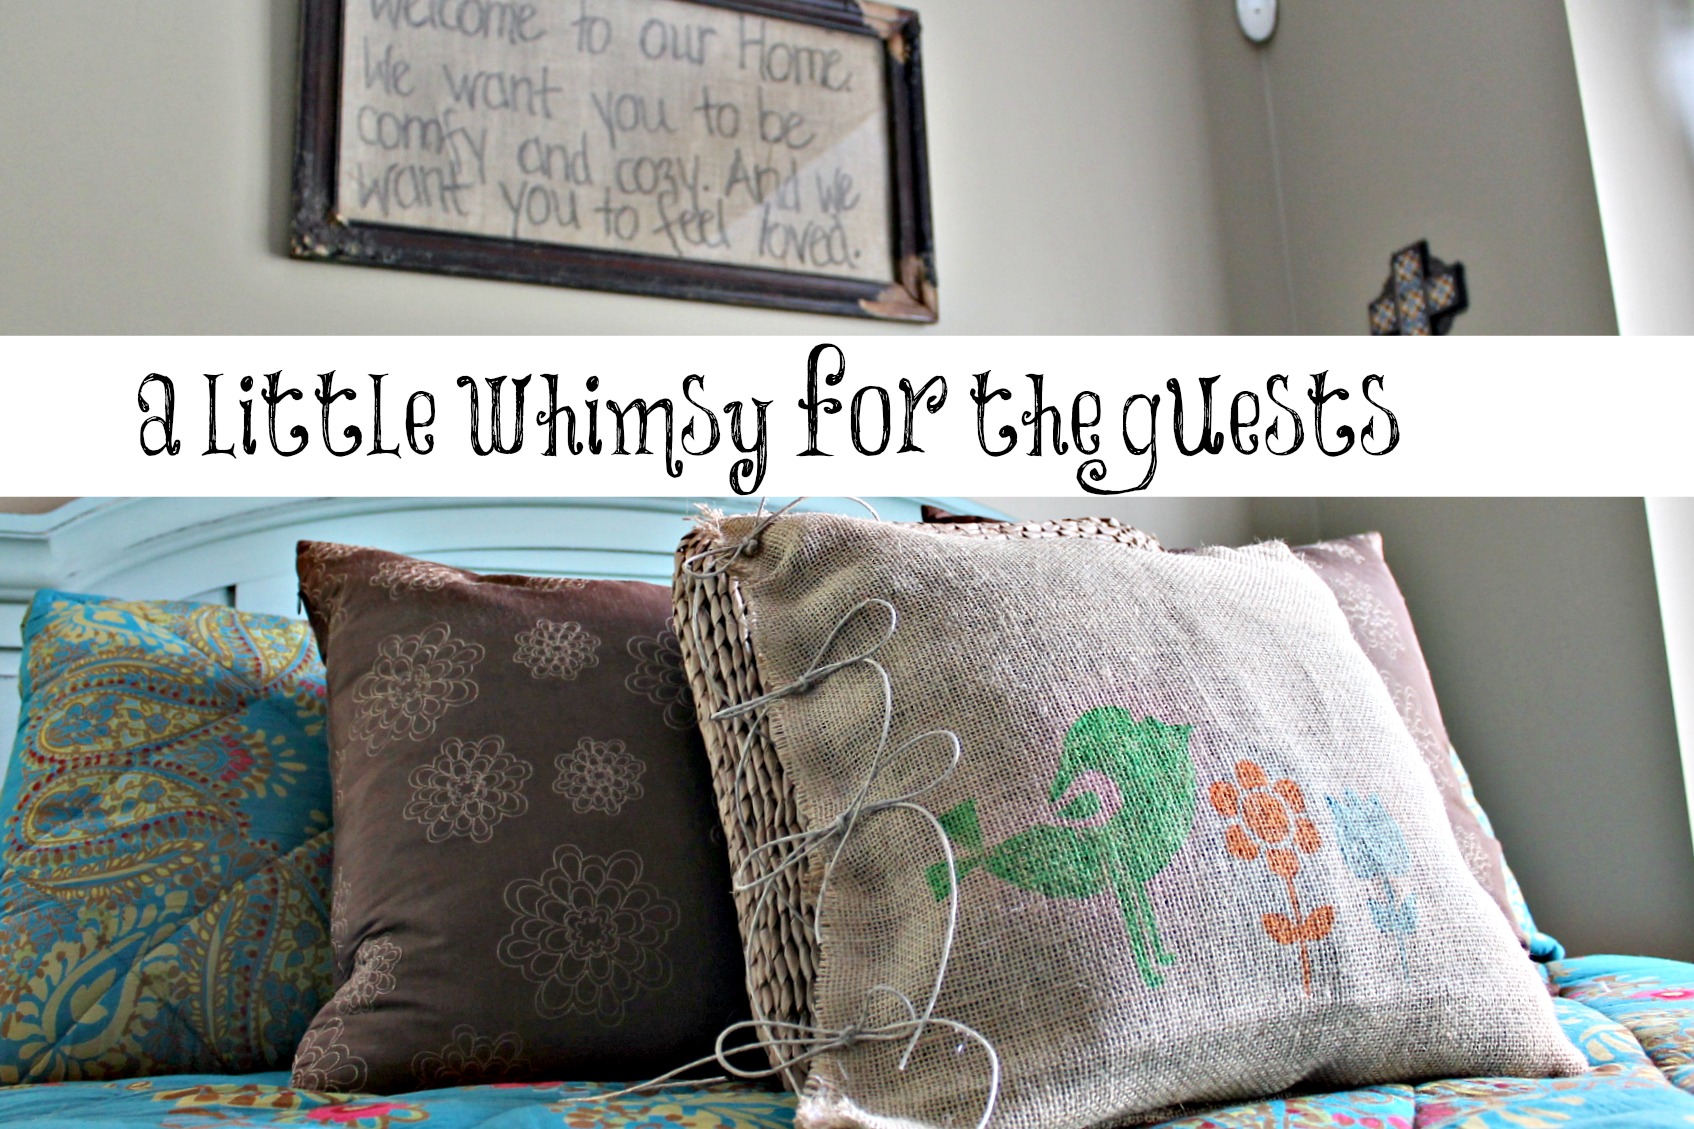
and hot glued those on as well.
I could NOT be any easier.
So come on over, and see it in person..
it’s really cute!
Have a great day.
Speaking of stencils. I have created my very own exclusive line. HERE
Hey not sure if you follow me, but I would love to see you back again!
and if you like burlap projects….
well I have plenty of those
Burlap gallery
and to reflect on some past No sew projects
here you have
No sew pillow out of placemats
And there are plenty more
Thank you so much for visiting with me today.
If you are new here, welcome! I am also very excited to share my new stencil line with you.
[envira-gallery id=”32693″]
Thank you for your visit today!
To view my stencil gallery projects you may check out my Debcreates.com page.
I share all things, thrifty home decor, crafts and a recipe or two on occasion.
Sign up today and receive a few freebies. 12 months of seasonal printable art.

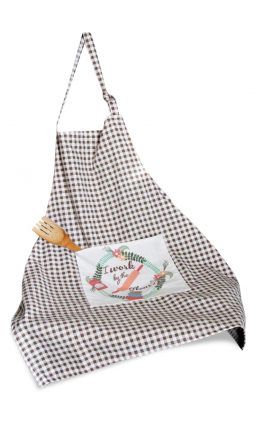
I have also created my own custom apron. “I work by the flour” logo on linen deep front pocket. My husband was the witty one with that slogan:)
Sold on Amazon Debbiedoo’s custom apron.
If you would like to commit to becoming a subscriber, I would love for you to join me.
That is cute and I love the ties. The bedroom looks great in all that color.
So very cute as always! ~~Angela
I love the little ties on it even if someone did sew the sides. ( Notice that I said “someone” not “I” . I’m all for no sew as often as possible. I particularly hate to sew burlap…) That is cute and springy, but could be replicated in the fall with a fall pattern too.
Part of my mother’s day gift was a Hobby Lobby gift card. I will be like a kid in a candy store.
Oh boy have fun with that Debbie! You will be like a kid in a candy store.
Can I put in my reservation now? This is such a great idea! I love the twine bows!! They are my favorite part. The stencil with fabric markers is really fun too!
I LOVE THE BURLAP PILLOW! AWESOME
VERY cute!!! Thanks for that no-sew tutorial for a quickie pillow…amazing!
And oh so simple too! thanks
Cute!! And you and your “I No Sew”… so funny! 🙂
A great project and super cute. So simple, love the no sew part!!!
Cynthia
😀 Debbie, your guest bedroom is so adorable! LOVE it, and I know your guests love it, too.
Cute little no sew pillow. I don’t sew at all, so I think I could do this!
xo,
RJ
So cute!!! I will have to try this now 🙂 I made my mom a pillow for mothers day out of the reversible place mat trick, gotta love that, then hot glued the end together just like you showed us!! What a winner, she loved it. Thanks for all the great ideas Debbie.
Hello Debbie! Your burlap pillow turned out so sweet and looks perfect with your bedding…love the “no sew” aspect of it! I just started posting again and plan on sharing room by room. Our belongings are fitting in quite nicely and making it feel like home, though our NY home will always be our sentimental favorite our new rental abode is quite charming. I am waiting to purchase a new mode of transportation so that I can continue with some new crafting projects…I’m getting “itchy!”
Hugs,
JP
Debbie! I just love this! You know how I feel about no-sew, best invention ever. You are always inspiring.
birds and flowers always my fav looks so sweet love the colors and so easy to do love your no sew tricks 🙂
Darling Debbie, your new creations look great in the guest room:)
Debbie…No sewing,how easy,love it.How lucky for your guests to have such a room to be in.Just lovely as always.
Very, very cute Debbie!
I can’t see them. My computer won’t load. I’ll give it a rest and come back later, because I’m all about no sew.
Bliss
Adorable! I love your guest bedroom – so cozy and welcoming!!
Your no-sew pillow is great!
Debbie that bedroom looks fabulous…I’m making my reservations today:)
Debbie, those pillows are adorable! Such a great idea to use the twine for the side ties. Thanks for sharing and have a fabulous weekend!
I love this Debbie! Super cute and easy to make, thank you!!
XO
Kristin
loved u no sew pillow i pined you place and i will be back loved it here ty for shareing it monday here so everyone have great new week,
I am a new sew kind of girl! So cute Debbie, and I love the sign above the bed!
Your no sew stenciled pillow cover it so cute Debbie! Love the stencil and the ties on the side.
This is so great! I’m planning on designing burlap bunny bags with my students for Easter but can I also use regular markers?
They have to be fabric markers.
I like your no sew ideas very much. I am all for the easiest way to do things like this. But, if you could please go into detail a bit more about how you did the project I think it would be more helpful to some of the not so crafty people out there. Especially the fabric pain markers for the pillow.
Hi Ersa, There really isn’t much to it. You use the fabric paint markers that I found at Hobby lobby, or Walmart, even Michaels, and just simply color in your stencil with them. I first traced the stencil inside the lines and lightly colored in. I use a stencil spray to adhere the stencils to the burlap, or you can just use simple painters tape. I hope that helps. Thank you.