
That’s right, you read that correctly.
A diy foam pallet.
Who knew?
When I was given this task of creating a pallet out of foam, the first thing my husband said, was uh oh, you don’t like being told what to do.
HA, that is true. I am not a very good instruction girl, and I really don’t like being told what to do.
However, I signed up for this, so I had to do what I had to do!!
Little did I know how much fun I would have in the process.
Is it a fast project?
NO, but how it all comes together is truly awww inspiring in my opinion.
So let’s check it out shall we?
You may recall my Halloween splat board I recently made with Styrofoam.
Same size foam boards I started out with.
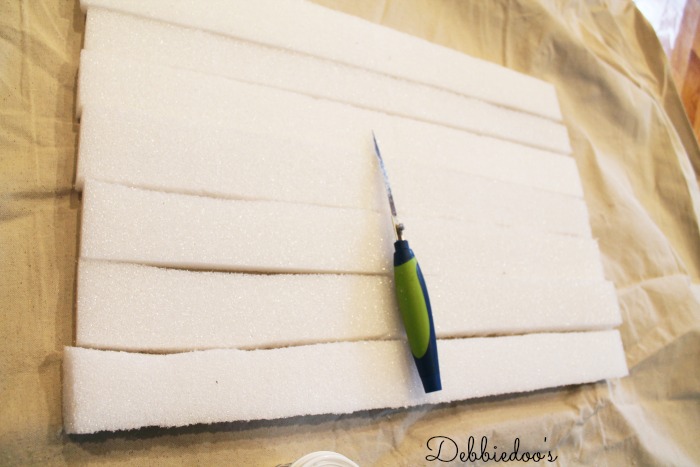
I cut the planks 3′ x 26′ inches.
I cut seven of them roughly the same size each. I believe the top one is slightly smaller just because it was a piece left over.
I did this on our kitchen floor on a drop cloth. It does get a little messy.
The foam cutting tool knife was awesome and made it a breeze.
Seeing I am a newbie at this, some were slightly uneven but I just went back and trimmed them up a tad.
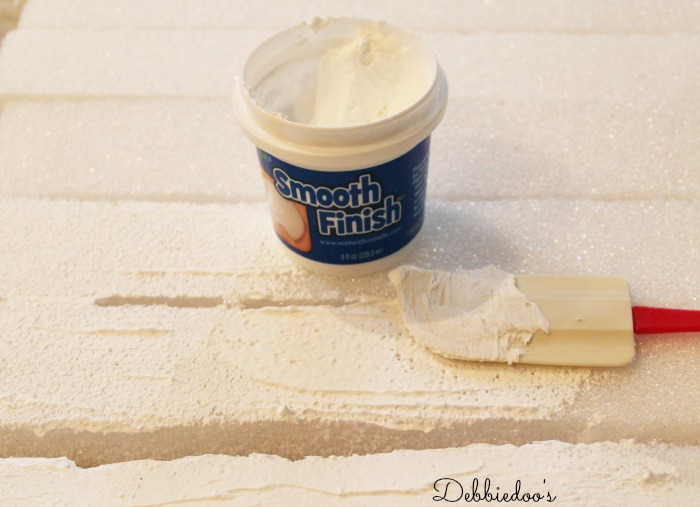
The smooth finish product was a dream to work with. Comes almost whipped like
and I used a kitchen spatula to apply to each of the foam planks.
This is to make the painting process easy, and a smooth like finish.

I decided I was using dark wax on mine instead of paint.
Glad I did,because I really love the look in the end.
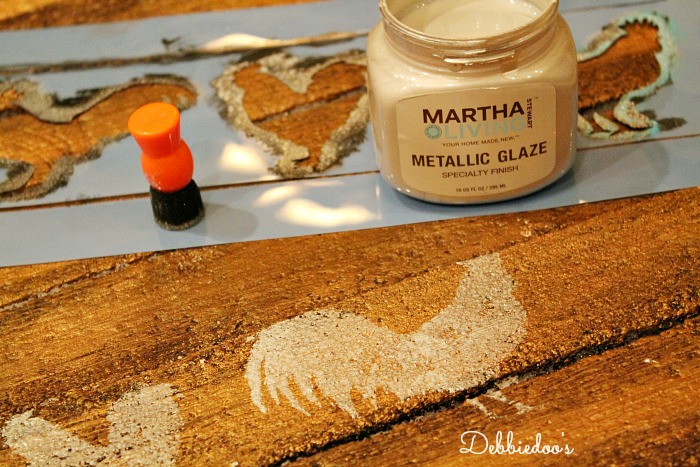
I also used gold gilding paint. same that I used on my mod podge vase and just lightly brushed on for a shimmering rustic look.
You know,
very few of my projects get a rooster or stencil left behind. I of course always have those supplies on hand.
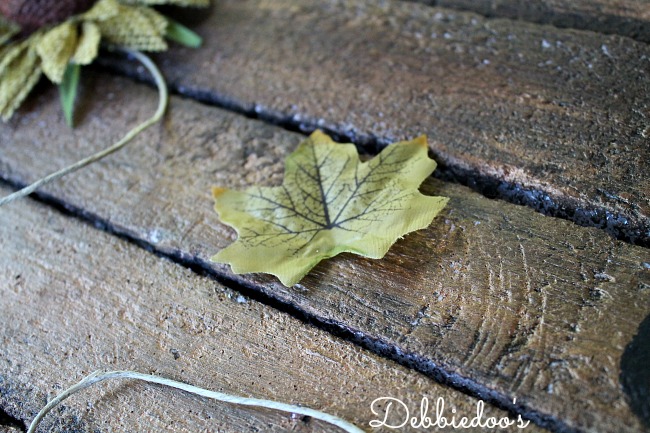
I am truly amazed at how FOAM could look like wood, and how this entire project looks like a wood pallet.
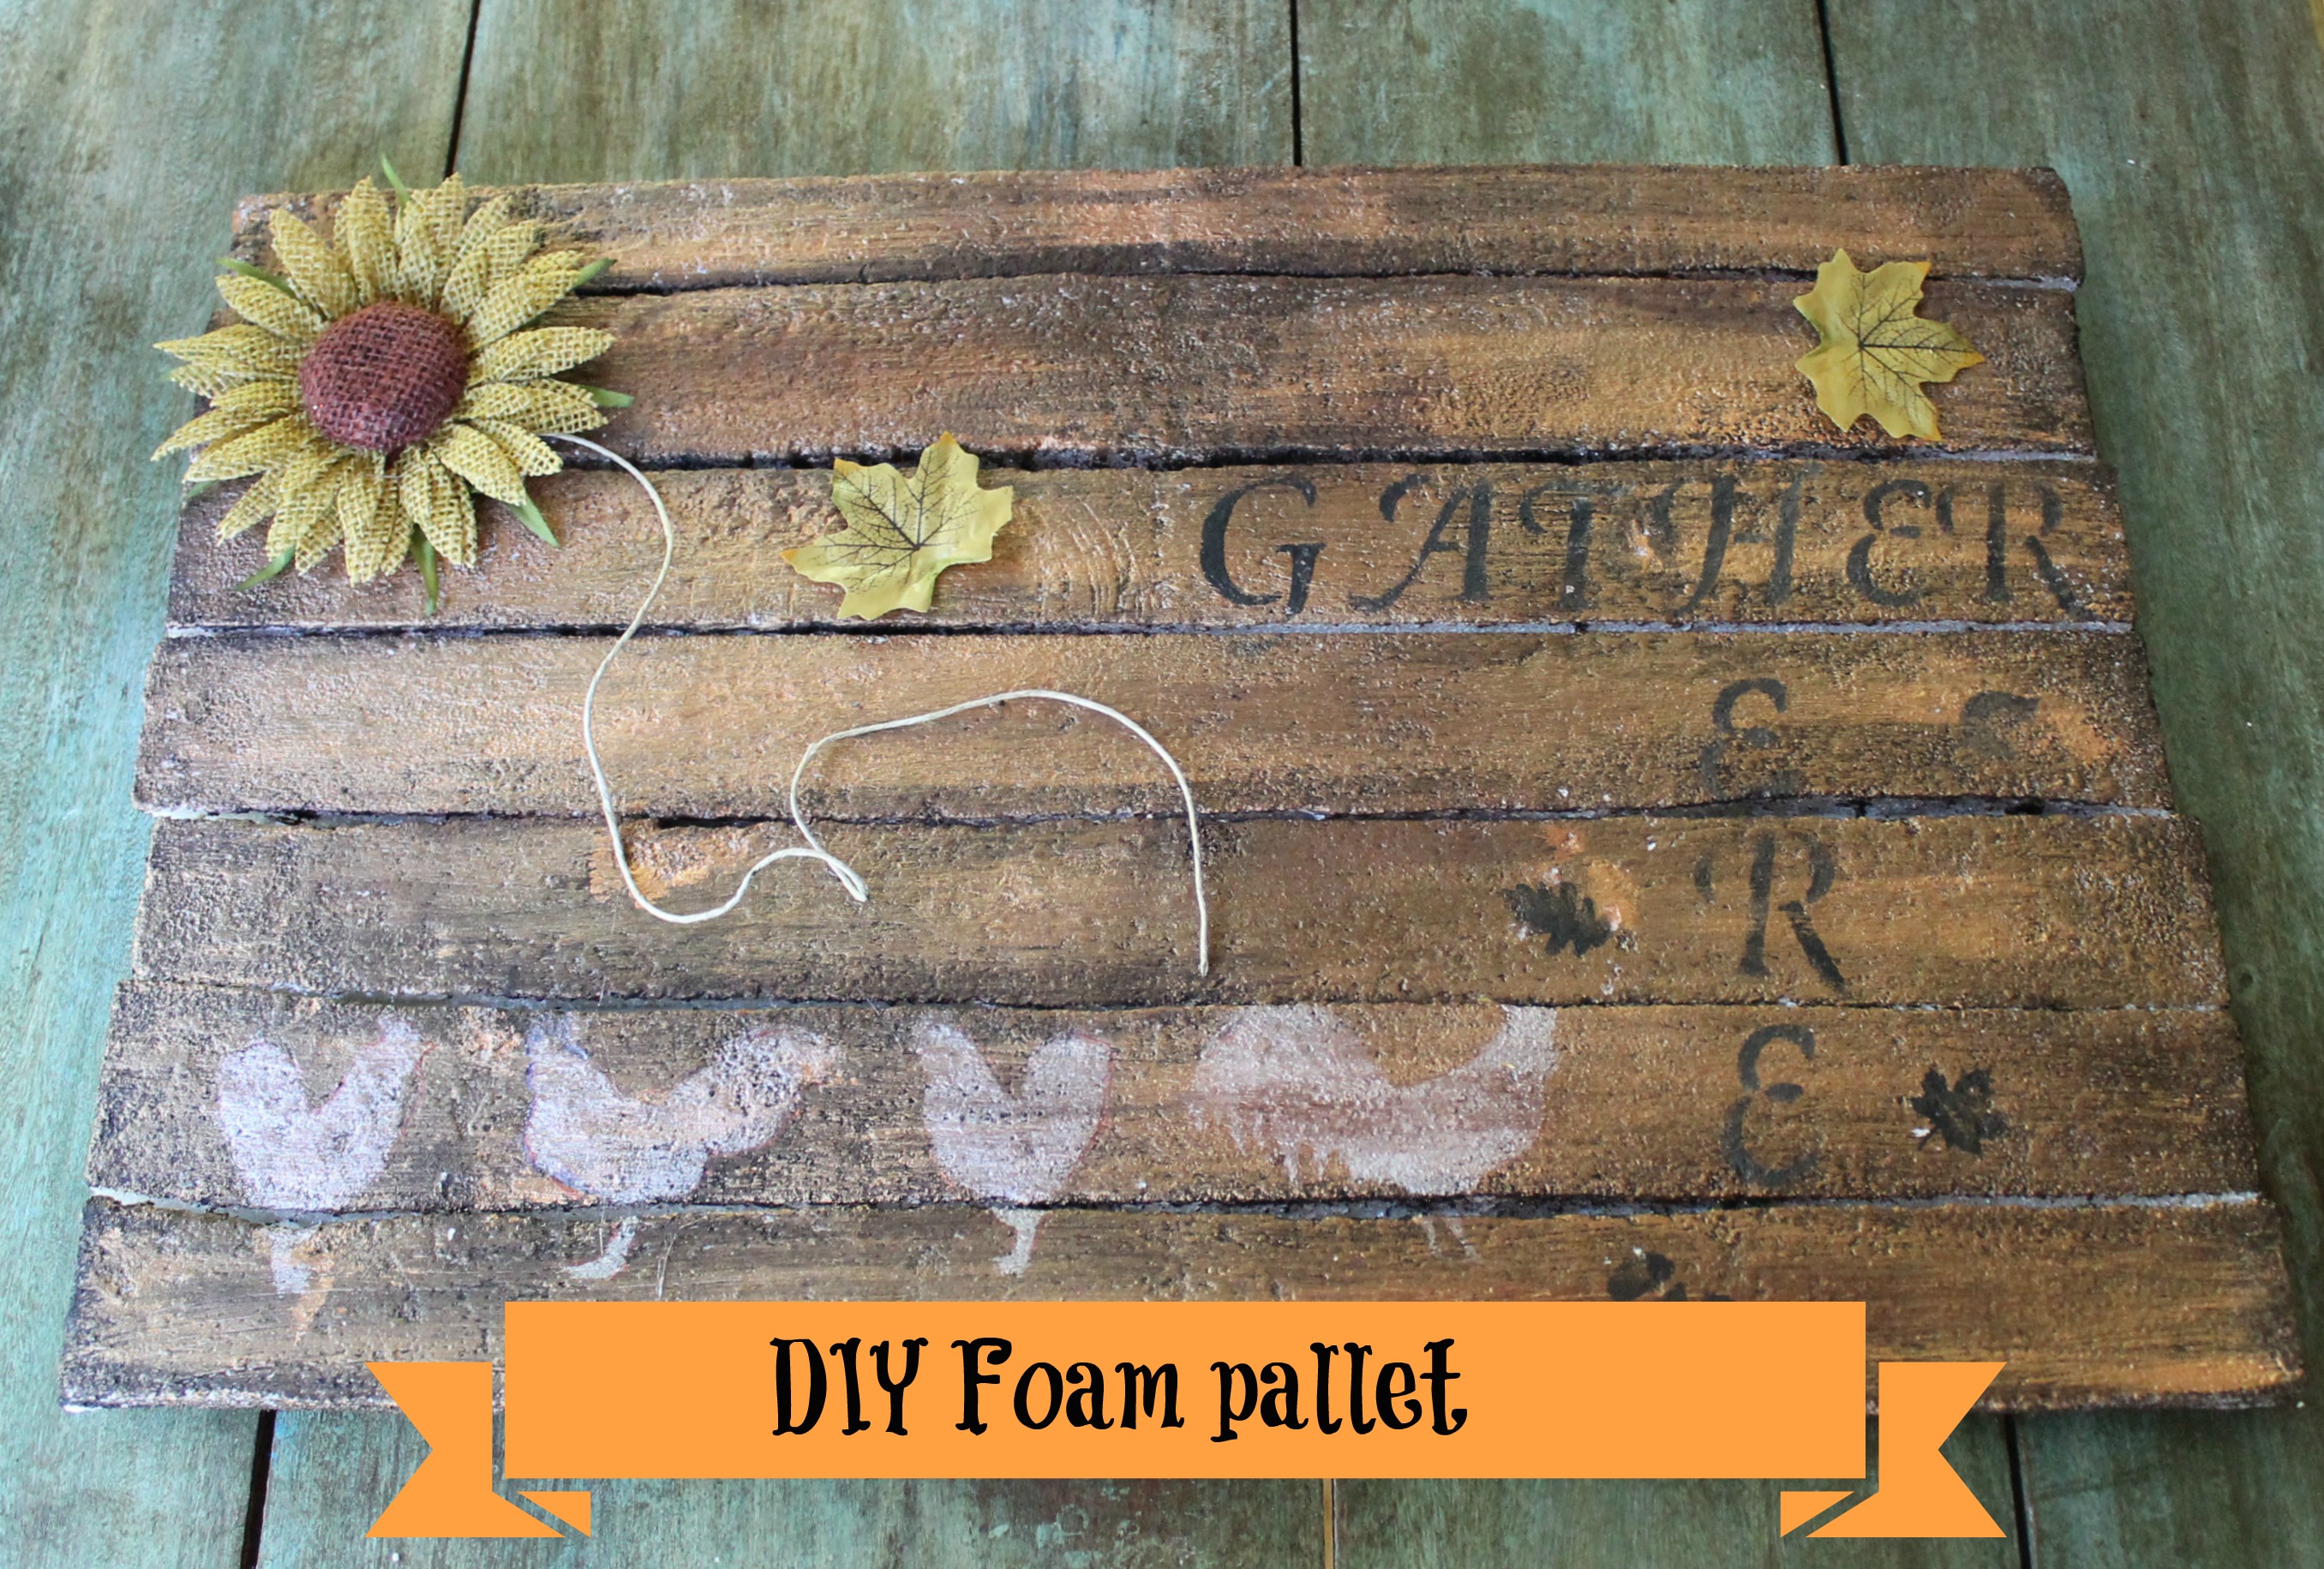
A little sunflower and twine added to finish it.
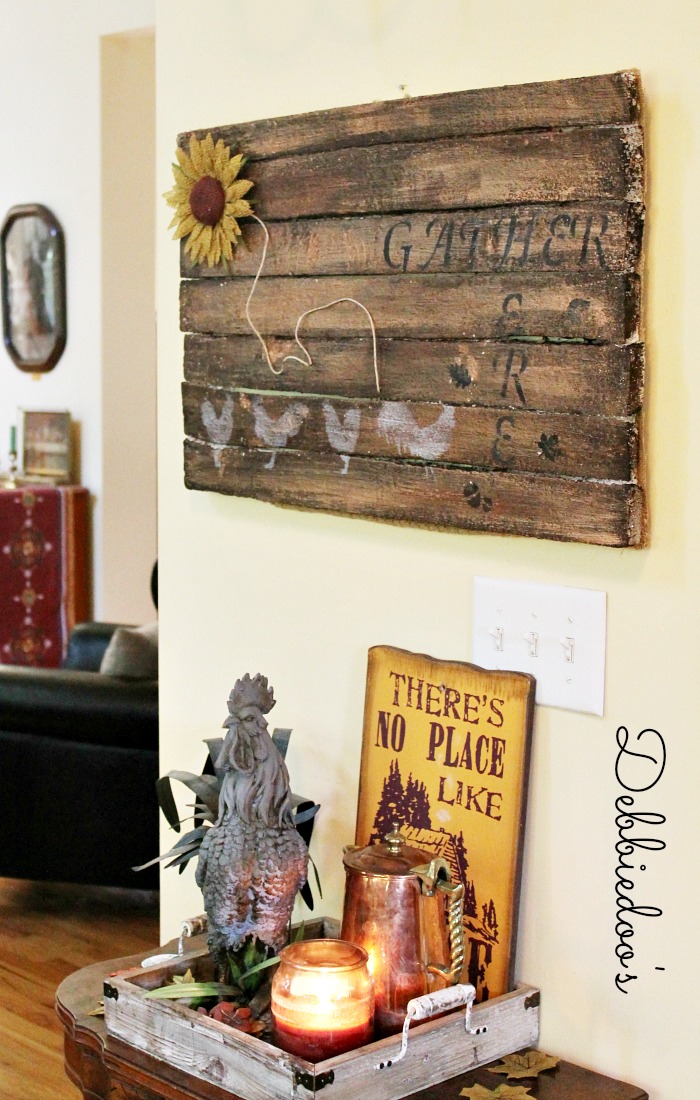
Where oh where to hang it?
It is light as a feather you know.

The foam connectors were the ticket to hold this baby together.
I will tell you I cheated a bit and added white duct tape to the back of it, just in case. There is also foam glue you can use, but I opted not to. I didn’t feel the need on this with the fasteners and duct tape.
Duct tape works on everything:)
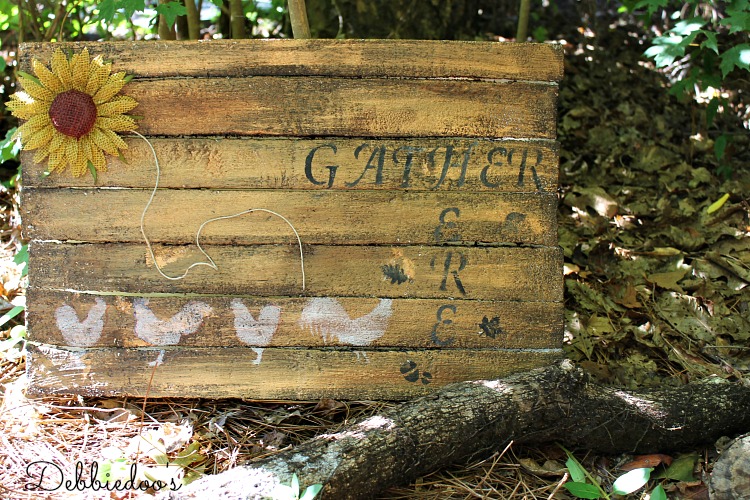
While I was figuring out where to hang it, I kept taking pictures of my masterpiece.
I was pretty proud of myself.
For one, I was told what to do, and actually did it,
and second,
I actually created something really cool out of FOAM!

Seriously, would you know this was foam??
My husband even said WOW!
And as you can see, it found a place to hang proudly.
Best part all I had to use is 3M two way tape. It’s light as a feather.
Thank you so much for visiting with me today. If you are new here, welcome! I am also very excited to share my new stencil line with you.

[envira-gallery id=”32693″]
Thank you for your visit today!
To view my stencil gallery projects you may check out my Debcreates.com page.
I share all things, thrifty home decor, crafts and a recipe or two on occasion.
I also have an Etsy shop!

Sign up today and receive a few freebies. 12 months of seasonal printable art.

If you would like to commit to becoming a subscriber, I would love for you to join me.
Awesome project Debbie!! Would have never guessed it was foam at all. And you are not the only one, I do not like being told what to do either!;)
Never would have guess that was foam! Fantastic!
Wow! It does look so real. Love it!
Pam
That my friend is amazing!! I wouldn’t have guessed foam.
Thanks Lynn! Light as a feather and safe just in case it falls down on my toe HA!
It looks so real.. love it!!
Thanks Jessie!
WOW!! If you hadn’t told me, I would never have guessed this isn’t a real pallet! Incredible, Debbie, you did an awesome job with foam…way to go, I love it!! And I especially love how light it is.
Debbie 🙂
Thanks, I guess I had to tell you guys LOL!
so cute! looks like the real deal!
Thanks Debra, nice it is light as a feather lol.
WoW Debbie…I am amazed! It turned out beautiful and looks exactly like real wood…great job!!!!
Thanks Melanie, I think so too.
That is just awesome! We get those big chunks of foam and always wonder if we should save them. I love your new profile pic….you AND handsome hubby! Enjoy your afternoon sweet friend!
Great project, Debbie!!! Never heard of Smooth Finish or the Foam Connectors and Eyelets…guess it’s been forever and a day since I’ve done any craft projects, otherwise, I would be savvy about those products.
Love the hanging 2-candle holder you have over the sign!!! Where’d you find that?
That is something my father-in-law found in his basement and we scored it! His basement is like the antique roadshow.
This turned out absolutely great, Debbie, and I love that it doesn’t stress the wall ~awesome!
Wow, what an awesome transformation! I can’t believe that is foam.
Amazing! Love it Debbie 🙂
Wow! This is totally cool! Imagine the possibilities!!!~~Angela
Hello Debbie,
First love the new profile picture……The foam board looks great hanging up…..Leave it to you to find a different thing to paint…….<3
Wow, oh wow! You did an amazing job, Debbie. Your Pallet Art is beautiful, and it looks so real! Sharing, for sure!
Very cool and creative!
Debbie, that is amazing! Oh, the possibilities . . .
Wow Debbie! Nope, would never have guessed it was foam, I love it! There’s another sweet sunflower…you are the best at making those!
Blessings,
Cindy
Very well done Debbie! Looks like the real thing!
O.k..That’s It …I have decided Ur The Master Of All Projects…Awesome Job !!!
OK girls, is someone paying you all to say these nice things to me today!!
Seriously????? You just took the need to search for roadside pallets off the to do list!
That is the neatest thing I have seen in years. Some like the pallets but don’t want to use the fasteners and make holes in their walls to hang them.
It does look so real. Is that your new blog background?
Love ya girl, Ginger
It looks it right, but NO, I already had the back ground!
Debbie I receive approximately 75 E-mails a day from decorating sites. I like all of them, I love a few but I have to tell you that I really love yours because I always learn something from them. It just so happens my kitchen has a lot of roosters too so I LOVE your kitchen. Thanks for sharing all your wonderful ideas.
Well that has to be the nicest compliment ever! Thank you Patty! XO
What a neat project! It looks like real wood ~ great job! I’m in the same club of “Don’t tell me what to do!” ~ 🙂
xo
Pat
And that is why we are friends LOL!!~
Now this is amazing…..just amazing!!. so easy on the walls. I’ve seen lots of projects that are interesting…but this one…..as they say in the ole south…”blows my skirt up” !!
omg another amazing project…..who would have known that foam can look this good???
This might be my favorite DIY of yours yet. LOVE
Debbie, wow that is awesome!! I cannot believe how it looks!! And I spy the hanging candle holder…I just ordered a couple that need painting but looked everywhere. Love that!
Wow, I never would have guessed that this was made from foam! You are unbelievable Debbie. Beautiful job. xo
Shut the door!!! OMG! Debbie that is such an optical illusion! I love it, so many uses for foam instead of board and the stain…Genius!
Carol
I am really stunned at how realistic this looks. Good job! I agree with your choice of stain over paint…although I would love to see what it looks like painted too!
I never would have guessed this was foam! one of the coolest DIY’s I have seen yet…Just love your idea’s Debbie!
Holy cow, girl!! You can make something out of nothing! That really and truly does not look like foam. So awesome!!
Hi there — where can I find the step by step instructions?
They are in the post…I share everything I did and how to do it.
Thank you all so kindly for your sweet comments. I really appreciate it!
Well “Debbie-do” … that is the best craft project I have seen you do. I love it and it really looks like wood. Not saying that you have not done some really creative stuff … but this is my favorite. I love how you decorated it too. I might even try it.
Blessings …
Audrey Z. @ Timeless Treasures
Now, this is one amazing project. You go, girl.
Had to start a new blog and the address is bj-sweetnothings.blogspot.com
just wanted you to know. 🙂
I love it! I’m going to have to try this out!
this is amazeing you would never know oh so clever 🙂
Got lost at “I also used gold gilding paint. same that I used on my mod podge vase and just lightly brushed on for a shimmering rustic look.” Is that the Martha Stewart glaze you have in the photo?
Diane, I used the glaze for the roosters. On the pallet itself I used a gilding paint if you click on the link I left it shows you. I took a photo of it for this post and it did not turn out and I had already erased my photos. It’s just a craft paint in gold but you can see it. I bought it at Hobby lobby.
Thanks! Great project!
Do you get smooth finish at a hardware store or craft store?
You can get it at walmart in the craft section:)