Burlap door hangers are a versatile and charming addition to your home decor, perfect for any season or occasion. You can easily create and personalize them to match your unique style. In this how-to article, learn how to create a burlap door hanger with rustic charm using stencils, paint, and a few embellishments.
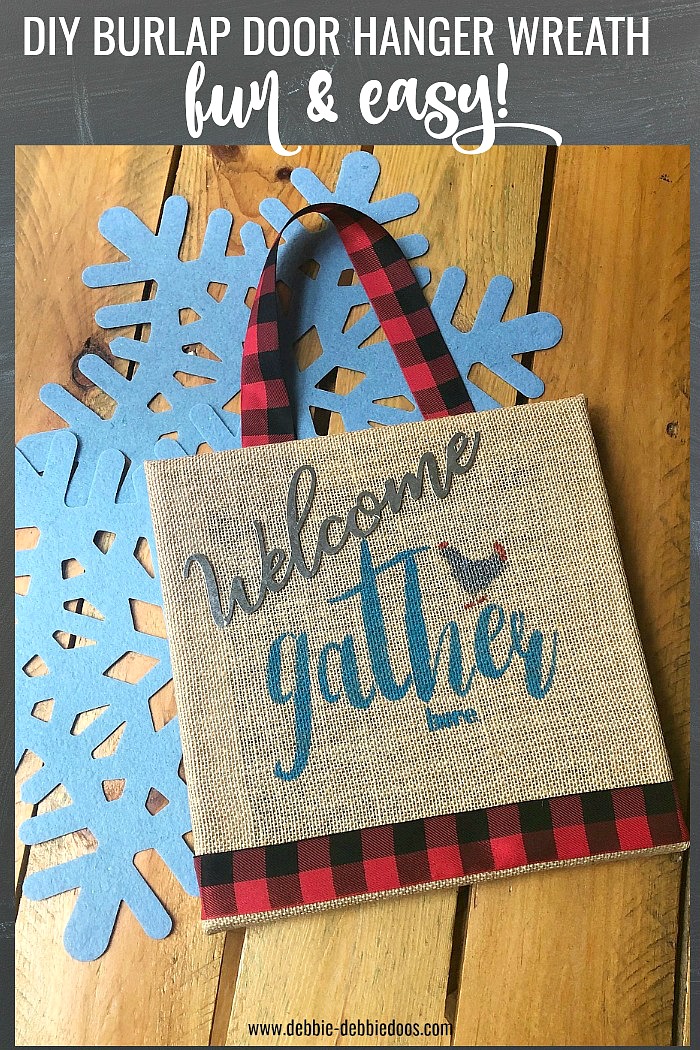
Read on to learn how to make a farmhouse burlap door hanger, from gathering your supplies, preparing the burlap canvas, and selecting and applying the stencil to painting the stencil, adding embellishments, and making the finishing touches.
1. Gather your supplies
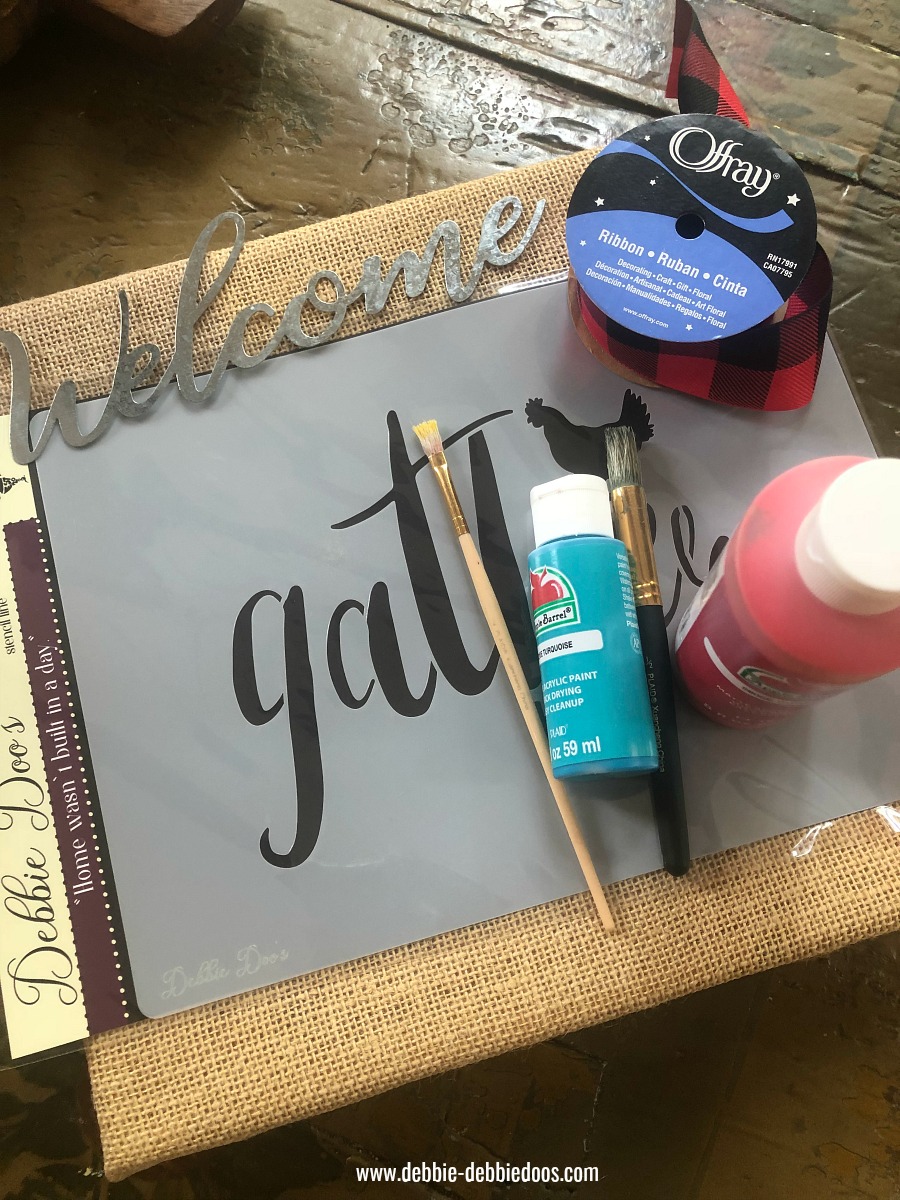
- Burlap canvas
- Stencil
- Painter’s tape
- Craft bond adhesive spray
- Bristle stencil brush
- Craft paint
- Hot glue or another strong adhesive
- Embellishments, such as a metallic Welcome sign or red and black ribbon
- Door hanger hook (optional)
- Iron (optional)
2. Prepare the burlap canvas
To begin, select a burlap canvas that is the right size and shape for your door hanger. Pre-cut burlap canvases are available to buy at most craft stores. Or you can cut your own from a larger piece of burlap. Prepare the canvas by ensuring it’s clean and wrinkle-free. If needed, iron the canvas on a low setting to smooth out any creases.
3. Select and apply the stencil
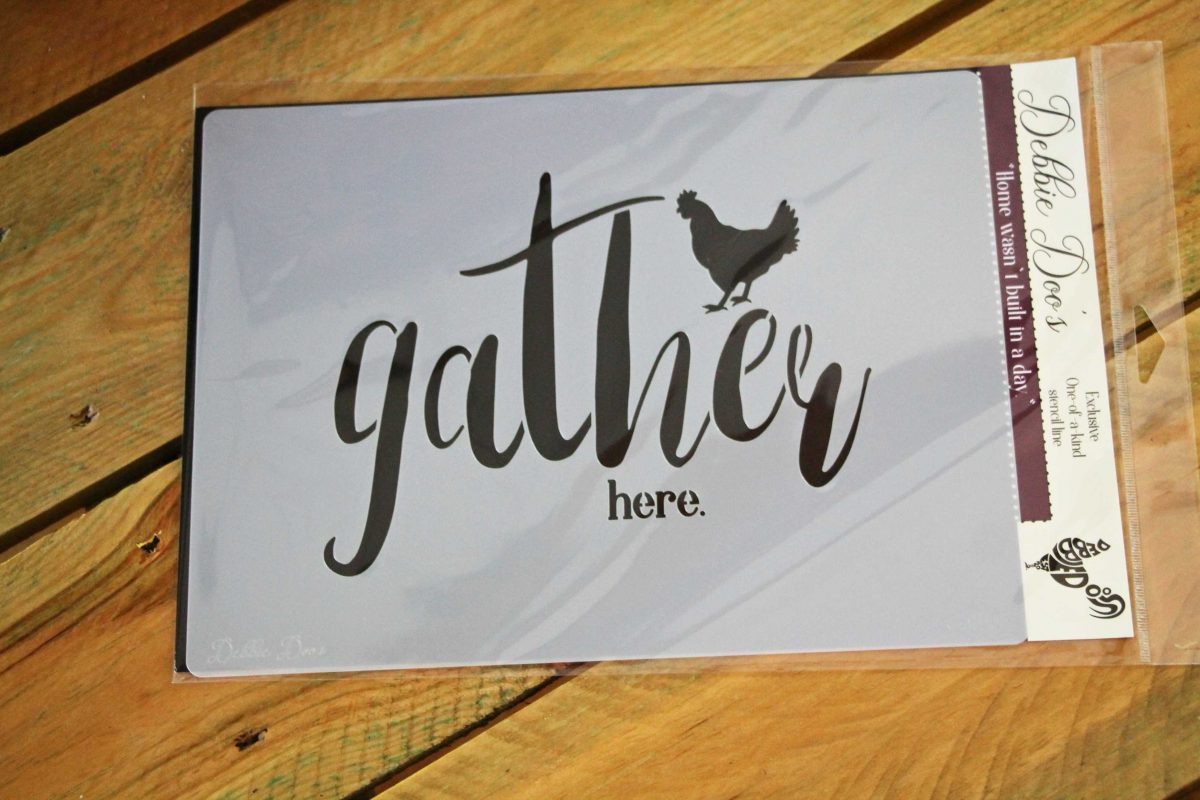
Next, choose a stencil for your door hanger. For this tutorial, we used a three-pack of stencils from Dollar Tree, featuring the words “Welcome,” “Harvest,” and “Thankful.” Then apply a craft bond adhesive spray to the back of it, ensuring that the stencil is flat and the adhesive is applied evenly.
After applying the adhesive, position the stencil on the burlap canvas and secure it with painter’s tape. It helps to keep the stencil in place and prevent it from shifting while you paint.
Find out more about turning burlap canvases into art with stencils.
4. Paint the stencil
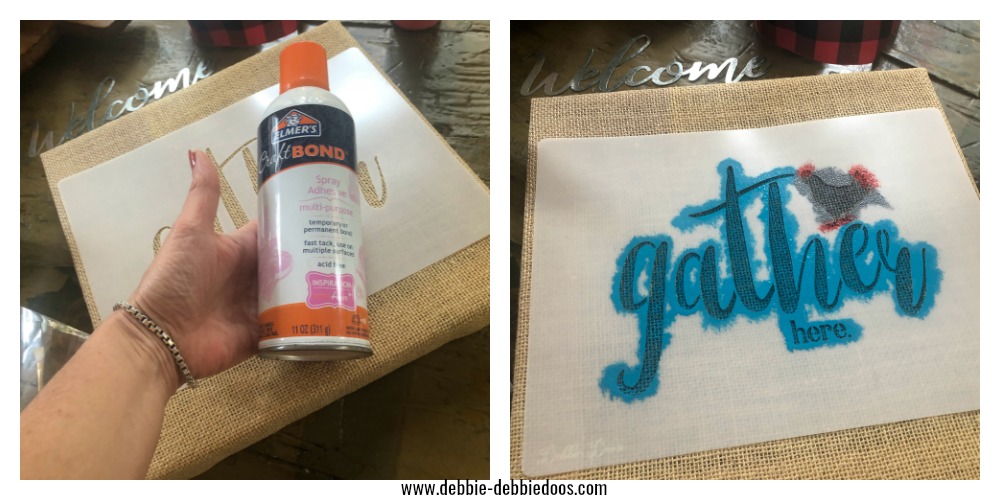
Now it’s time to paint your stencil. Choose a craft paint color that complements your home decor or the season. For this project, we recommend using bristle stencil brushes instead of sponge dabbers. Bristle brushes provide cleaner lines and give your door hanger a more hand-painted look.
Dip your brush into the paint and gently dab it onto the stencil. Be careful not to apply too much paint, as this can cause it to bleed under the stencil. Work your way across the stencil, ensuring that each area is painted evenly.
5. Add embellishments
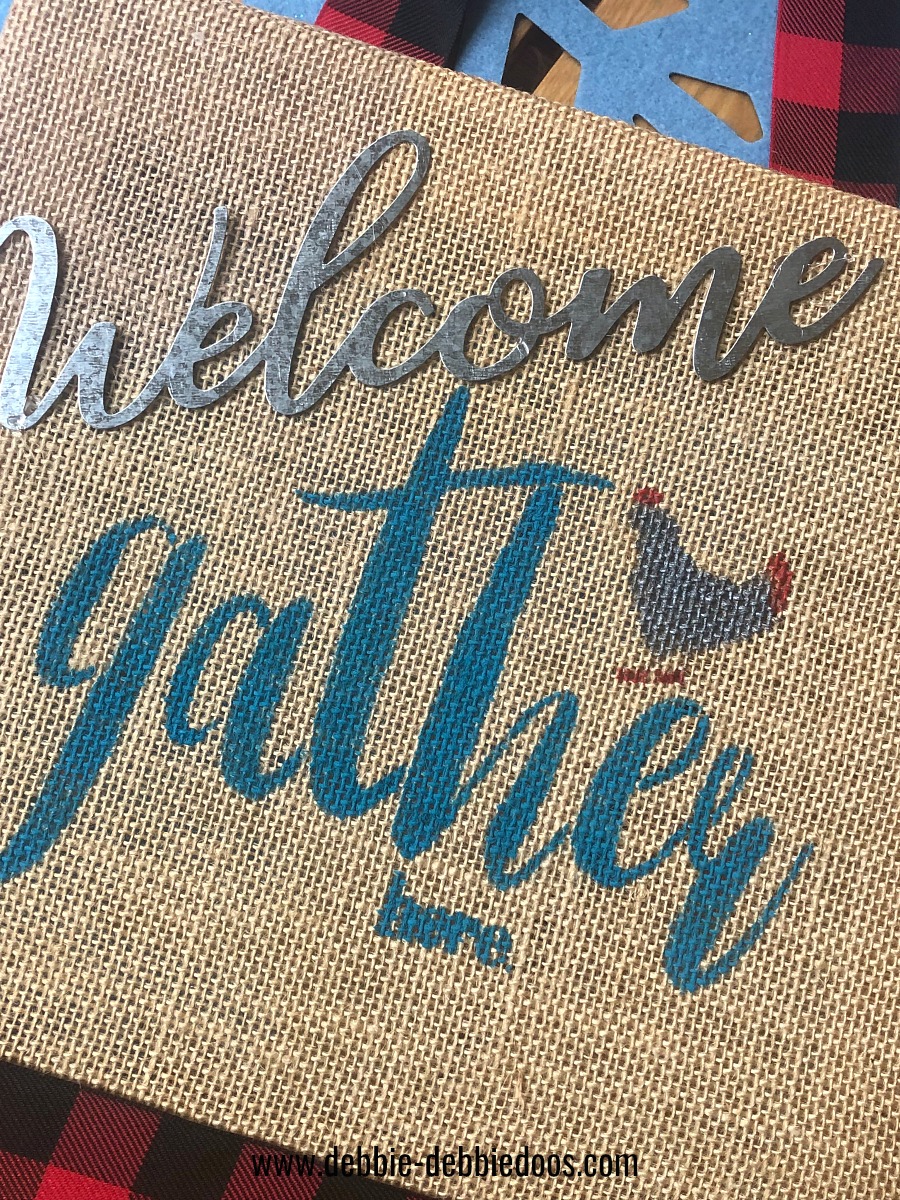
After the paint dries, add embellishments to your door hanger for extra character and texture. For this project, we used a metallic “Welcome” words sign found at Dollar Tree. Attach the sign to your door hanger using hot glue or another strong adhesive.
To incorporate a festive touch and match Christmas colors, add a red and black ribbon. Tie the ribbon into a bow and attach it to the door hanger using hot glue or another strong adhesive.
6. Make the finishing touches
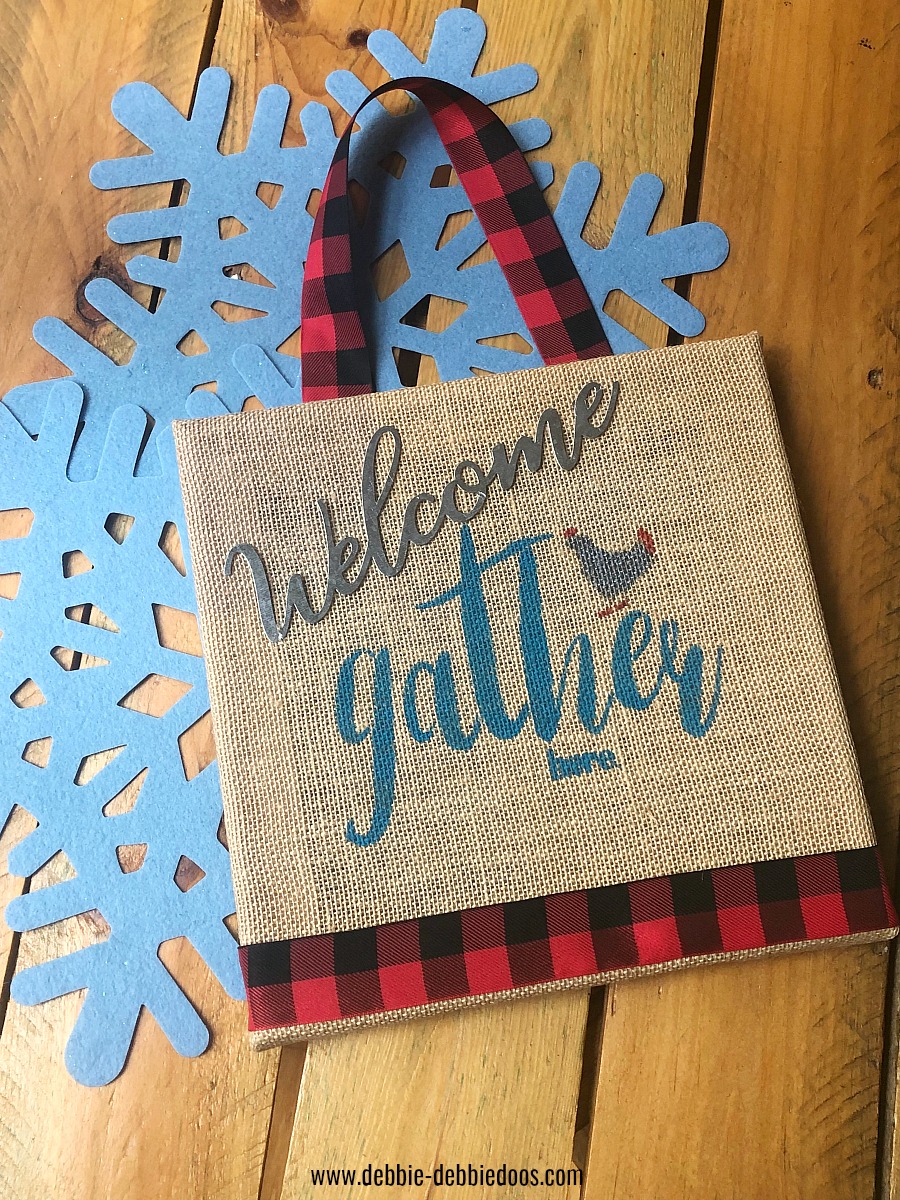
Before hanging your door hanger, ensure all paint and adhesives are completely dry and secure. To hang your creation, use a door hanger hook or simply loop the ribbon around your door handle or a hook on the door.
To maintain your door hanger and keep it looking fresh, avoid exposing it to direct sunlight or moisture, as these can cause the colors to fade or the burlap to deteriorate.


How do you remove spray adhesive from stencil
You use warm soapy water and it comes right off.