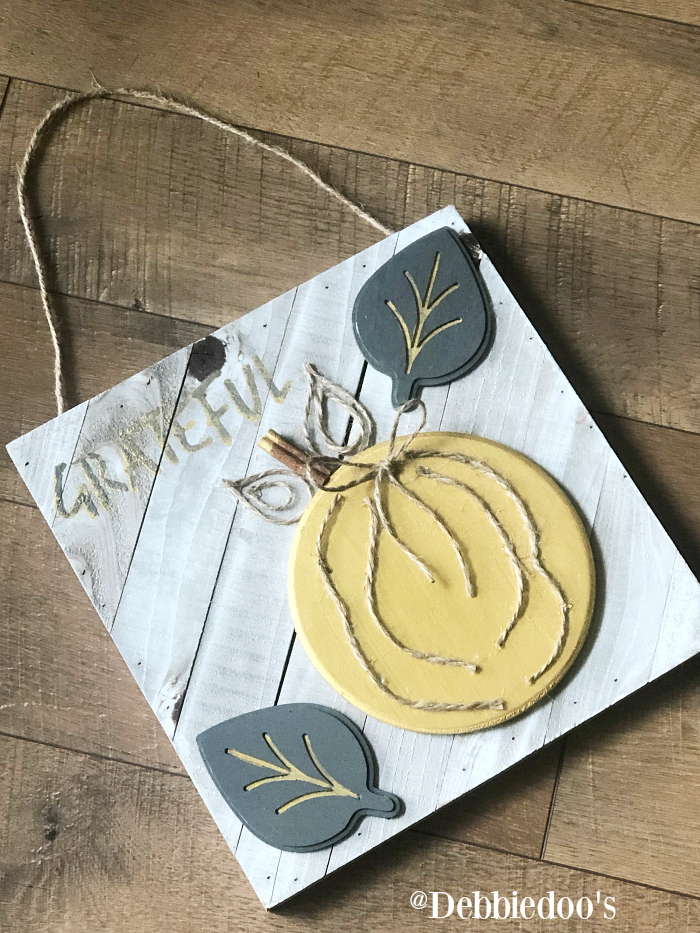
Autumn is the perfect time to embrace cozy vibes and warm, earthy colors, and one way to bring the spirit of fall into your home is by creating a DIY boho pumpkin sign. This charming decoration features a rustic board, a wooden circle, and painted leaves in a beautiful gold and silver color scheme.

Follow this step-by-step guide to make your own pumpkin sign and gain a unique, rustic decoration to proudly display throughout the season. You will have to gather and prepare the materials, assemble the pumpkin sign, and attach the pumpkin to the rustic board before showcasing your artwork.
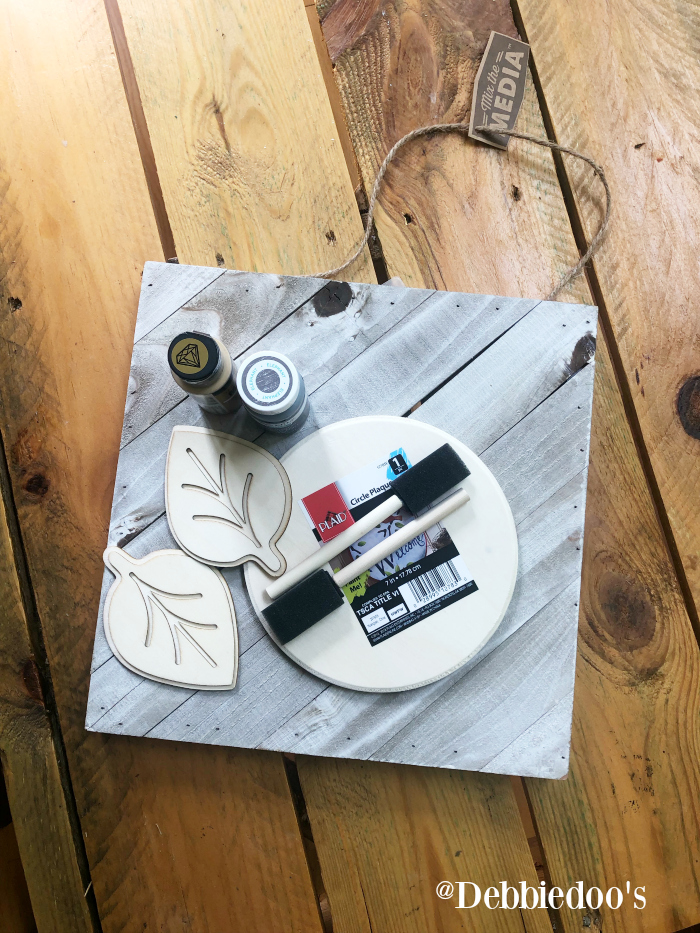
1. Gather your materials

- Rustic board
- Wooden circle
- Leaves (real or artificial)
- Two bottles of craft paint (gold and silver/charcoal gray)
- Cinnamon stick
- Twine
- Hot glue gun and glue sticks
- Letter stencils (for the word “Grateful”)
- Paintbrushes
Don’t be afraid to experiment with different color schemes and materials, and be sure to share your finished pumpkin signs and any variations you’ve tried with friends and family.
2. Prepare the materials
Begin by painting the wooden circle with gold craft paint. Apply two to three coats for full coverage, allowing each layer to dry before adding the next. Next, paint the leaves with charcoal gray craft paint, applying one to two coats as needed. Paint the tip of the cinnamon stick with gold craft paint, and cut a length of twine to embellish the pumpkin sign.
3. Assemble the pumpkin sign
Attach the cinnamon stick to the wooden circle as the pumpkin’s stem using hot glue. Arrange and glue the leaves around the stem, placing gold-painted areas between the leaves for added visual interest. Wrap the twine around the stem and leaves, securing it with hot glue.
Position the letter stencils on the rustic board and use a pencil to lightly trace the word “Grateful.” Paint the stenciled letters with gold craft paint, applying additional coats as needed for a solid finish.
4. Attach the pumpkin to the rustic board
Center the wooden circle on the rustic board below the word “Grateful” and secure the pumpkin to the board with hot glue.
5. Display your DIY boho pumpkin sign

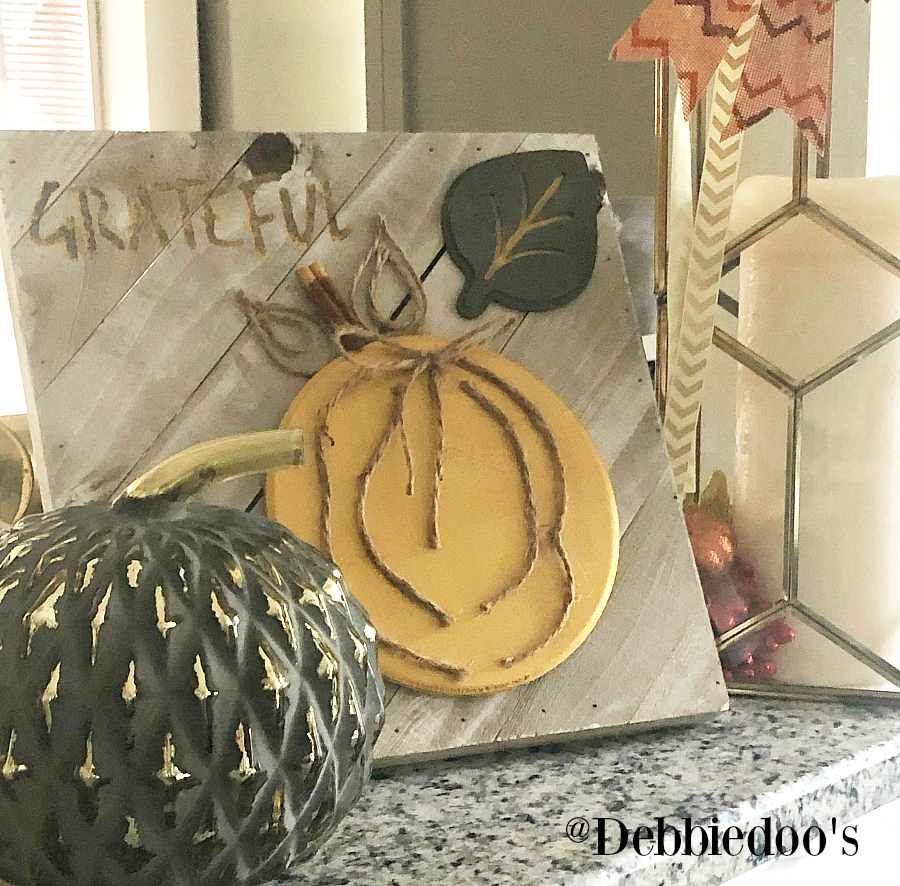
Now that your handmade boho pumpkin sign is complete, it’s time to find the perfect spot to display it. Consider placing it on a mantel, hanging it near your front door, or incorporating it into a seasonal centerpiece. Feel free to get creative with your display options and make this charming decoration a focal point of your autumn decor.
Check out more fall decorating ideas.


That is so nice, Debbie. Your idea came through perfectly.
Thanks Denise:) You never know how things will turn out until you try.
Cute. I definitely want to make one.
Thanks Christy! You should make one. It was fun!
That is just so darn adorable!
I can’t wait to try that pumpkin…
Thank you so much for all you share and do!
You’re welcome Sandy. Thanks for stopping by.
Love the sign, Debbie. And your condo looks cuter each time I see it! As always, thanks for sharing such an easy and budget friendly craft!
Thanks Judy! I appreciate your visit.
Just tooo cute ! Will be making one . I live in Summerville ( which is just outside of Charleston ), have you visited yet and how co you like Charleston ? I love the battery and old downtown .
Hi Miss Dasiy, Yes we have been to the battery and Old downtown many times now. We just love it there! Thank for your visit today.