EASY DIY Home Sweet Home Sign
Hi there friends! Today was a fun and productive day for me. It always makes me feel good to get my to do list checked off. I didn’t think once becoming an empty nester I would have even have a list anymore. There is always something to be done, and I LOVE it that way.
Spring cleaning has been on the to do list and I am trying to get at least one job tackled a day. Basically, that means closets. OYE, what a mess they are.
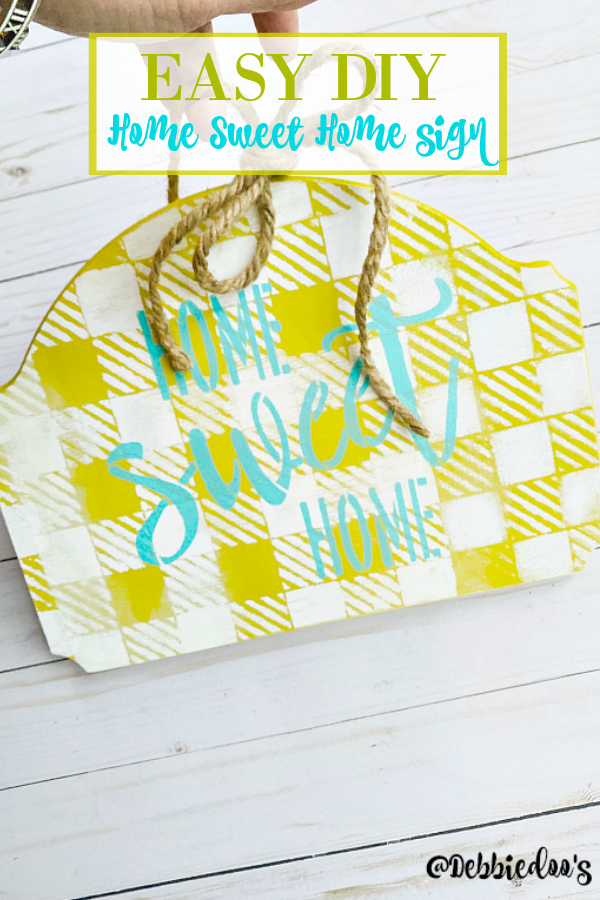
In between the list, I need to take a break and do something fun and relaxing. Today I did just that. This DIY Home sweet Home sign will be hung on the condo front door. We aren’t allowed to have any planters, or cute stuff outside our door. A simple throw mat and wreath is all. I have to have something cute to welcome everyone.
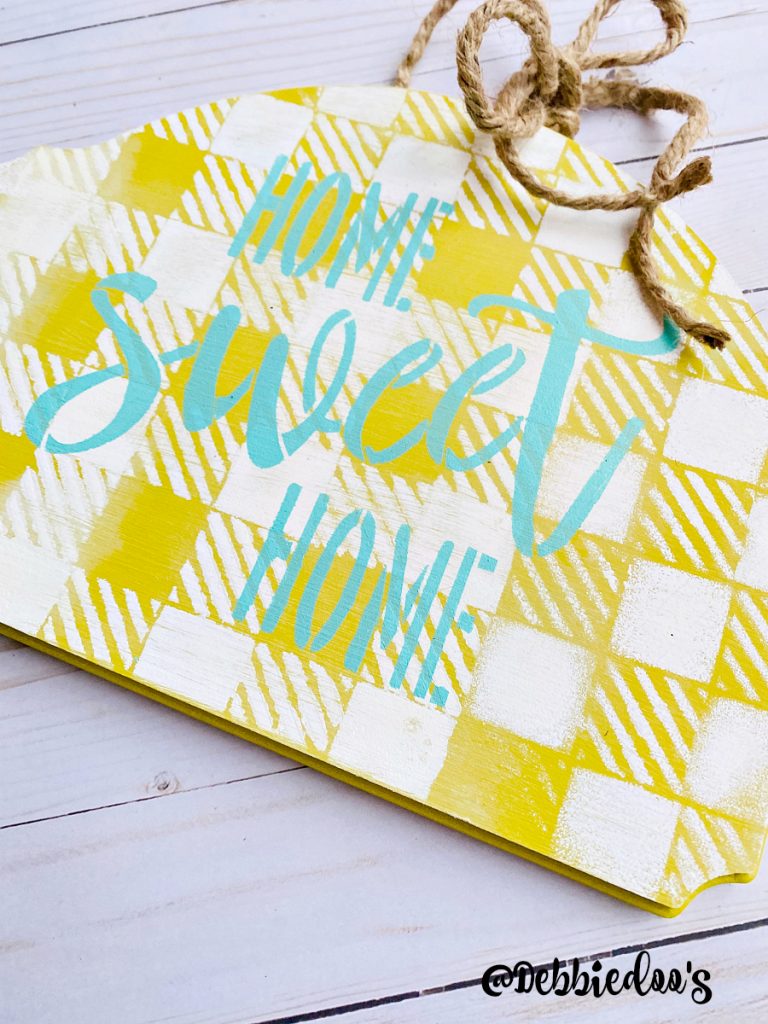
Not only cute, but colorful. These colors reminded me of Charleston. A bright yellow, a pretty turquoise blue, and a little white to off set it.
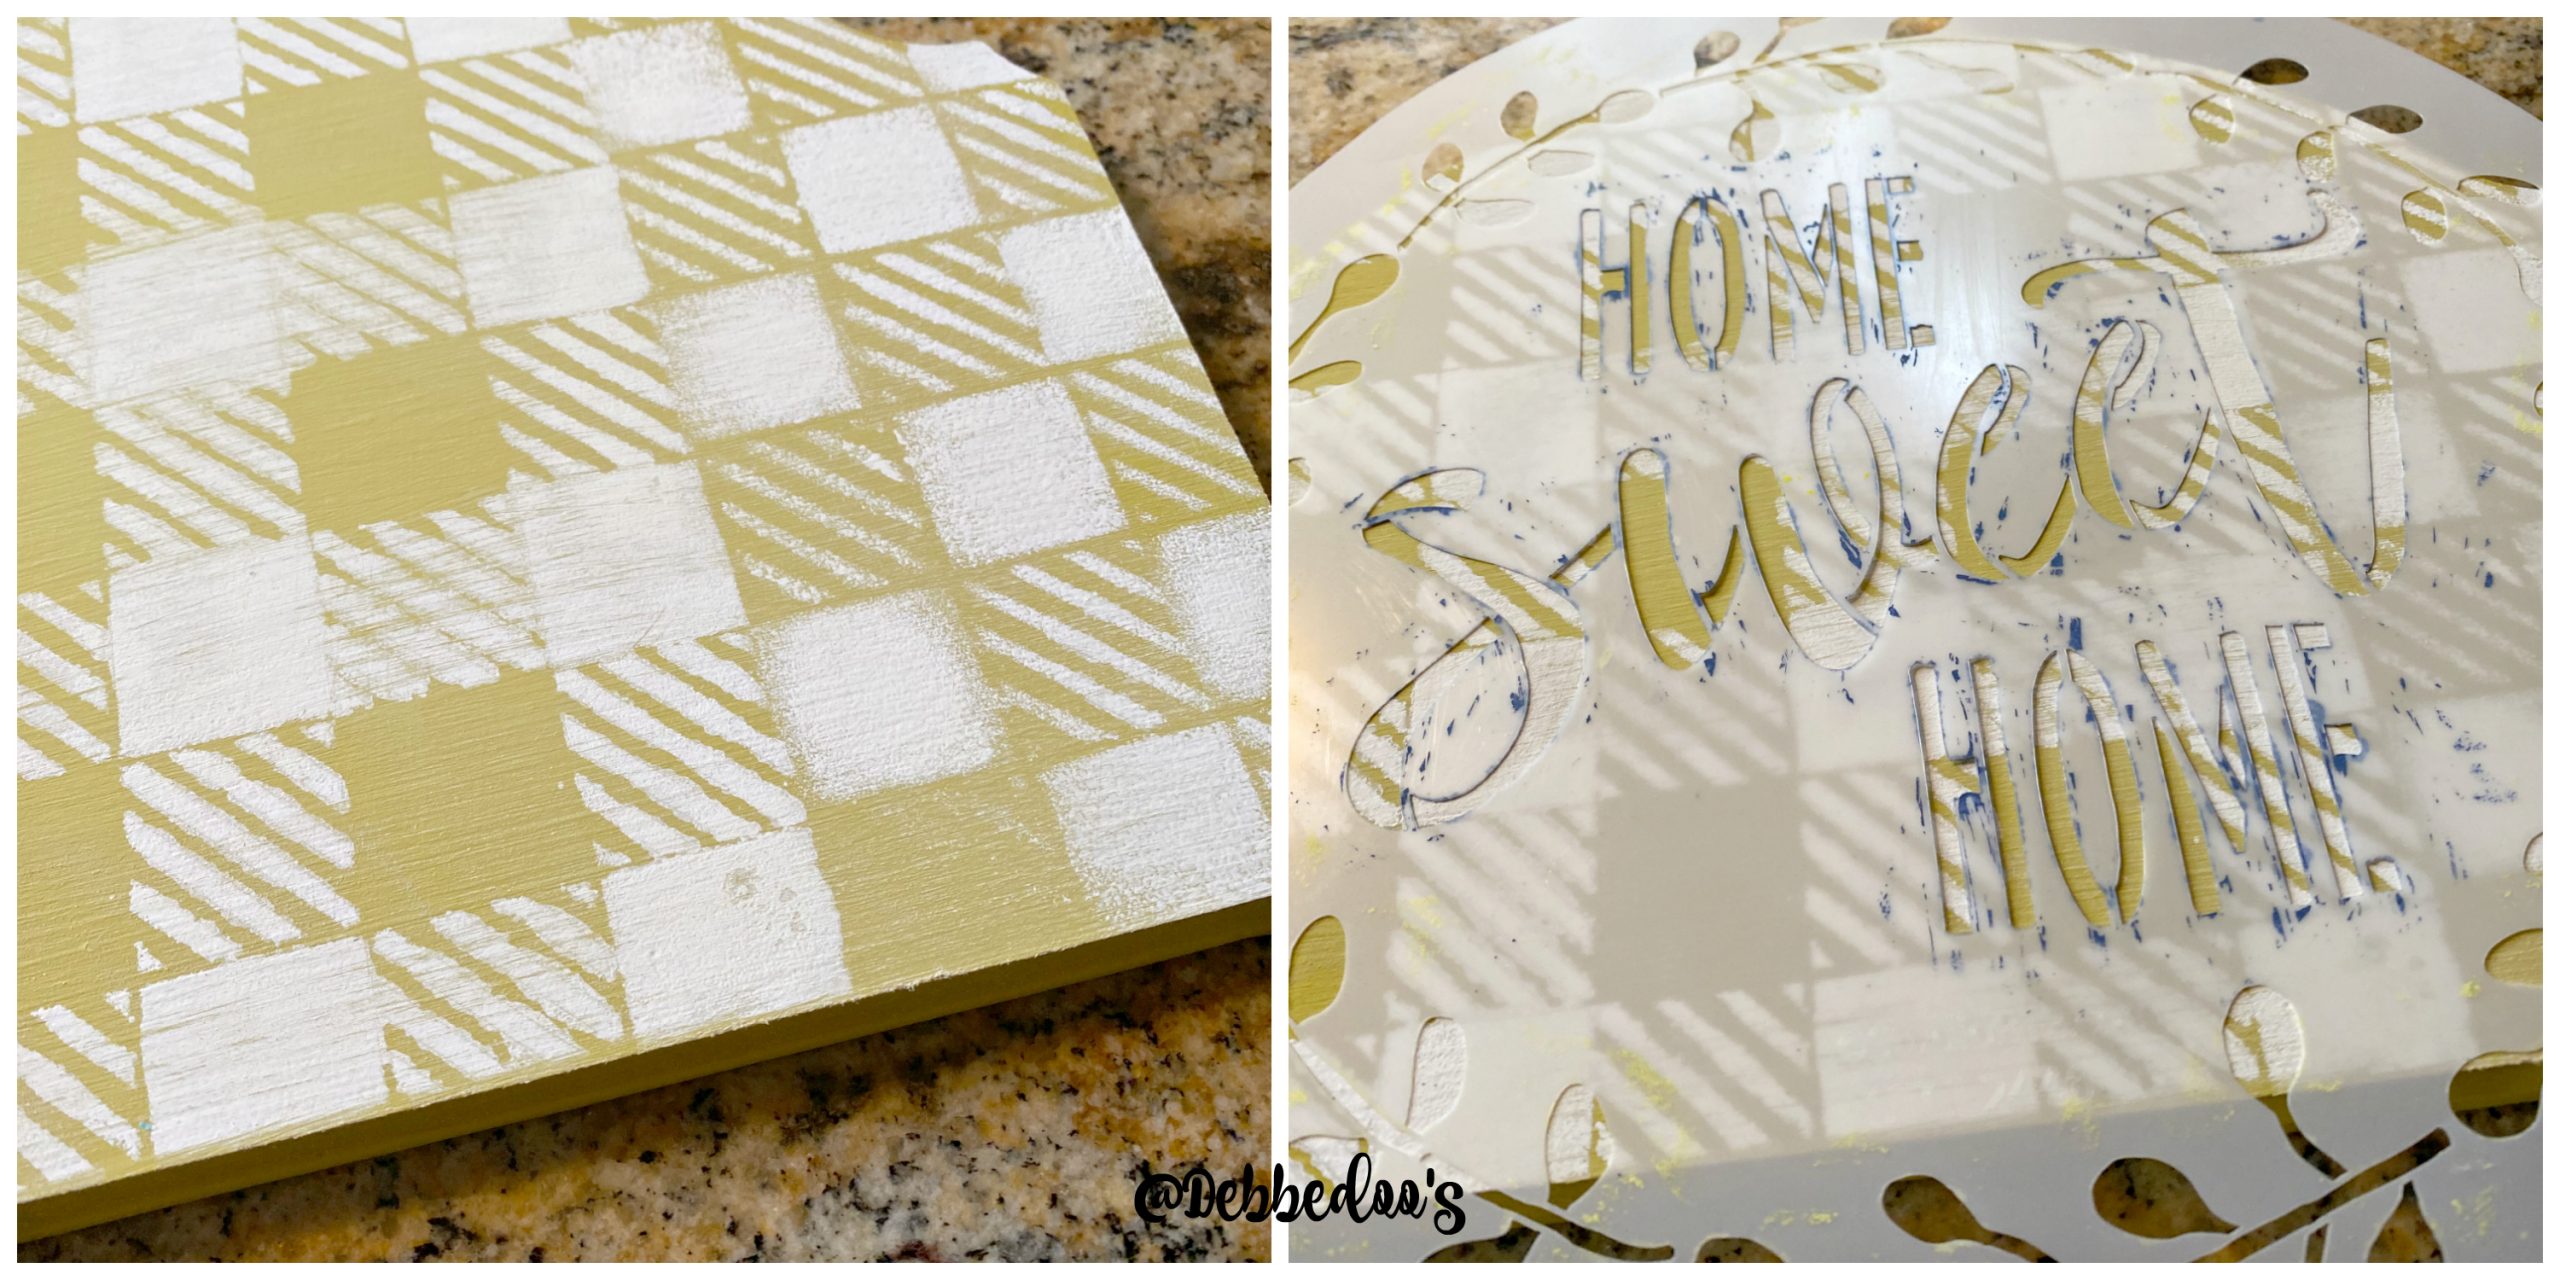
This was a three step project. First I painted the board with my base color. I used a chalky paint by folk art. I will leave all the direct links at the end. After the board dried in just an hour or so, I then placed my plaid stencil on top. I used spray adhesive to adhere it. That is always the best option and great to have that spray on hand. I do however, recommend you spraying the back of the stencil outdoors. Set it away from you and lightly spray, then fan it. Place it on your surface, whether it be wood or fabric, lightly press down and start your stenciling. I used a white craft paint by apple for that step. Remember, LESS is more when you start stenciling your surfaces. A light dip, dop, dab. You can always go back.
After the plaid dried, I went over it lightly with sandpaper just to give a little weathered look. If you have ever been to Charleston, SC you will see it is a very weathered and worn, yet beautiful city.
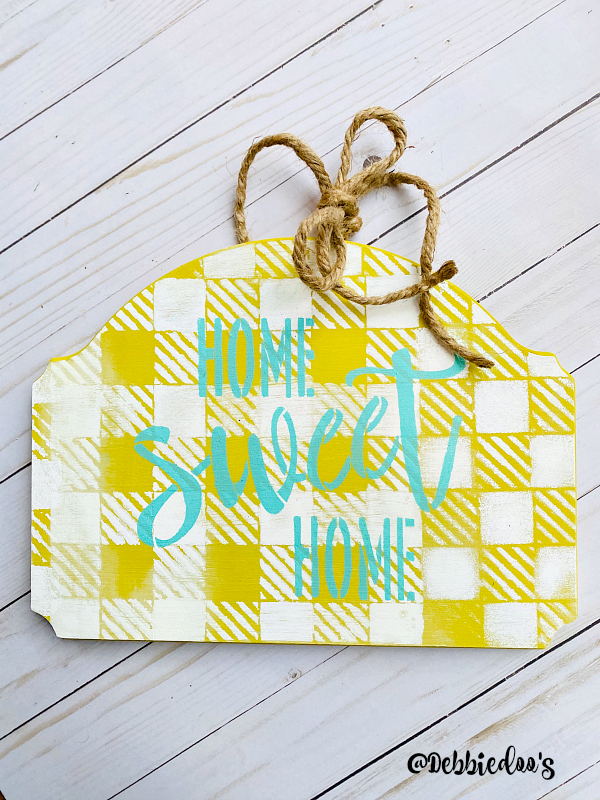
After I lightly sanded, I then did the same process with my Home Sweet Home Stencil using a pretty turquoise blue craft paint. I still need to go over it and fill in the spaces in between the stencil breaks. That part I do with a toothpick. Dip your paint, and lightly connect the gaps. It’s simple and makes it look more hand drawn. At one point in the project I was thinking I could have used my pineapple portion of the stencil I used to make my rustic pineapple sign for our condo kitchen.
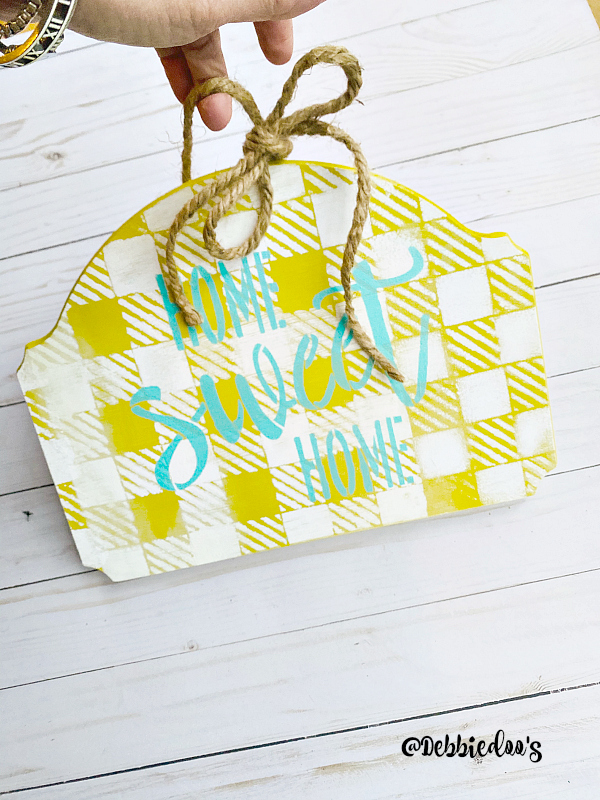
I used a heavy jute rope to create a bow, and the hanger loop. I will show y’all how it looks on the door once we get there and I hang it. I just love it myself. It’s the little things in life that truly can make your smile:)
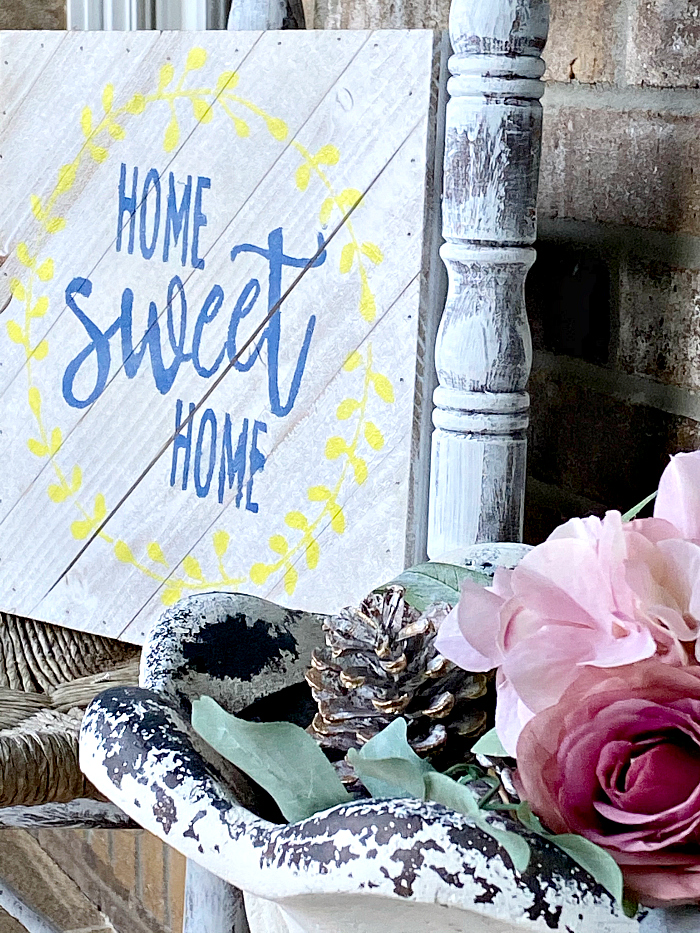
I used this very same stencil for my diy welcome sign I have here currently on our front porch. Home Sweet Home sign on porch HERE
Thanks for stopping by today friends and also a big thank you for all your sweet comments on our Farmhouse Kitchen NOT white post HERE.
I knew I had a colorful crowd here:)
Pin it, make it, enjoy,


This is such a cute sign! I love the colors.