Dollar Tree clipboards offer an affordable and versatile base for countless DIY projects, allowing you to transform a simple, everyday item into a personalized and decorative accessory. Using budget-friendly materials from Dollar Tree and incorporating seasonal embellishments such as colored burlap, fall leaves, and twine, you can create a charming and functional craft perfect for your home or office.
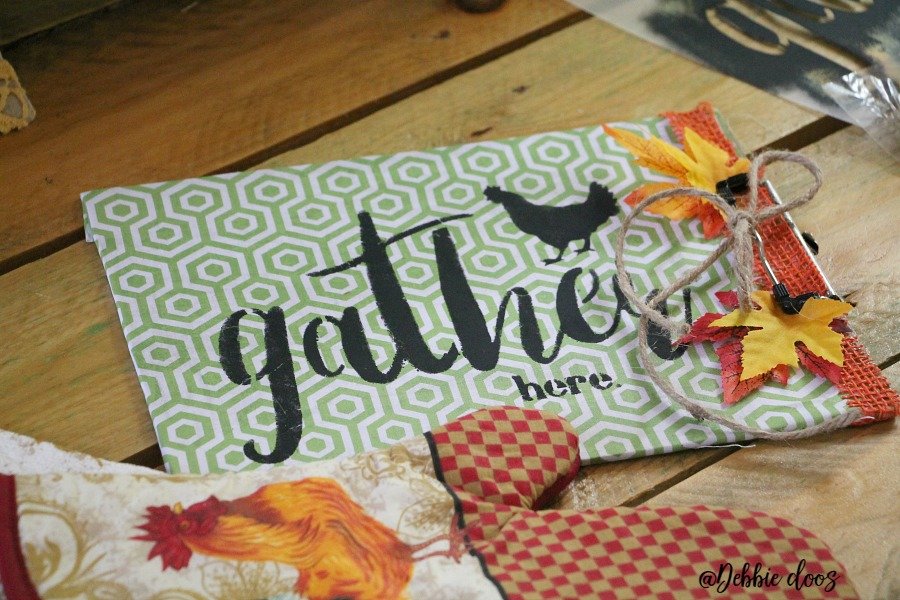
This step-by-step guide will walk you through the process of designing and crafting your very own DIY Dollar Tree clipboard, showcasing your creativity and adding a touch of seasonal flair to your workspace.
1. Gather your materials and tools
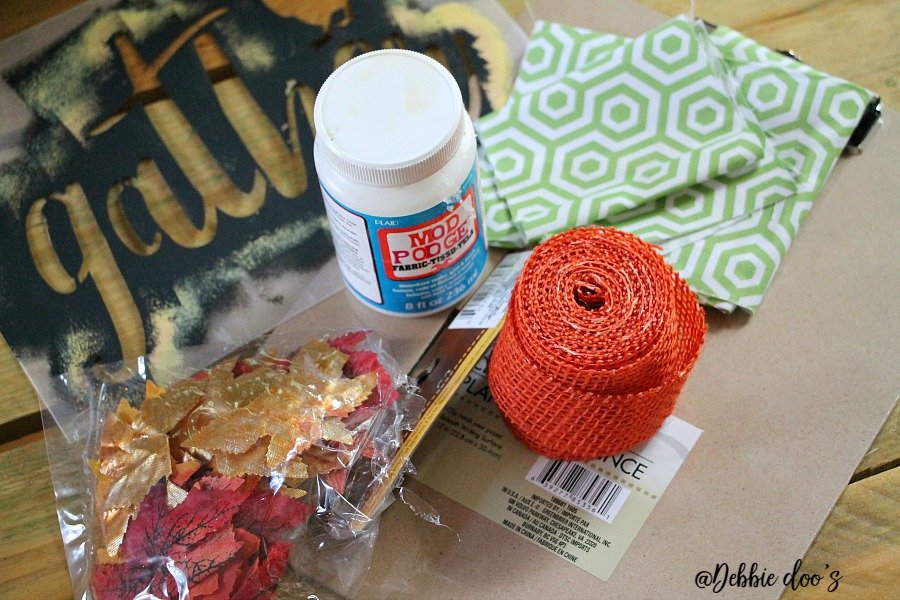
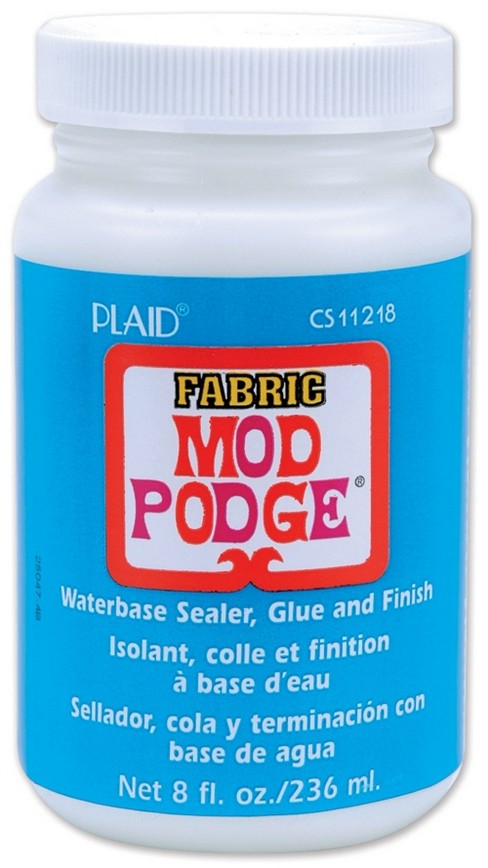
- Mod Podge for fabric
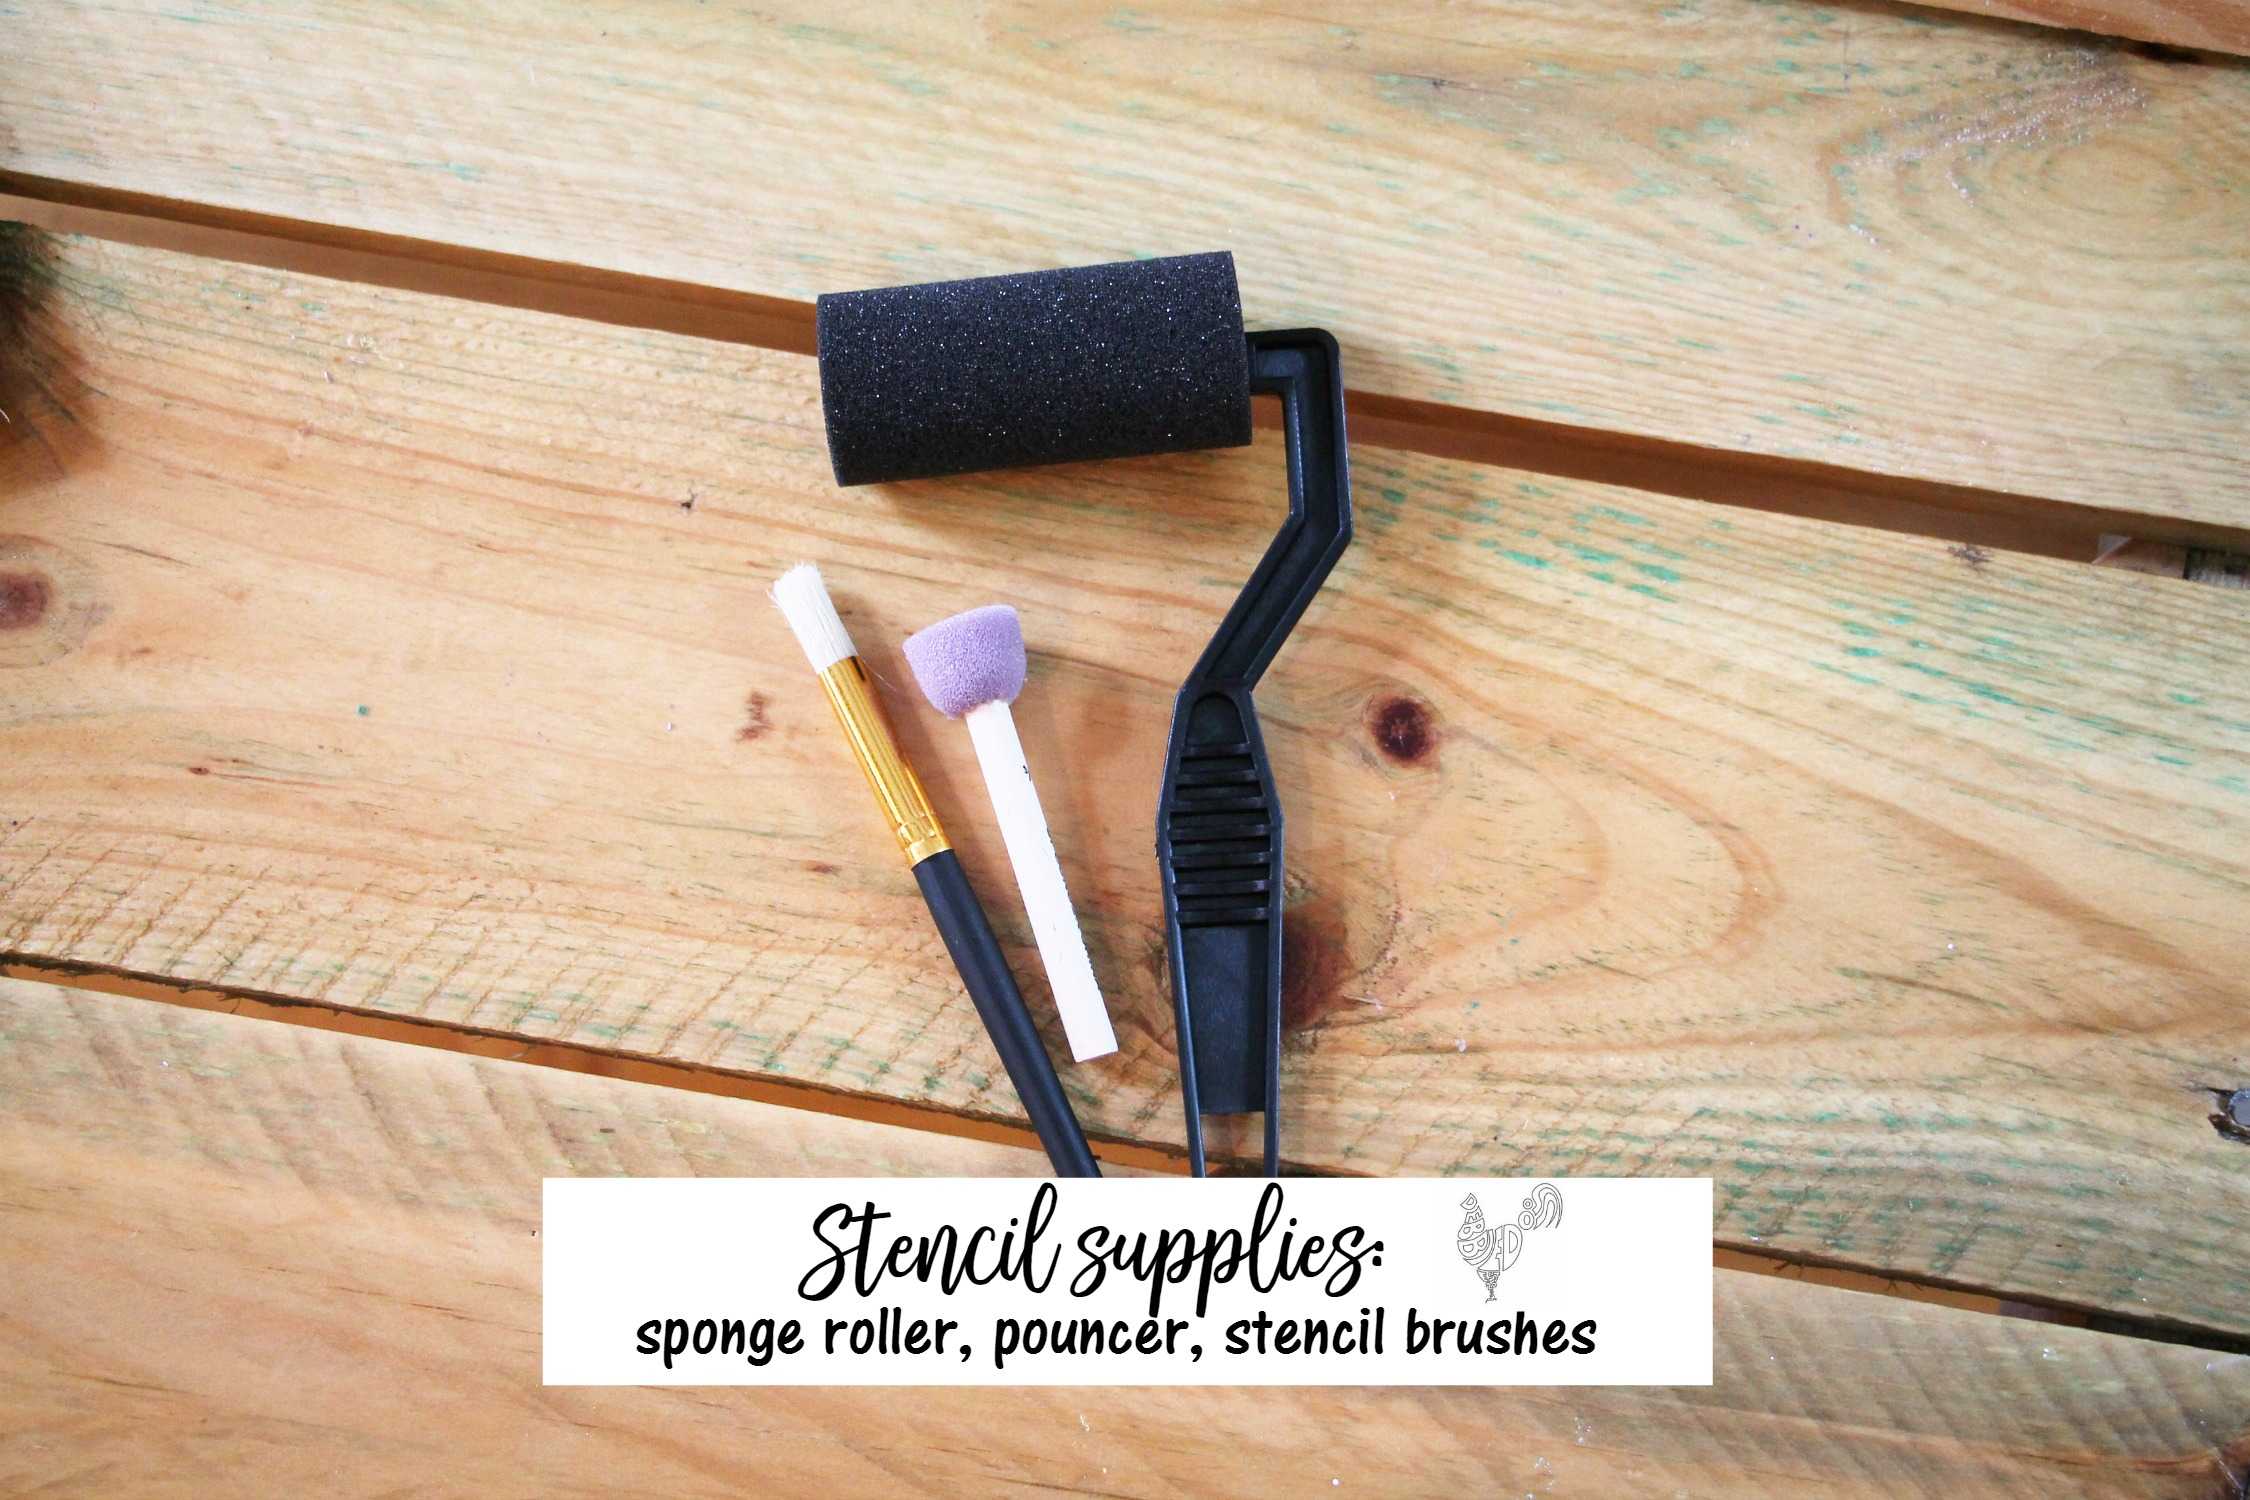
- Stencil brushes
- Pouncers
- Stencil roller
- Dollar Tree clipboard
- Stencils of your choice
- Fabric scraps
- Colored burlap
- Fall leaves (real or artificial)
- Twine
- Scissors
- Pencil
- Ruler or measuring tape
- Hot glue gun and glue sticks
2. Prepare your workspace
- Choose a well-lit, clean area to work in, ensuring you have ample space for your supplies and tools.
- Cover your workspace with a protective surface, such as a drop cloth or newspaper, to prevent damage from spills or stains.
- Organize your materials and tools for easy access, allowing for a smoother crafting experience.
3. Prepare the clipboard
- Start by cleaning the surface of your Dollar Tree clipboard to ensure proper adhesion of the fabric.
- Measure and cut your chosen fabric to fit the clipboard, leaving a small allowance for wrapping around the edges.
- Choose your stencils and plan your design, keeping in mind the placement of embellishments.
4. Apply the fabric to the clipboard
- Apply a thin layer of Mod Podge to the clipboard, ensuring even coverage.
- Carefully place the fabric onto the clipboard, smoothing out any wrinkles or bubbles as you go. You can use the same technique to stick fabric to the canvas using Mod Podge.
- Allow the fabric to dry before moving on to the next step.
5. Stencil your design
- Position your stencils on the fabric-covered clipboard according to your planned design.
- Use stencil brushes, pouncers, and a stencil roller to apply Mod Podge over the stencil. Be sure to use the proper technique to create clean stencil lines and prevent paint bleeding.
- Allow the stenciled design to dry before adding embellishments.
6. Add seasonal embellishments
- Cut and arrange pieces of colored burlap to add texture and interest to your design.
- Attach fall leaves, either real or artificial, using a hot glue gun. Be sure to place them strategically to complement your stenciled design. Check out more fall crafts.
- Wrap twine around the clipboard or create a bow for an added rustic touch.
- Secure all embellishments with hot glue, taking care to layer and arrange them in a visually pleasing manner.
7. Make the finishing touches

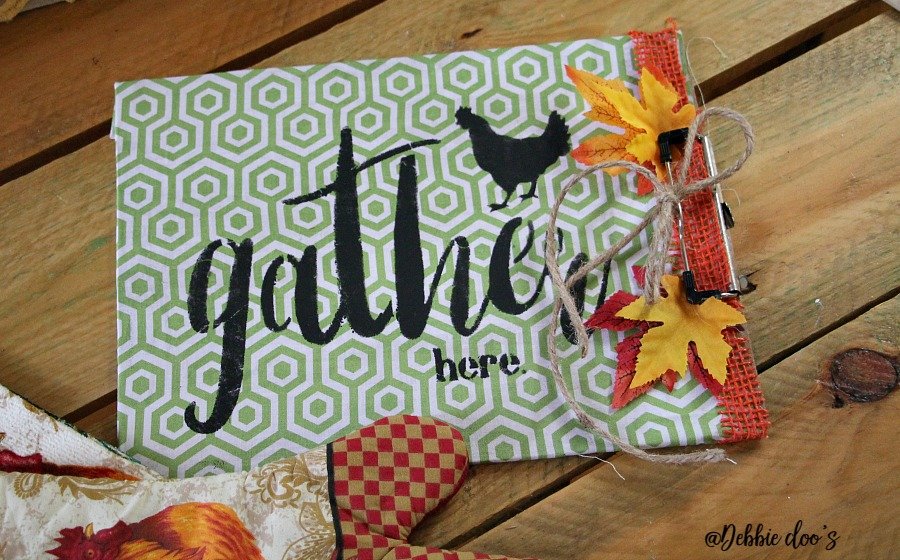
Once your embellishments are securely in place, apply a topcoat of Mod Podge to seal the design and protect it from wear and tear. Allow the clipboard to dry completely before using it.
Check out more Dollar Tree crafts.


You always create the cutest things from Dollar Store items!…..love the quotes and transfers.
Love your ideas from Dollar Tree very nice, and handy. Evelyn
I was reading how to make the coastal vase and have a question. Do you let both coatings of modge pose dry?
Yes:)
Great idea to buy before it’s all gone!
Brenda
Debbie, I’ve used wallpaper on my clip boards. Turned out really well. Looking forward to your stencils. Blessings, Lynda
Great idea! Thank you Lynda.