Good day to you!
How fun to create your very own pillow from start to finish with Paint- A- Pillow.
I love stenciling, and you can see my Stenciling archives to prove that fact!
When my friends from Cutting edge contacted me and asked me if I wanted to try their new sister line Paint -A -pillow,
of course, the answer was yes!
{this post has been sponsored, however all opinions are my own}
First thing I did when my Paint -A-Pillow kit arrived was read the step by step instructions and watch the very informative video.
Grant you, I have stenciled many times before,but this whole kit was new to me and I wanted to be sure I did everything according to the instructions.
The kit is magnificent and the quality was top notch in my opinion.
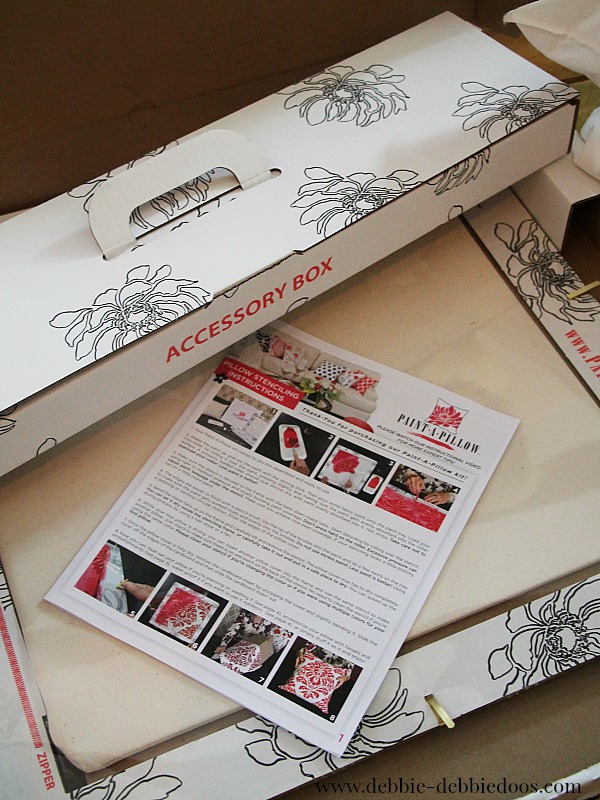
Your Paint-A-Pillow kit comes to you pre-assembled and ready to use. No need for stenciling tape or adhesives.
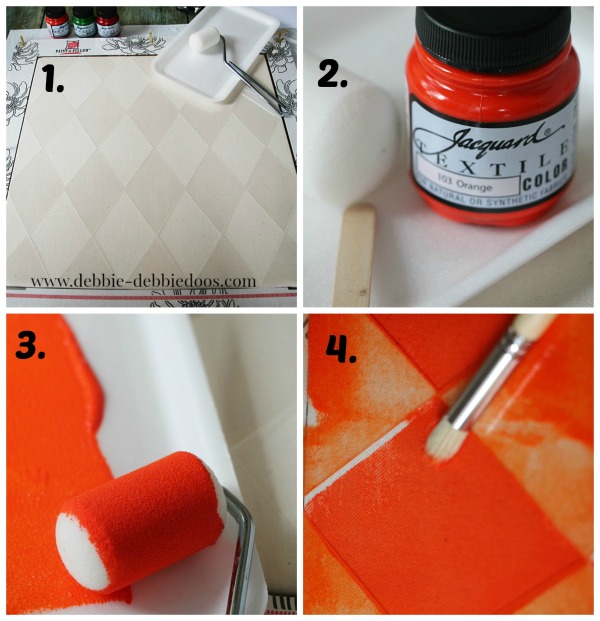
You want to be sure to shake your textile color jar and stir the paint with the stirring stick before you start.
Start stenciling by rolling over the stencil using a light to medium pressure and slowly building paint coverage. Less is always best to start with. Excessive paint and pressure on the roller can cause paint seepage under your stencil.
The edges are easier to finish with the stencil brush included in your kit.
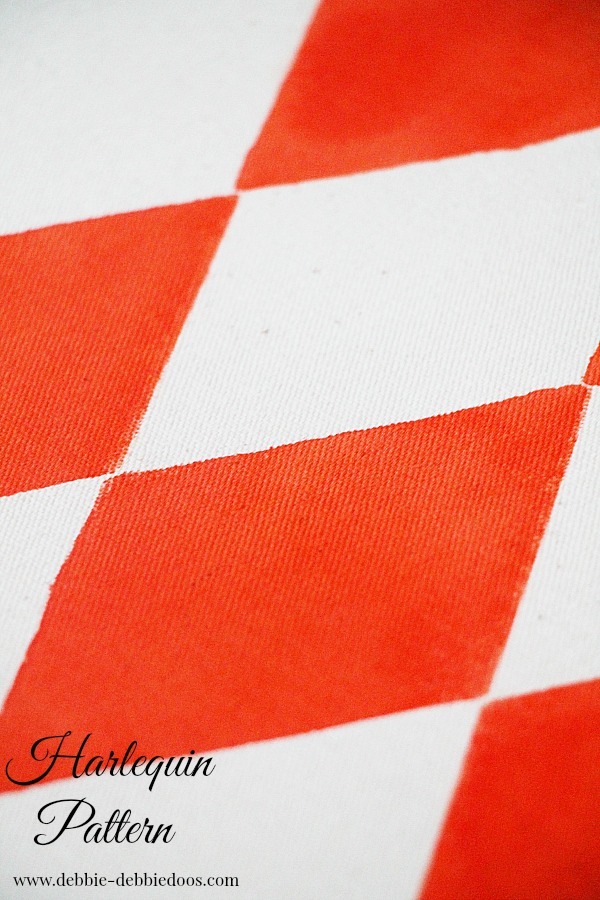
As you can see I have nice clean lines and no seepage.
Once the pillow cover is fully dry, remove the cardboard insert.
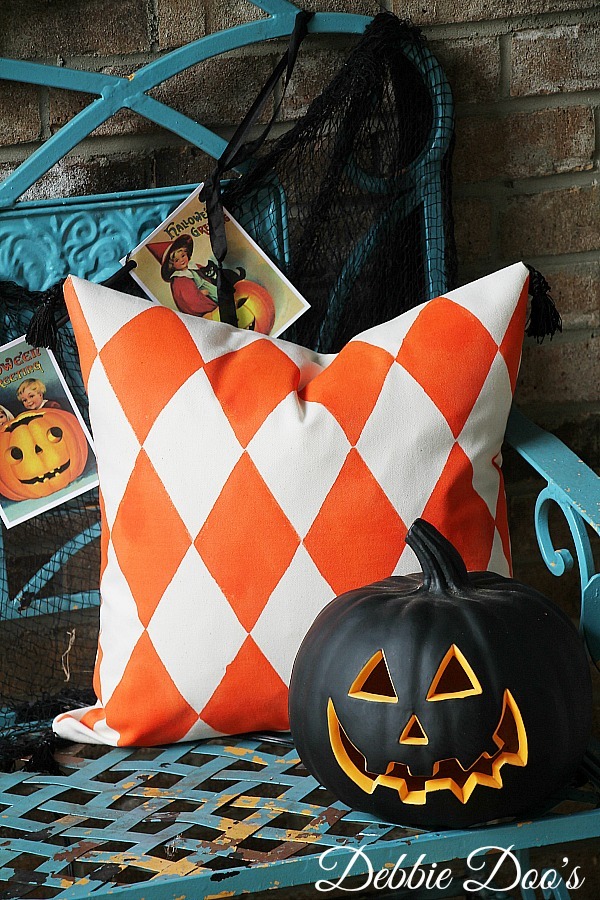
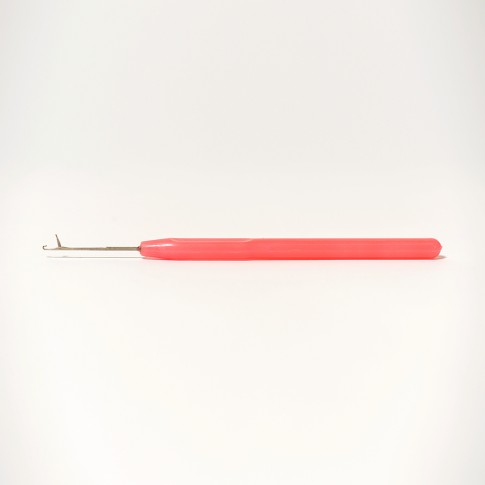
I added black tassels to my Halloween Harlequin pillow. This nifty little latch hook tassel tool was all it took. No sewing on my part!
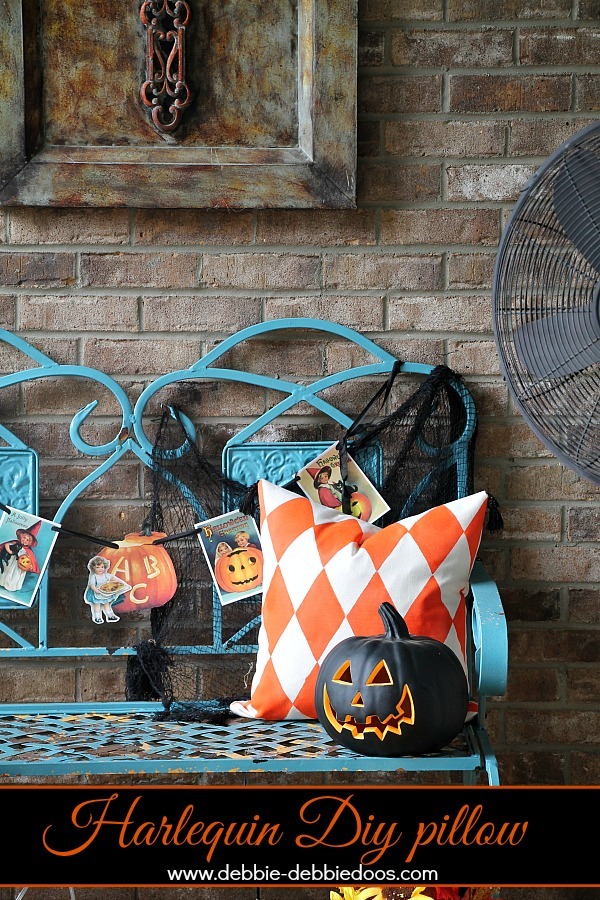
Absolutely Love my Halloween Harlequin pillow.
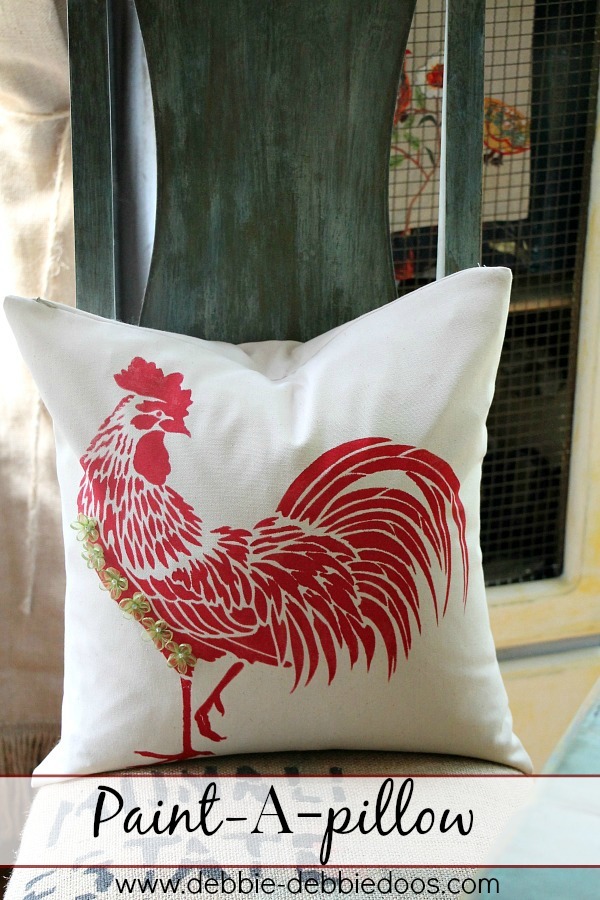
I was so excited I even ordered a Rooster Paint-A-Pillow set for Christmas.
Always thinking ahead I tell you!
These pillows are washable and can be used outdoors. Easy to follow directions on that as well. Even though my pillow is outdoors, it is under cover, therefore, I did not follow that process for outdoor use.
This post was sponsored by Paint A Pillow for product/and or compensation.
Paint A Pillow will give one of my lucky readers a choice of their very own kit. Everything you need to create a custom pillow will be included.
You can check out their website and find a variety of stencils that suit you and your home decor.
if you are not a regular here, I sure would love to see you back again.
Thank you so much for visiting with me today.
If you are new here, welcome! I am also very excited to share my new stencil line with you.

Farmhouse/rustic stencil line by Debbiedoo’s HERE
Thank you for your visit today!
I share all things, thrifty home decor, crafts and a recipe or two on occasion.
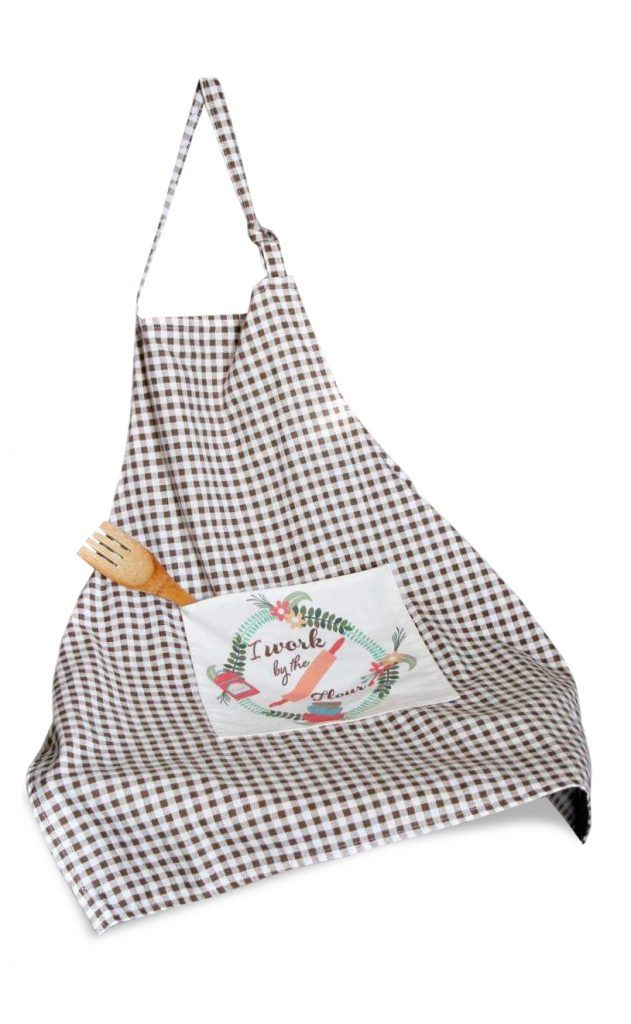
I have also created my own custom apron. “I work by the flour” logo on linen deep front pocket. My husband was the witty one with that slogan:)
Sold on Amazon Debbiedoo’s custom apron.
If you would like to commit to becoming a subscriber, I would love for you to join me.
Dollar tree Fall gallery
I share all things Fun diy crafts
and a recipe or two.
Stick around and browse a while.




OMG! I love this, Debbie! The harlequin pattern is one of my all time favorites. Your pillow turned out great. I love that this is a kit. It makes it so much easier to gather the supplies and actually do this project.
These turned out so great, Debbie…and it looks like a lot of fun to create! I’d love to win!
So pretty! 🙂
Thanks Carol!
Oh wow!! I love it!! I have to try this!!
Good Luck Lori! It was so much fun to create.
Your pillow came out great, and looks right at home on your porch. LOVE that rooster pillow!
It is pretty happy there Amy!:)
I hope I win 🙂
Good Luck Deb!
Your pillow turned out great!! This is an awesome giveaway!
Good luck Heather!
Love this idea. I’m not liking the prices for these kits. Maybe I’ll get lucky and win. $ 40 +
Is,too steep. I do love the designs,on the,site, though.
Worth it though you can create other things with the stencil. I did, and will be sharing soon.
Beautiful pillow, Debbie! Looks gorgeous on your bench. Looks like a great product.
It is MariaElena! Good luck!
The perfect spot for a gorgeous pillow..nice job!
Thanks Jessie!
What a great product!
Yes indeed it is!
This turned out SO cute Debbie!! Love the tassels. Thanks for the giveaway! Pinned!
Thanks Claire, they were a cute added touch for sure.
What a beautiful pillow! Love how simple it is to do. I had not heard of these before.
Good luck Raquel.
Super crafty Debbie, I love the pattern you picked for Fall it looks perfect on your bench.
It was so easy Dawn. Really does not require too many craft skills.
I love this, Debbie! What a great way to make a pretty no sew pillow!
Thanks Gina!
Love throw pillows and your pillow is so pretty! I love the one with the Rooster too! I can’t draw a straight line so I am quite sure I would make a mess! LOL! Hugs and blessings, Cindy
Thanks I love the roo too and can’t wait to use it at Christmas time!
I.LOVE.THIS!!! You did such a great job and it looks awesome! I love the Harlequin pattern. Wouldn’t these make incredible Christmas gifts? I had no idea this was out there so thank you for sharing!
I liked Paint A Pillow on Pinterest but didn’t see a link for the Rafflecopter. 🙁 I’ve already followed you!
xo
Pat
It’s there Pat, it probably takes a minute to load.
I absolutely love that rooster! Your pillow turned out great, I had not ever heard of “Paint a Pillow”, thanks.
Judy
Thanks Judy, good luck!
It came out great!! I would love try my hand at that! How fun!!
Lovely pillow. The black tassels really give it a finished look.