Decoupaging Modge Podge napkins on glass is a simple yet effective technique that allows you to upgrade everyday glass items, such as jars, vases, or bottles. Perfect for gifts, home décor, spring bridal showers, baby showers, or just a fun weekend project, Mod Podge napkin decoupage is a versatile and accessible craft that anyone can enjoy.
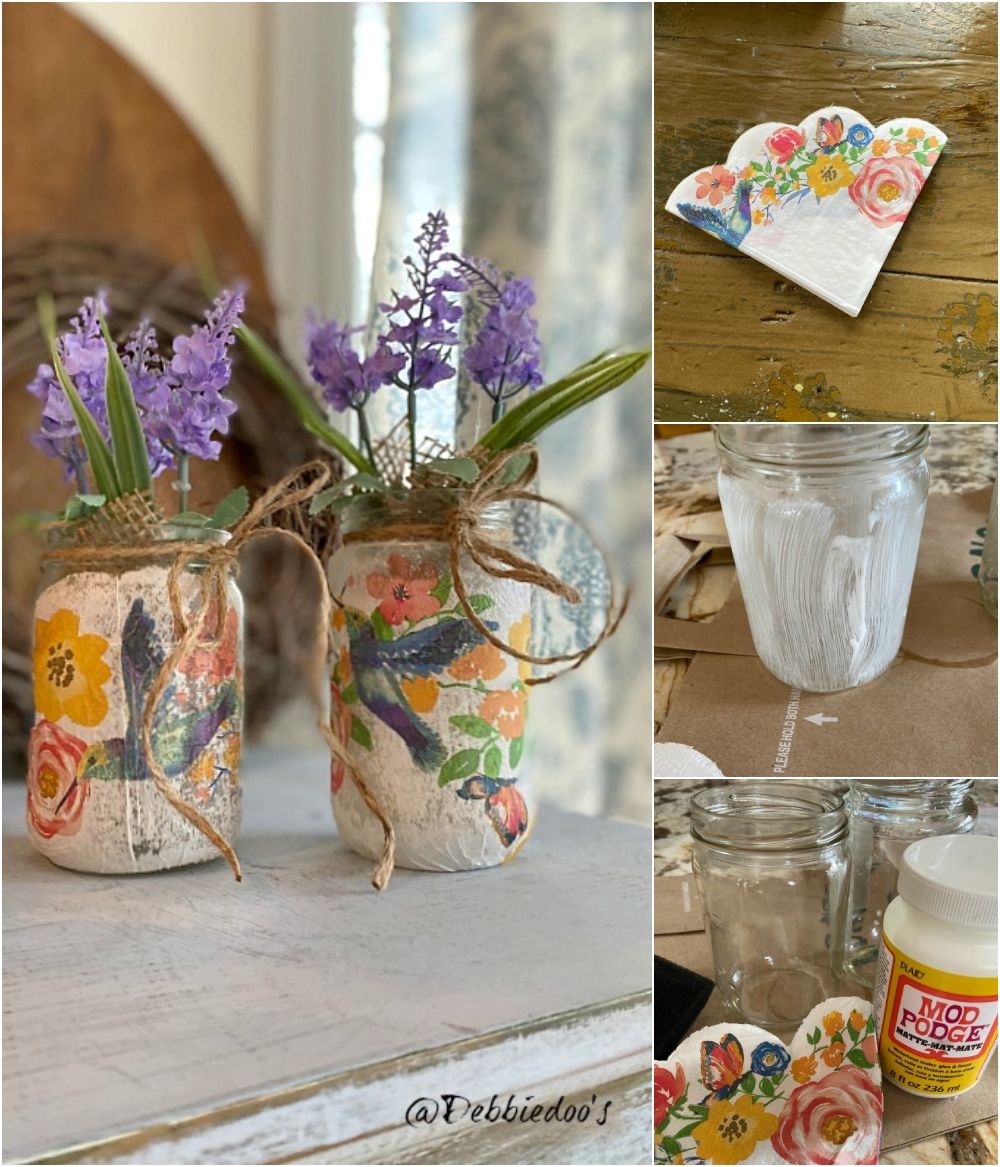
Follow these step-by-step instructions to stick napkins to glass surfaces using Mod Podge:
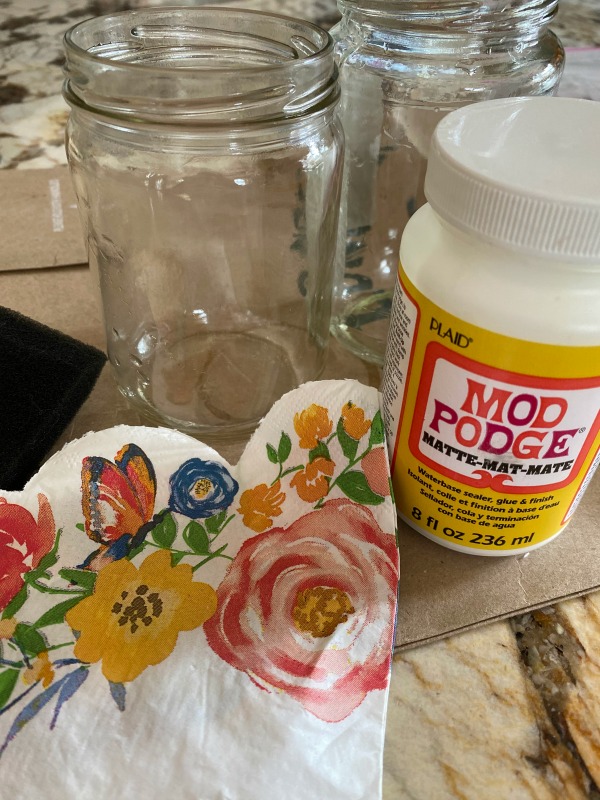
- Gather your supplies:
- Glass item (jar, vase, bottle, etc.)
- Mod Podge (gloss or matte finish, depending on your preference)
- Napkin with a design you like (we found floral spring napkins with a scallop pattern at Dollar Tree)
- Paintbrush or sponge brush
- Scissors or craft knife
- Tweezers (optional, but can be helpful)
- Clear acrylic spray sealer (optional)
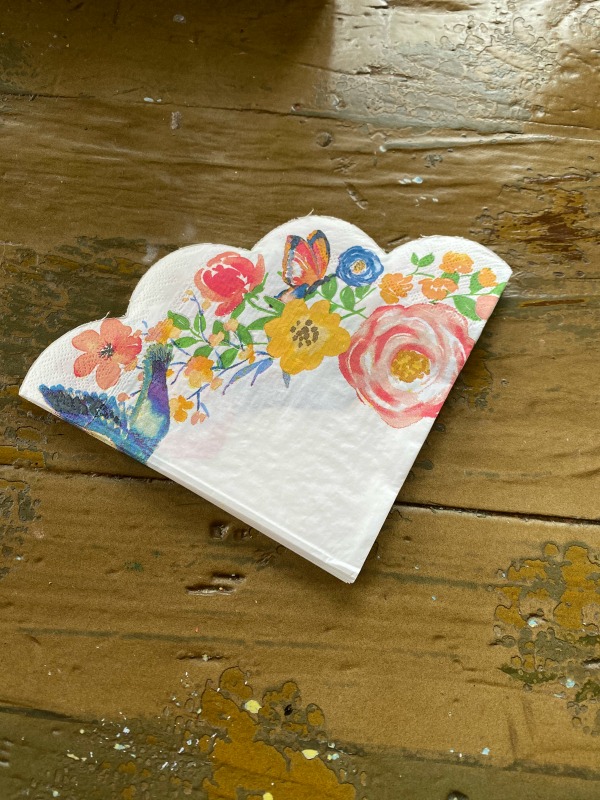
- Clean the glass surface: Before you begin, make sure the glass is clean and free of any dirt, grease, or fingerprints. You can use rubbing alcohol or a glass cleaner for this. Allow the glass to dry completely before moving on to the next step.
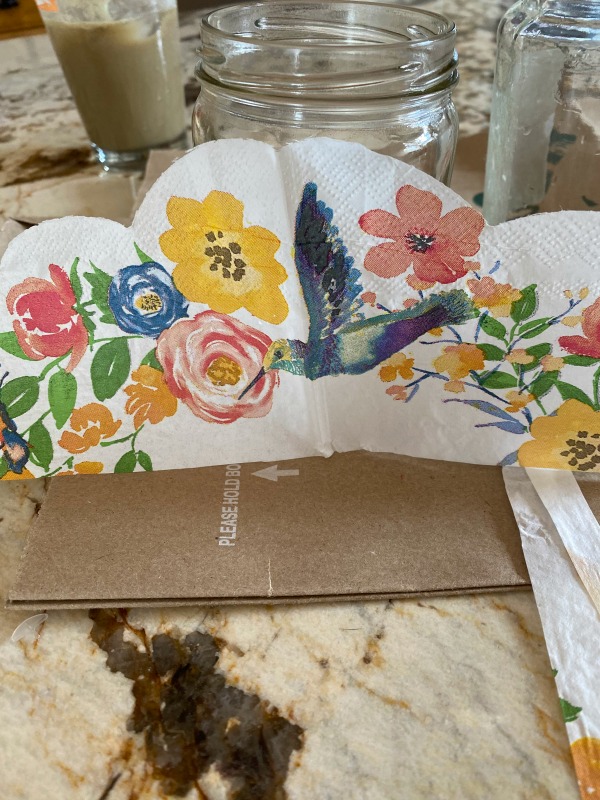
- Prepare the napkin: Most napkins have multiple layers. Gently separate the layers, keeping only the top layer with the design. This will make it easier to apply to the glass and give a smoother finish. Next, cut or tear the napkin into the desired size and shape. You can cut out specific elements of the design or create a collage using different pieces.
- Apply Mod Podge to the glass: Using a paintbrush or sponge brush, apply a thin layer of Mod Podge to the area of the glass where you want to place the napkin. Make sure to cover an area slightly larger than the napkin piece itself.
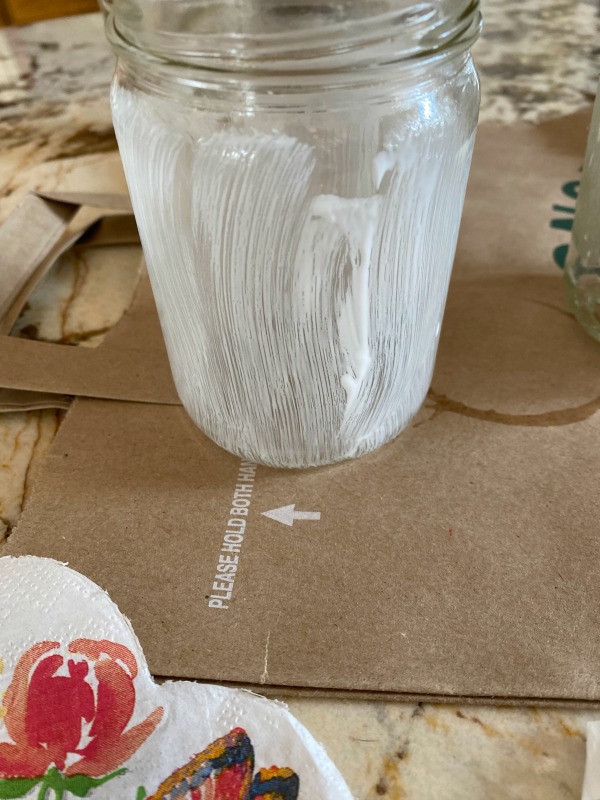
- Position the napkin: Carefully place the napkin on the Mod Podge-coated area, with the design side facing outward. Use your fingers, tweezers, or a flat tool to gently smooth out any wrinkles or bubbles. Start from the center and work your way out to the edges to avoid creating more wrinkles. Be gentle, as the napkin can easily tear when wet.
- Seal the napkin with Mod Podge: Once the napkin is in place and smooth, apply another thin layer of Mod Podge on top of the napkin using a paintbrush or sponge brush. This will help seal the napkin and ensure it adheres properly to the glass. Make sure to cover the entire napkin and extend it a bit beyond the edges.
- Allow to dry: Let the Mod Podge dry for a few hours or until it is clear and no longer tacky. The drying time may vary depending on temperature and humidity.
- Apply additional coats (optional): For added durability and a smoother finish, you can apply additional coats of Mod Podge, allowing each coat to dry completely before adding the next one.
- Seal with clear acrylic spray (optional): Once the Mod Podge is completely dry, you can apply a clear acrylic spray sealer for extra protection. This is particularly helpful if the glass item will be handled frequently or exposed to moisture. Follow the manufacturer’s instructions for application and drying time.
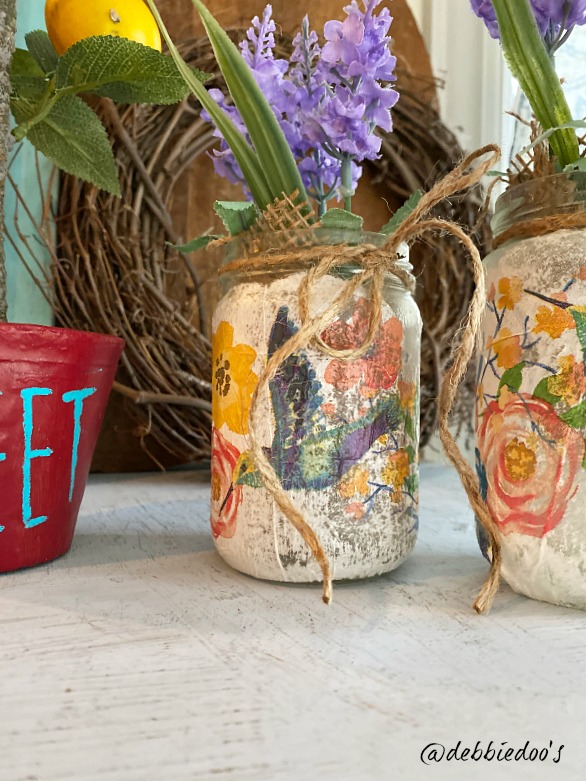
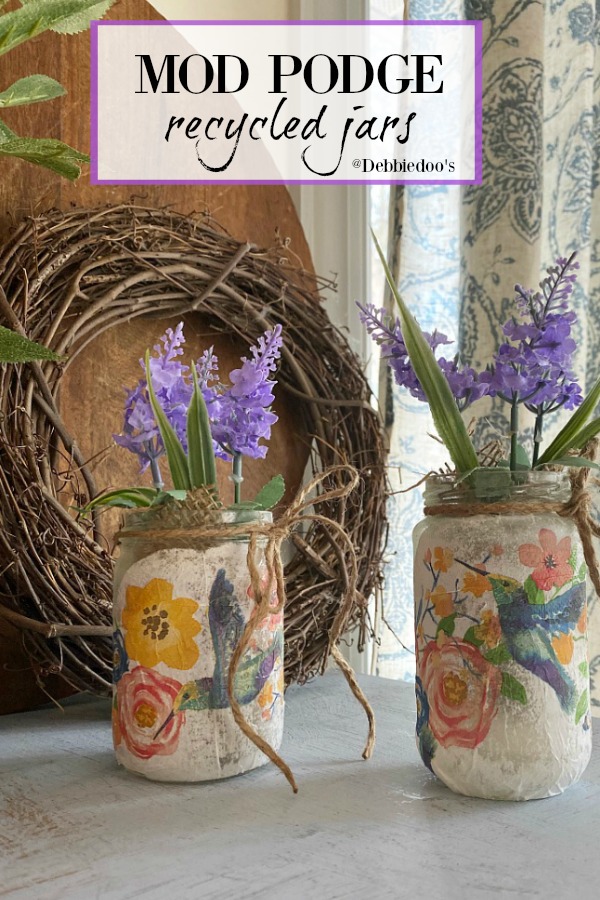
Once everything is dry, your personalized glass item is ready to be used or displayed. We filled recyled jars with artificial lavenders wrapped in burlap, found at Dollar Tree. Enjoy your new creation!
FAQs
Are there different steps for applying Modge Podge napkins to wood?
Applying Mod Podge napkins to wood is similar to applying them to glass, but the steps slightly differ. For example, it might be necessary to sand the surface lightly with sandpaper to create a smooth and even surface for better adhesion.
What about applying Modge Podge napkins on pumpkins?
Follow the guidelines outlined in the article to stick Mod Podge napkins to pumpkins. You can use either real or artificial pumpkins for this project. If using a real pumpkin, ensure it is dry and not overly moist to the touch.
What is the best decoupage glue for napkins?
Mod Podge is widely considered the best decoupage glue for napkins because of its versatility, ease of use, and popularity among crafters. Mod Podge is specifically designed for decoupage projects and works well with thin materials like napkins. It dries clear, is available in various finishes (such as matte, gloss, and satin), and can be used as both an adhesive and a sealer.
However, there are other decoupage glues on the market that can also work well for napkins, such as:
- Aleene’s Collage Pauge: This decoupage medium is known for its quick-drying formula and is available in matte and gloss finishes. It is acid-free and can be used as both an adhesive and a sealer.
- DecoArt Decou-Page: DecoArt offers a decoupage medium that works well with various materials, including napkins. It is available in different finishes and can be used as an adhesive, sealer, and finish.
- Helmar Decoupage & Craft Paste: This water-based adhesive is specifically designed for decoupage projects and works well with napkins. It dries clear and can be used as both an adhesive and a sealer.
Conclusion
With our step-by-step instructions, you should be able to easily apply Modge Podge napkins to glass, wood, pumpkins, or any other surfaces. Check out more fun Mod Podge glass projects.


I spray painted Oui yogurt jars and used thm for tea light holders at my daughter’s outdoor wedding.
Hi Debbie, I was just thinking of this, a dollar store vase, but your idea made me realize I have empty quart jars downstairs. Your always creative.
Those little vases are so cute, Debbie! I can’t wait to make one. Gotta get some of those DT napkins! Thanks for the tutorial. (I liked the tray, too!)
Hi Debbie, I just bought these napkins last week, and I was thinking that they were too pretty to use at the table. Thanks for the great ideas!
You are welcome! enjoy:)
Hi I tried to decoupage rice paper to a clear glass bottle but once it dried you can hardly see the design and looks almost transparant so what did I do wrong? I tried with a paper napkin and that was no better